Featured Products
If you use Lightroom, after editing manually or with MCP Actions Lightroom Presets, you may want to display your images on the web. You’ve probably seen photos all over the ‘net with some sort of text or logo on them giving credit to the photographer. This practice is called watermarking. It’s a simple way to say, “This is MINE.” Sadly, it won’t stop anyone with a total disregard for copyright laws from trying to steal your images, but it will at least make sure you’re credited with the work.
Lightroom lets you create custom watermarks that can automatically be applied any time you export or print your photos. You can even create multiple watermarks for different purposes. For example, I like to use the copyright symbol if I’m exporting images for use on the web, but I don’t think it looks attractive on a printed photograph. So I have a second version without the copyright symbol.
Let’s start by creating a basic text watermark.
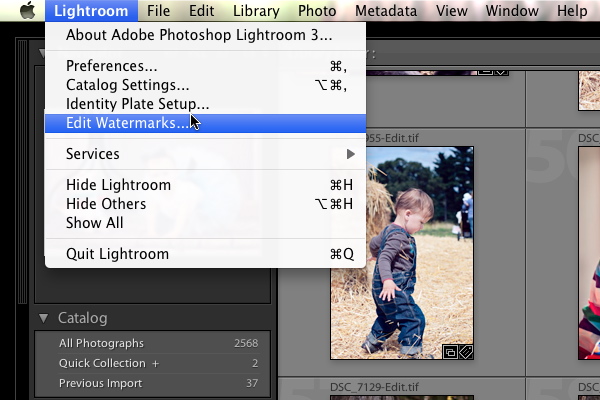
1. From within Lightroom, click on the Edit menu (Windows) or Lightroom menu (Mac) and select Edit Watermarks. This will bring up the Watermark Editor.
2. Make sure the radio button next to Text is selected for the Watermark Style (top right of the window). The unlabeled text box at the bottom of the window is where you’ll type your watermark. Type your name or company name, add the copyright symbol if desired, and even the year.

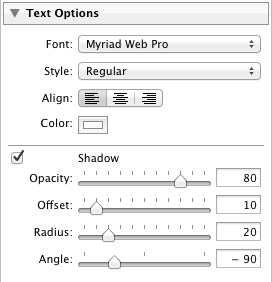
3. The right hand column gives you lots of ways to customize the watermark. Ignore the first panel (Image Options) for now. The Text Options panel gives you all the typical options for editing text. Choose a font you like, the style, alignment and color. Add a shadow to make it “pop” if that’s your thing. You have complete control over how subtle you want that shadow to be. You’ll see the preview image update as you play around with the settings, so don’t be afraid to play around.
4. The next panel, Watermark Effects, lets you change the opacity of the watermark itself (not just the shadow as in the Text Options panel). You can also adjust the size, inset, and an anchor point.
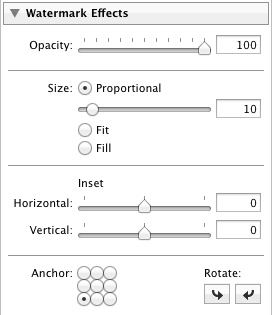
Size: There are three size options available.
Proportional resizes the watermark relative to the size of your image. This is probably the most popular choice. You can then adjust the slider to adjust the size of your watermark, or grab the corner of the watermark in the preview and drag it to size.
Fit sizes the watermark to span across the entire width of your photo.
Fill sizes the watermark to span across the entire height of your photo.
Inset: These sliders adjust how far from the edges your watermark will be.
Anchor: This grid of nine radio buttons lets you choose where on your photo the watermark will appear. You can choose top, bottom, left or right side, any corner, or right in the middle.
Rotate: You can rotate your watermark 90º in either direction or have it upside down.
5. Once you have your watermark looking how you want, click Save and give it a descriptive name. It will now be available to use in Lightroom dialogs for exporting, publishing to the web, and printing.
Now let’s try creating a graphic watermark. You should already have a logo file in mind that you want to use. You can use either JPG or PNG. I prefer PNG for the ability to use transparency. Whichever format you choose, make sure the image is significantly large that it won’t be distorted when resized with your photo.
1. Once again, click on the Edit menu (Windows) or Lightroom menu (Mac) and select Edit Watermarks to open the Watermark Editor.
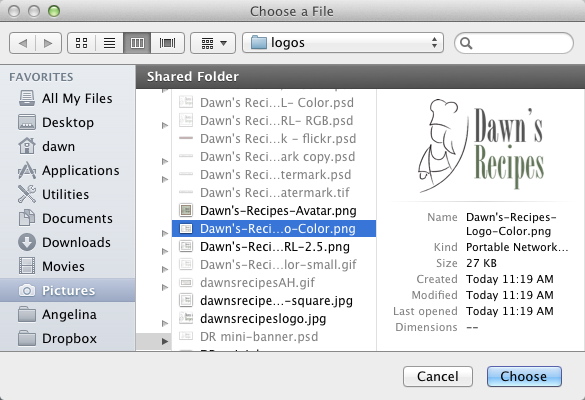
2. Select the radio button next to Graphic for the Watermark Style. Lightroom will bring up a choose file dialog. If it doesn’t (say you’re editing an existing watermark) you can just click the Choose button under the Image Options panel. Navigate to the folder where your graphic is located, select it and click Choose.
3. Text Options will be grayed out. Use the Watermark Effects panel in Lightroom to adjust the opacity of the watermark, the size, inset, and to select an anchor point.
5. Once you have your watermark positioned how you want, click Save and give it a descriptive name. It will now be available to use in Lightroom dialogs for exporting, publishing to the web, and printing.
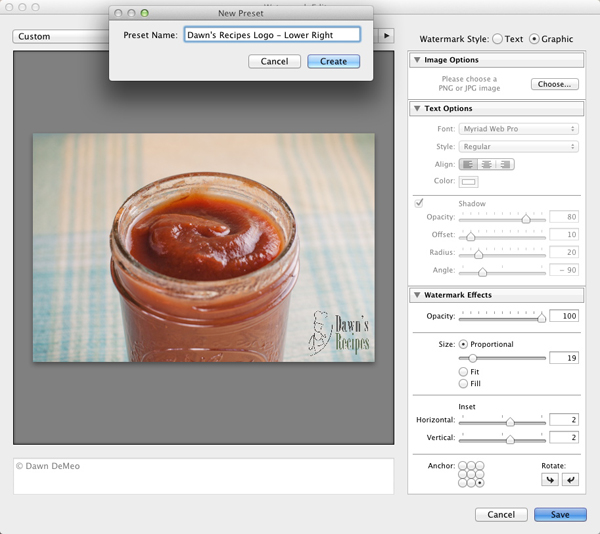
Note that the watermark shown in the preview will look a bit grainy. It will look much crisper on your exported, published and printed photos. However, I recommend exporting a test image to your desktop so you can see how it looks in practice before sharing it with the rest of the world.
Dawn DeMeo got her start in photography when motivated to improve the pictures on her recipe blog, Dawn’s Recipes. She continues to justify this not-inexpensive hobby by wowing her husband with photographs of their daughter, Angelina.
No Comments
Leave a Comment
You must be logged in to post a comment.


Thank you!!!! I just got LR3.
Can you show us how to make a grid watermark. Or a water mark with a large x that covers from corner to corner. I sell photos and when I post them for proofing I would like to have a faint large x along with my name.
Thanks for this! My biggest problem in editing watermarks, though, is: How do you revise one you’ve already made? LR doesn’t appear to allow you to do that? So I have a growing list of watermarks as I change my mind, or want different colors, etc. Can you change an existing one or delete one from the list?
Creating a watermark isnt a problem, making the copyright symbol is. It seems to only put the letter C in brackets not in a circle. Any tips would be appreciated.
I prefer to use Photoshop for watermarking because LR3 always gives me slightly unsharp watermarks.
I typically use Photoshop for my web work as well – but for those without PS, this is still a nice option. Also, see our new Facebook Fix actions with actual copyright tools included.
I’m still using Lr 3.6 with DNG files converted from my 5DIII. But when i export my pictures with a light watermark it wil not do it on all of my pictures. Do you know if this is a knowng problem? or is it just a case of to large amount an to full buffer. so it skip a couple of pictures?
i added watermark to my images through lightroom 4 but after exporting the watermarked photo’s , i discovered that the photos are a bit grainy and they are not as sharp as they were earlier.help me solve this problem.