Featured Products
Identify and Reduce Blown Highlights in Lightroom
Did you know that Lightroom has several ways to tell you whether you have blown highlights in your image? Here’s how.
METHOD 1:
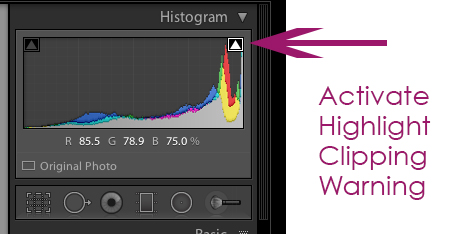
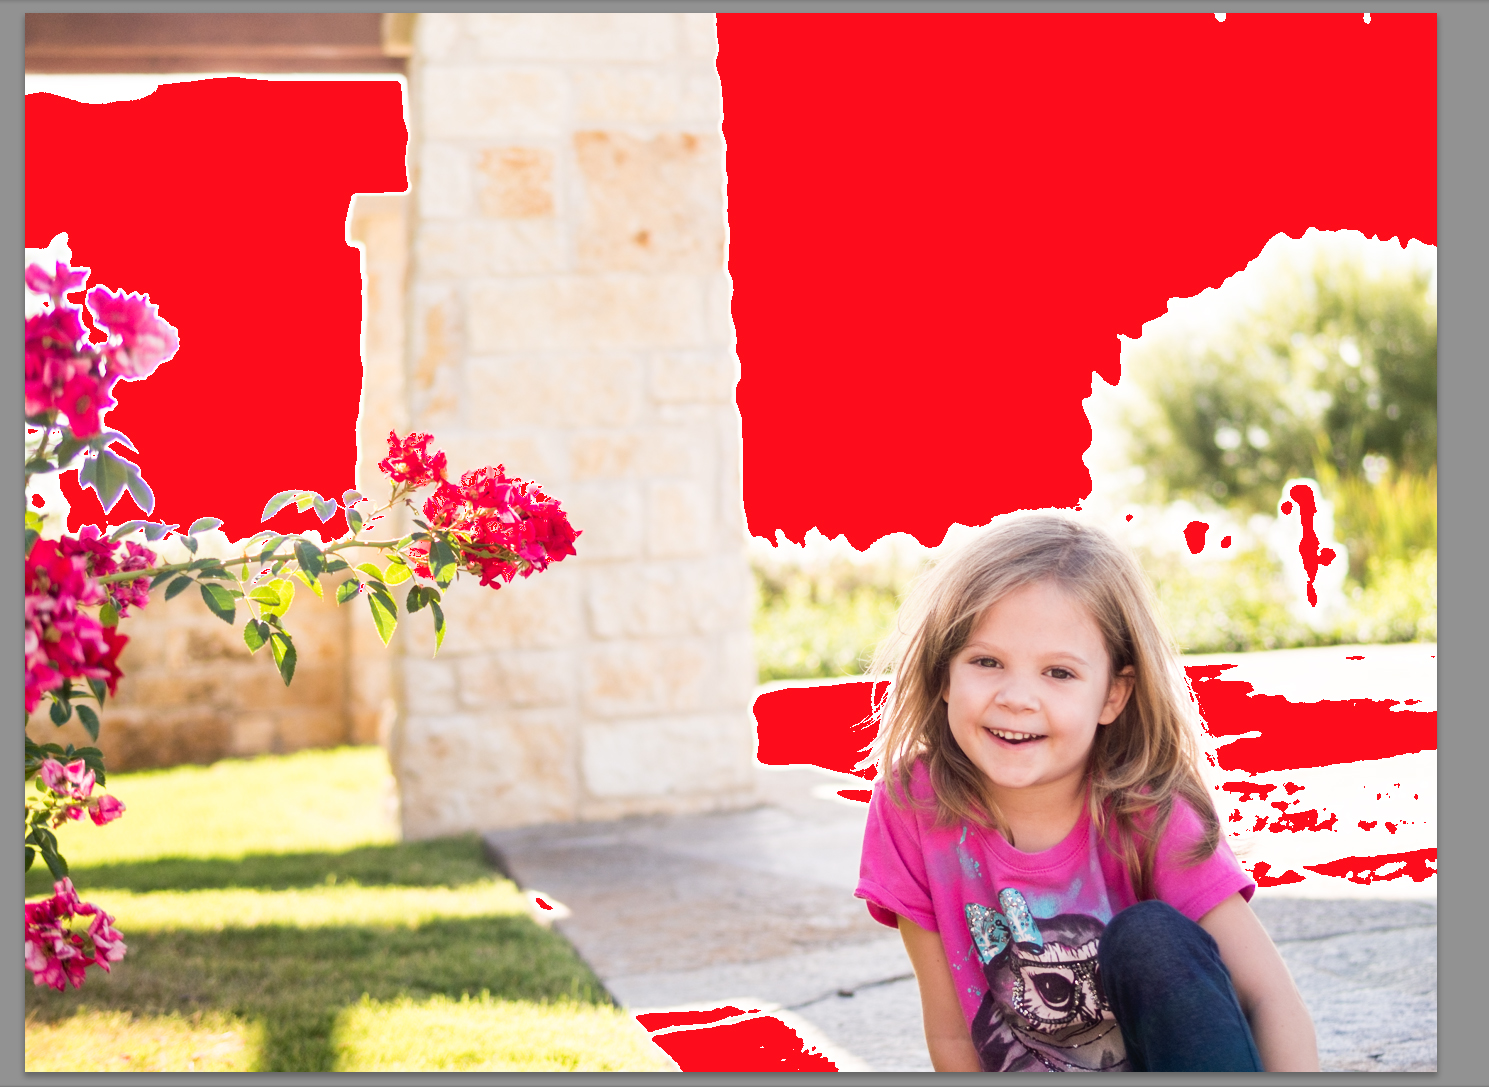
The first method is to use the Highlight Clipping Warning. To activate it, click on the triangle at the top right corner of your histogram.
Clicking on this triangle displays a red overlay everywhere you have blown out pixels.
I keep this overlay on most of the time when I edit. It’s usually not as distracting as it is in the screenshot above. However, you can display this overlay temporarily by holding your cursor over than white triangle without clicking on it.
The downside to this method is that the red overlay only appears when all 3 color channels measure close to 100% (100% equals 255 on the RGB scale, for those of you who are familiar with that scale of measurement). When printing, anything that measures above 94 to 95% in any of the three color channels is blown out. For portraits, measuring above 94% in the red channel is usually the biggest risk. Looking at the highlights on my daughter’s cheeks, for example, I see some bright areas that might be too bright to print but not bright enough to trigger the red overlay.
METHOD 2:
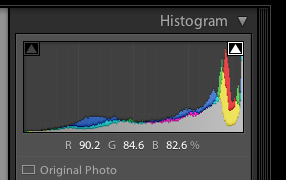
I can measure specific areas by hovering my cursor over them and reading the RGB values that will appear just under the histogram. You can see from the image below that the highest reading on the brightest part of my daughter’s face is 90.2 in the Red channel. That means there is plenty of detail for a good print.
METHOD 3:
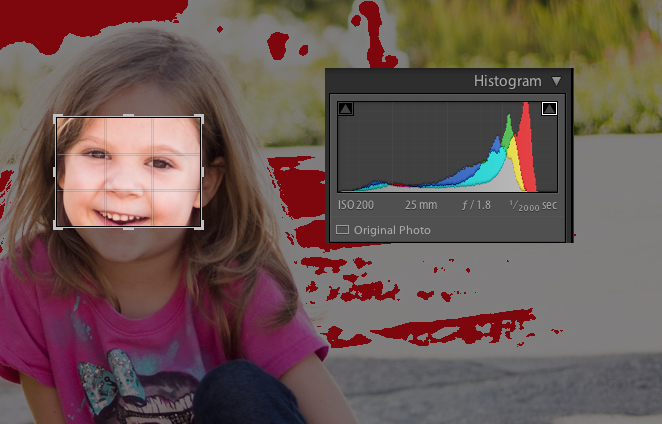
Finally, you can use the crop tool to select just the area whose exposure concerns you. The histogram will be limited only to the pixels within the crop. The image below shows that there are no pixels touching the right wall of the histogram, which means nothing is blowing out.
How to Fix Blown Highlights
Once you’ve identified that there are blown out highlights that need to be fixed, you can use any of the MCP Highlight Correcting Brushes or Presets.
To do it manually, start by adjusting the Highlights slider. For severe areas of blown out highlights, as in this photo, I use the Whites slider as well. In general, however, I usually only use the Highlights slider for my blow outs adjustments.
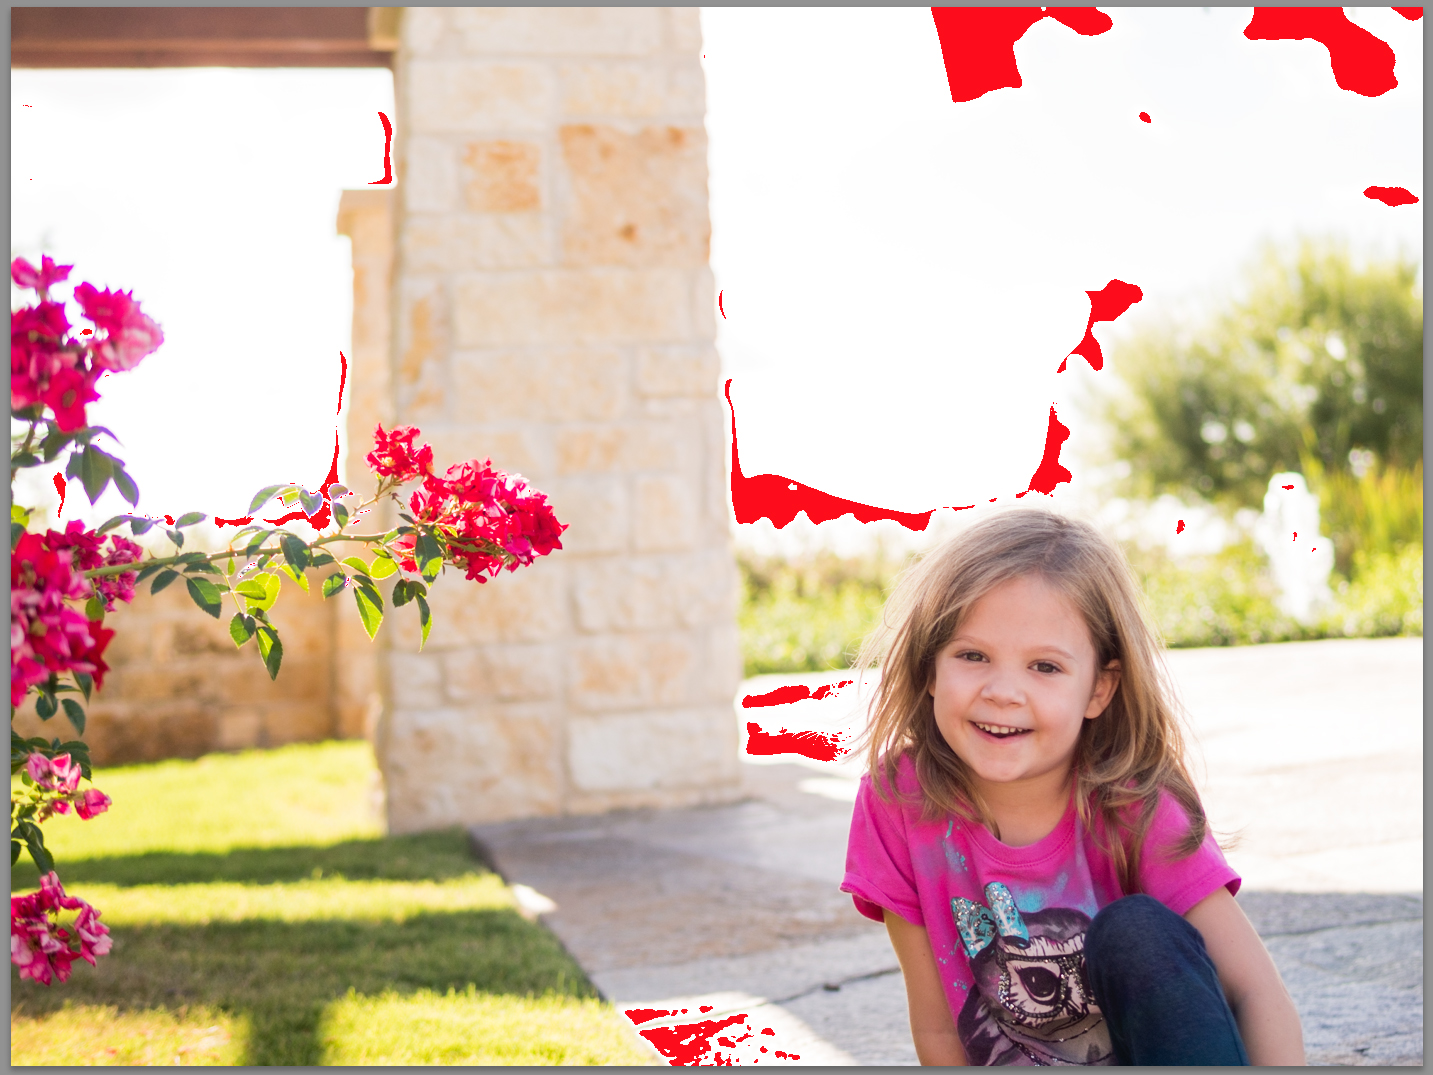
Regardless of which sliders you use, keep an eye on that red overlay as you reduce Highlights and/or Whites. For the image below, I moved Highlights to -100 and Whites to -59. Moving Whites farther than -59 gave the skin an unpleasant gray color. This is one of the reasons why I avoid using Whites if possible. There is much less red overlay appearing in the photo now.
To add additional highlight darkening, you can use the local adjustment brush. Brushing over the red overlay with Highlights turned down to -100 on the brush removed most of the remaining red. It’s important to know that you aren’t adding color back into the image here – you are just darkening the overly bright areas. In other words, I’m not replacing the white sky with blue, but I am making the bright sky less distracting.
If you have color channels that are blown out, trying using the Luminance sliders to correct them. This technique is great when the red channel of skin measures in the low to mid 90s%, or for skies that have some very light blue showing. It won’t help the photo used here, however, because the camera wasn’t able to capture any blue pixels in the sky.
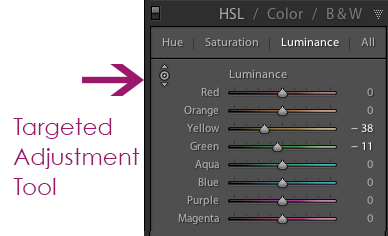
To darken the Luminance of a particular color, go to the Luminance tab of the HSL panel. Click on the targeted adjustment tool and click and drag down over the part of the photo that you want to darken. Lightroom will automatically select the appropriate color and adjust it. I used the target tool to click on the bright area of grass in the background. Dragging down darkened the yellow and green channels like this:
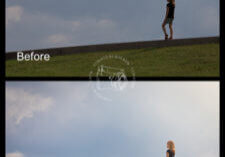
You can see my final before and after here. Although the sky is very bright, you can see the slightest bit of detail in some areas of the clouds now. And the grass looks better too.
Erin Peloquin is Lightroom & Photoshop Elements instructor – and teaches private and group classes at MCP Actions. She also helps MCP create great editing tools for Lightroom & Elements. Her portfolio is at Time in a Camera.

