Featured Products
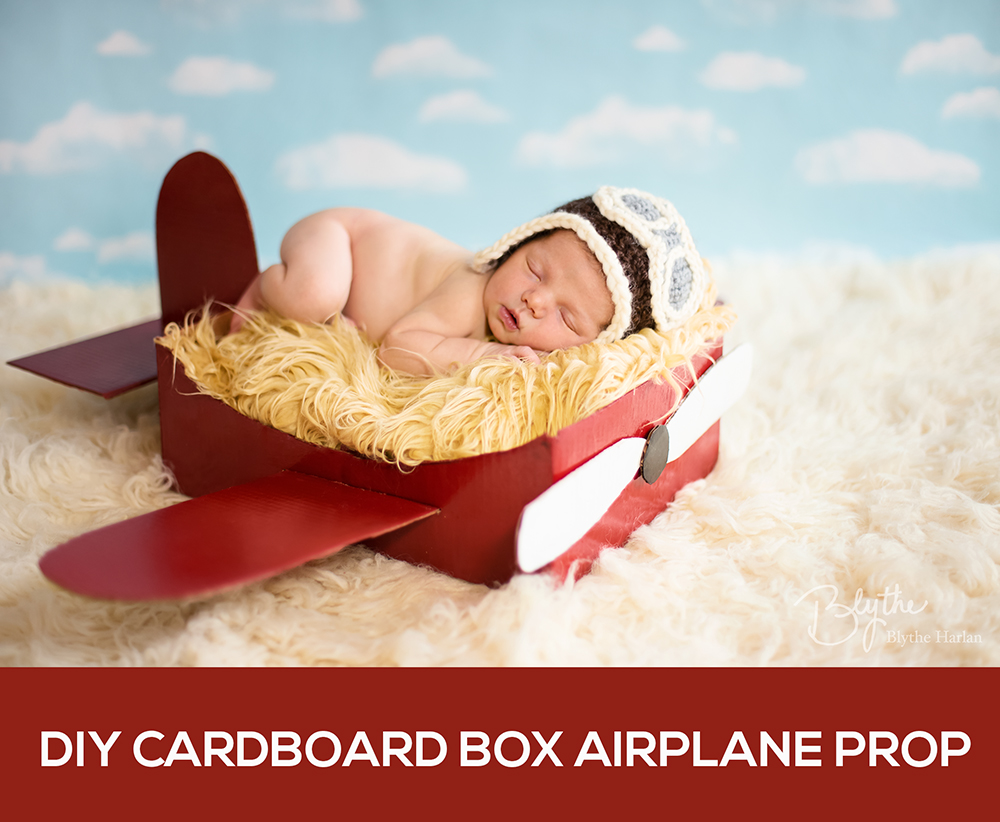
As a hobbyist photographer, I love taking those sweet posed newborn pictures for my friends and family whenever a new bundle of joy arrives. However, I don’t always have the money to spend on all the adorable props I want. The solution, DIY (do it yourself) props.
My most recent DIY is this fun airplane prop made out of a cardboard box.
The idea came from Repeat Crafter Me — and showed how to make a cardboard plane for kids to play in. I took this idea one step further by painting it, using hot glue instead of tape and securing the wings to create a newborn photography prop. Follow these step-by-step instructions to make your own airplane photography prop.
What You Will Need:
- A small cardboard box (I used a box that was 13″ long, 11″ wide, and 5″ deep)
- Large crafting scissors or a box cutter
- A hot glue gun with glue
- Paint (I used Rustoleum brand spray paint that I already had)
- A tarp or trash bag to paint on
- A marker or pen
Step 1:
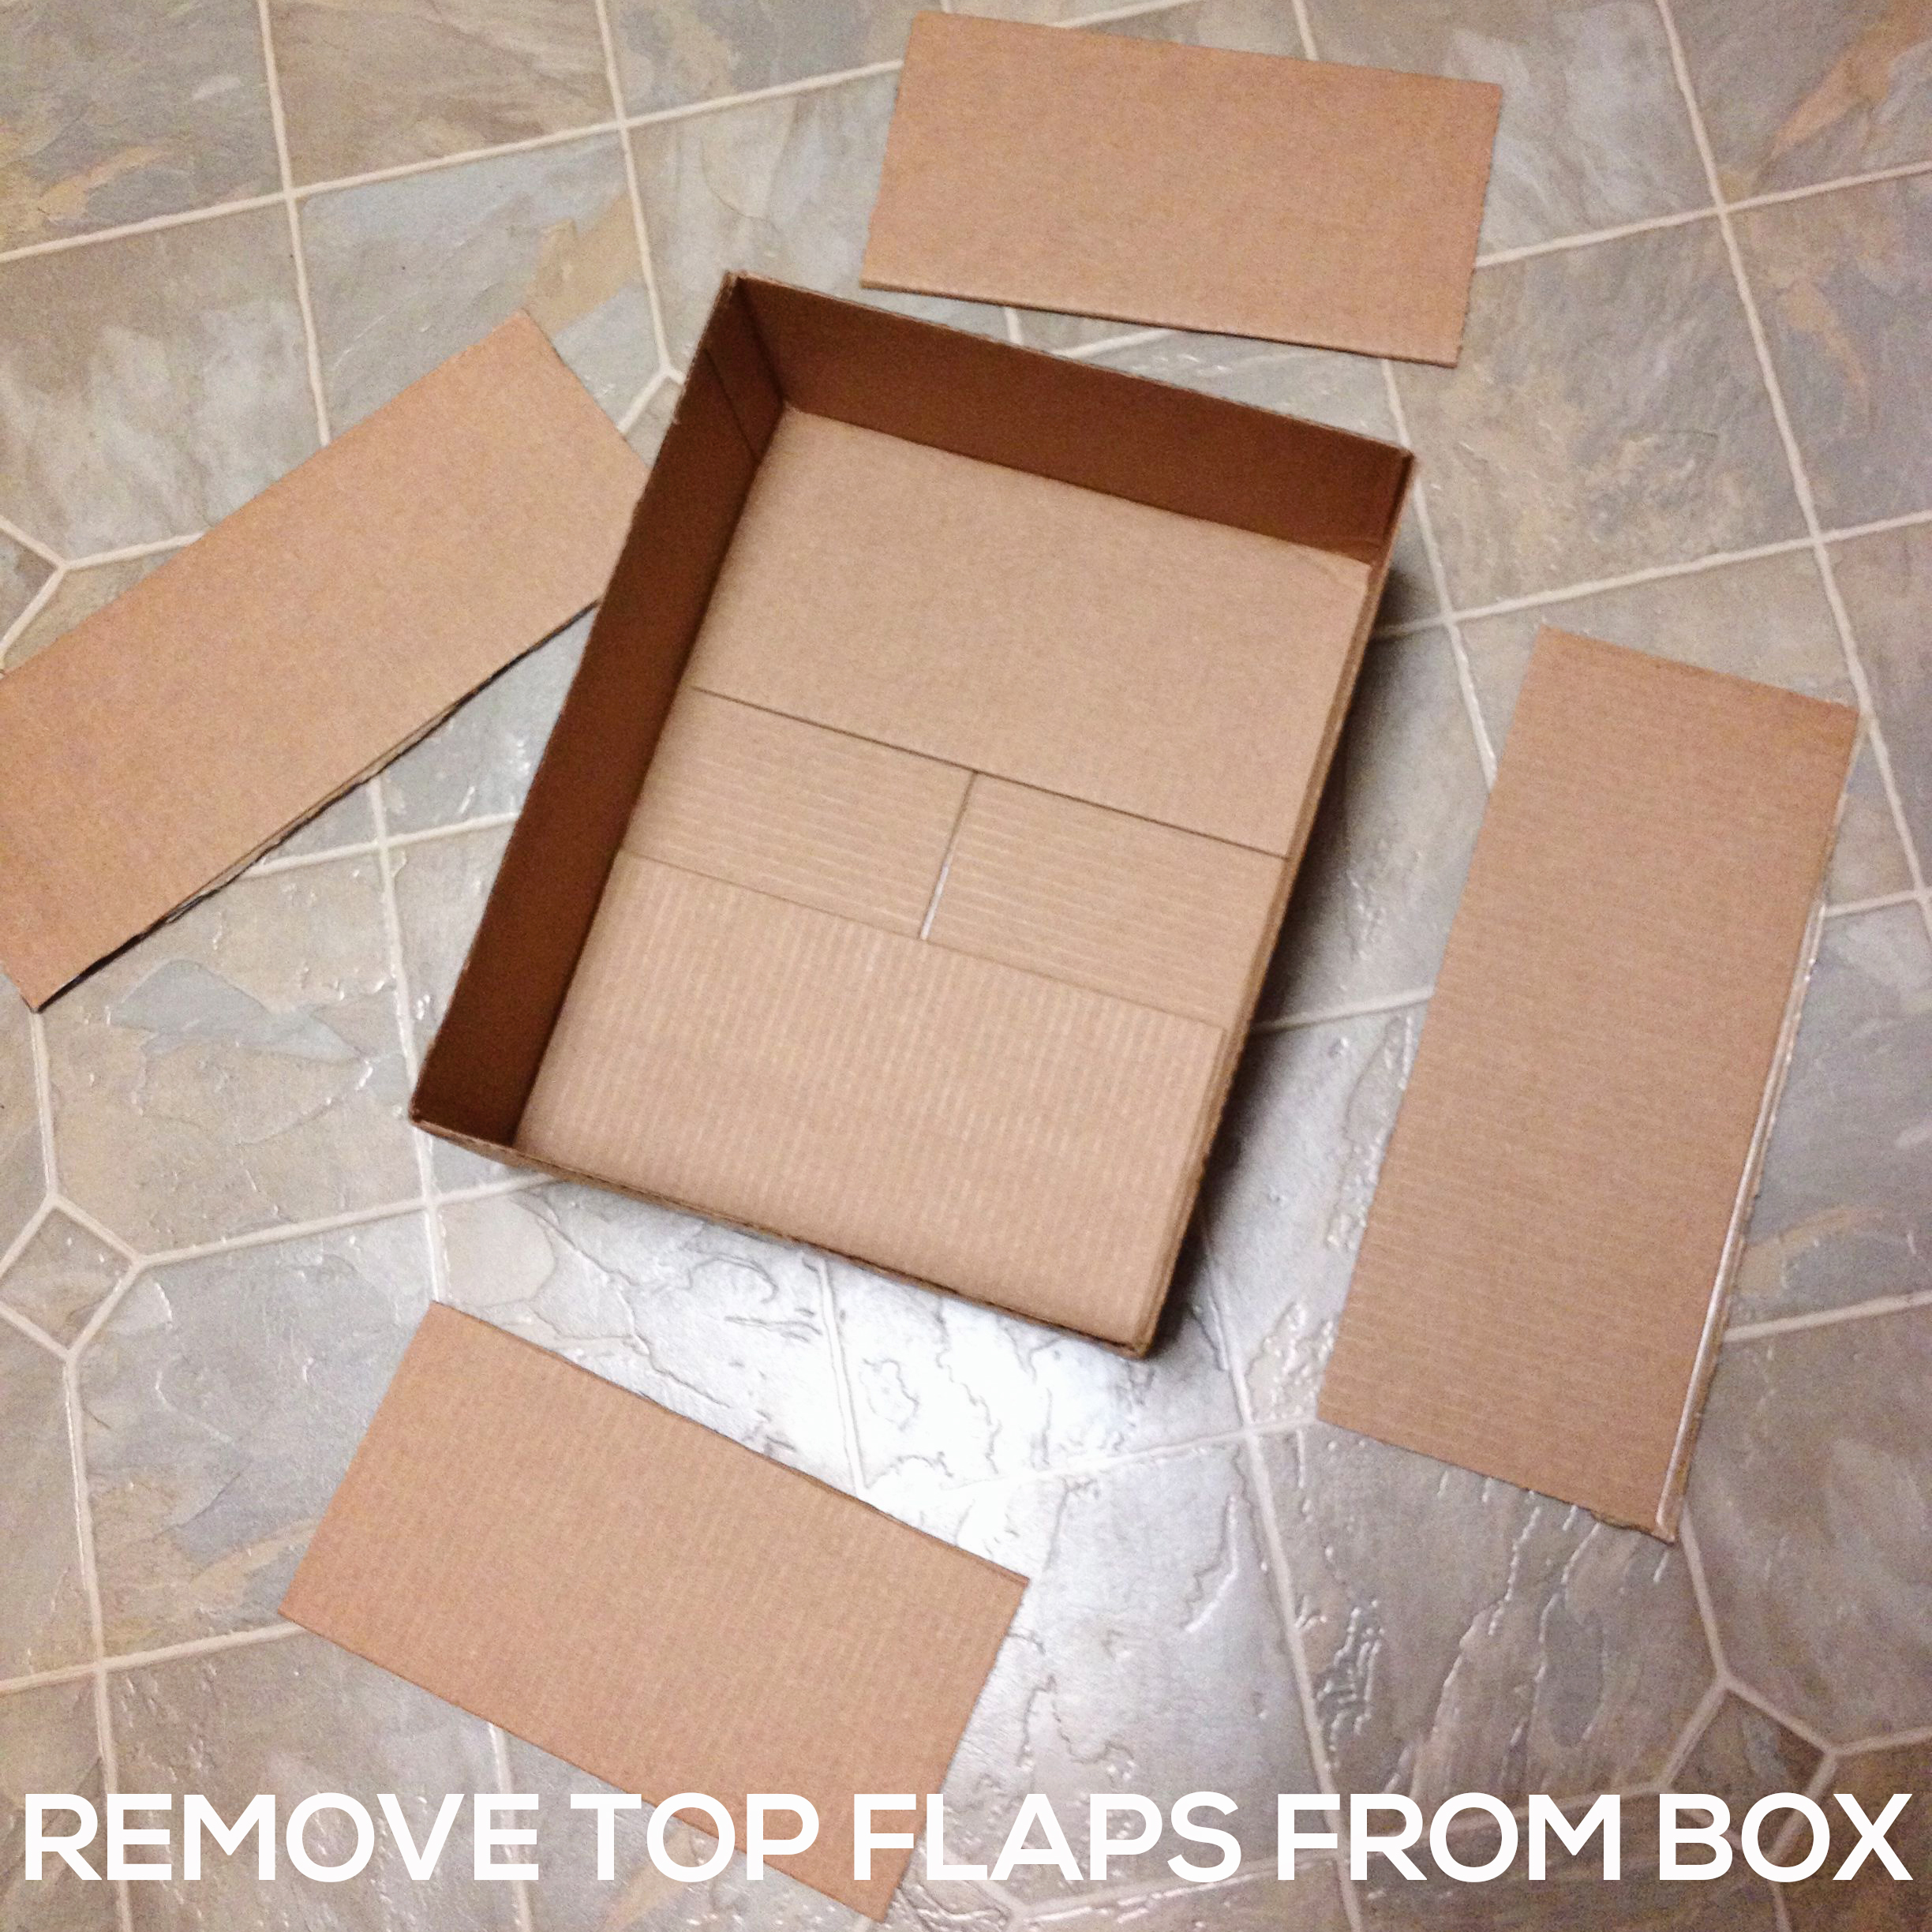
Remove all four flaps from the open side of your box.
Step 2:
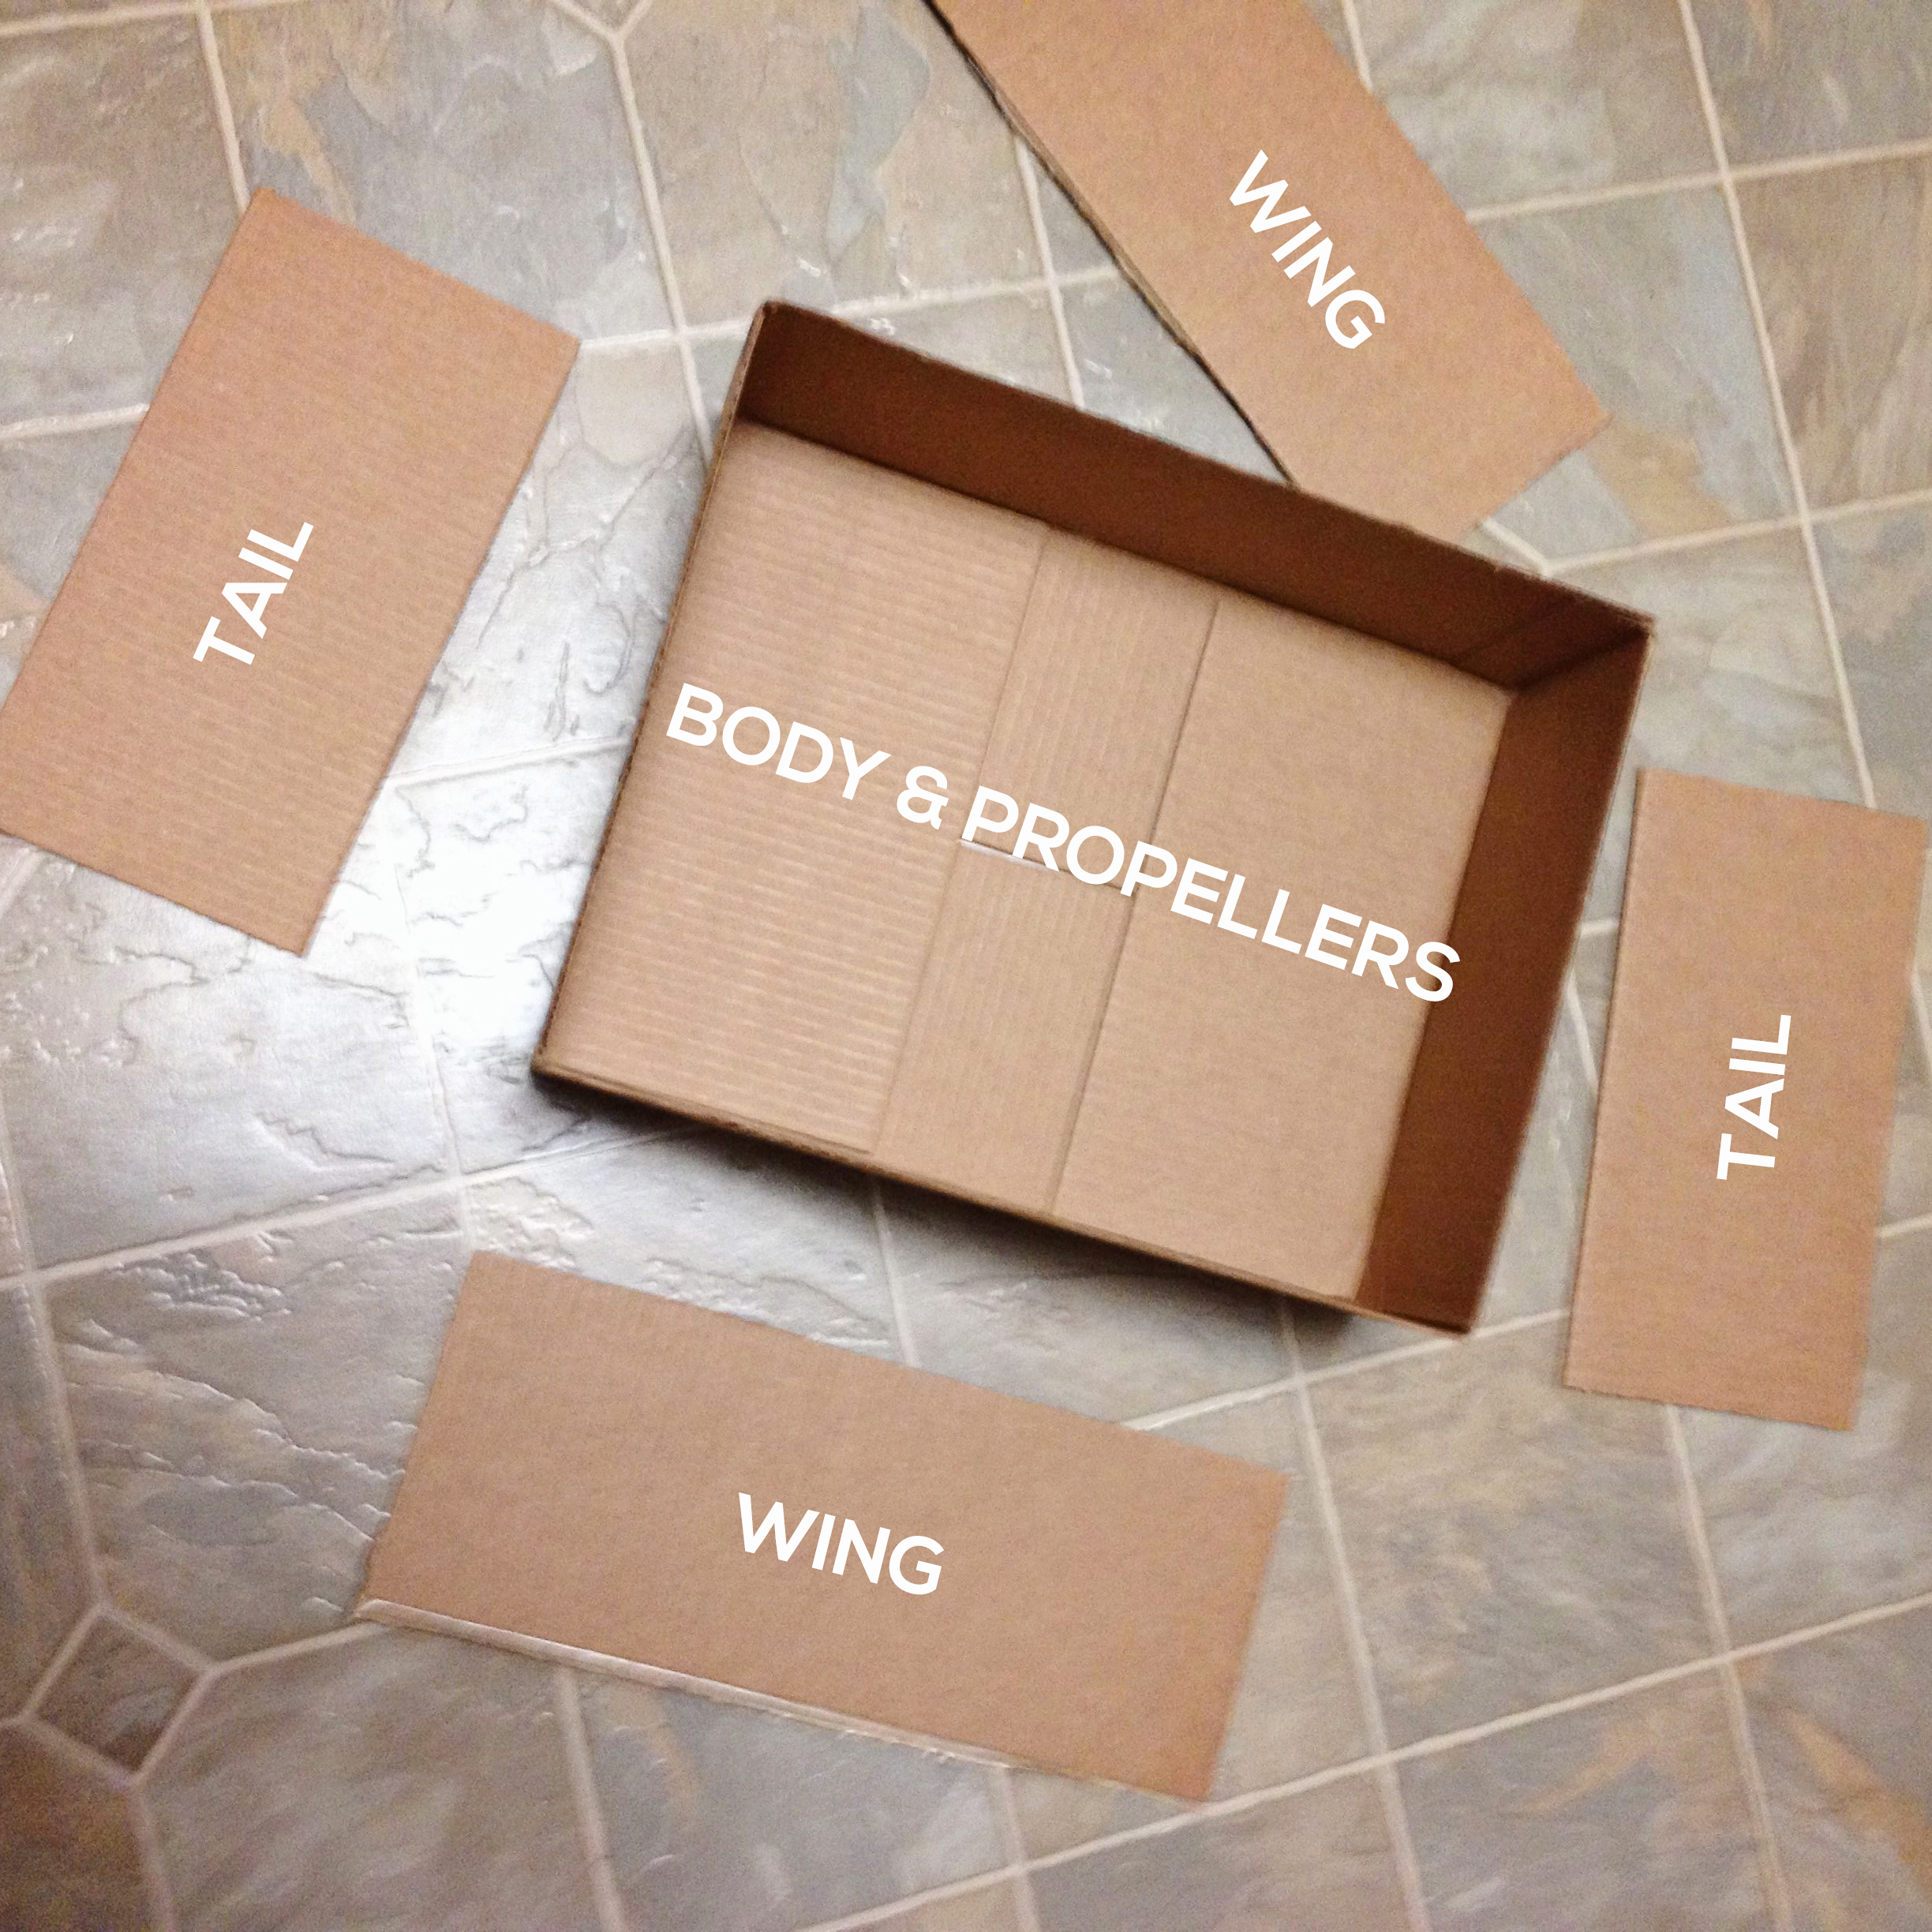
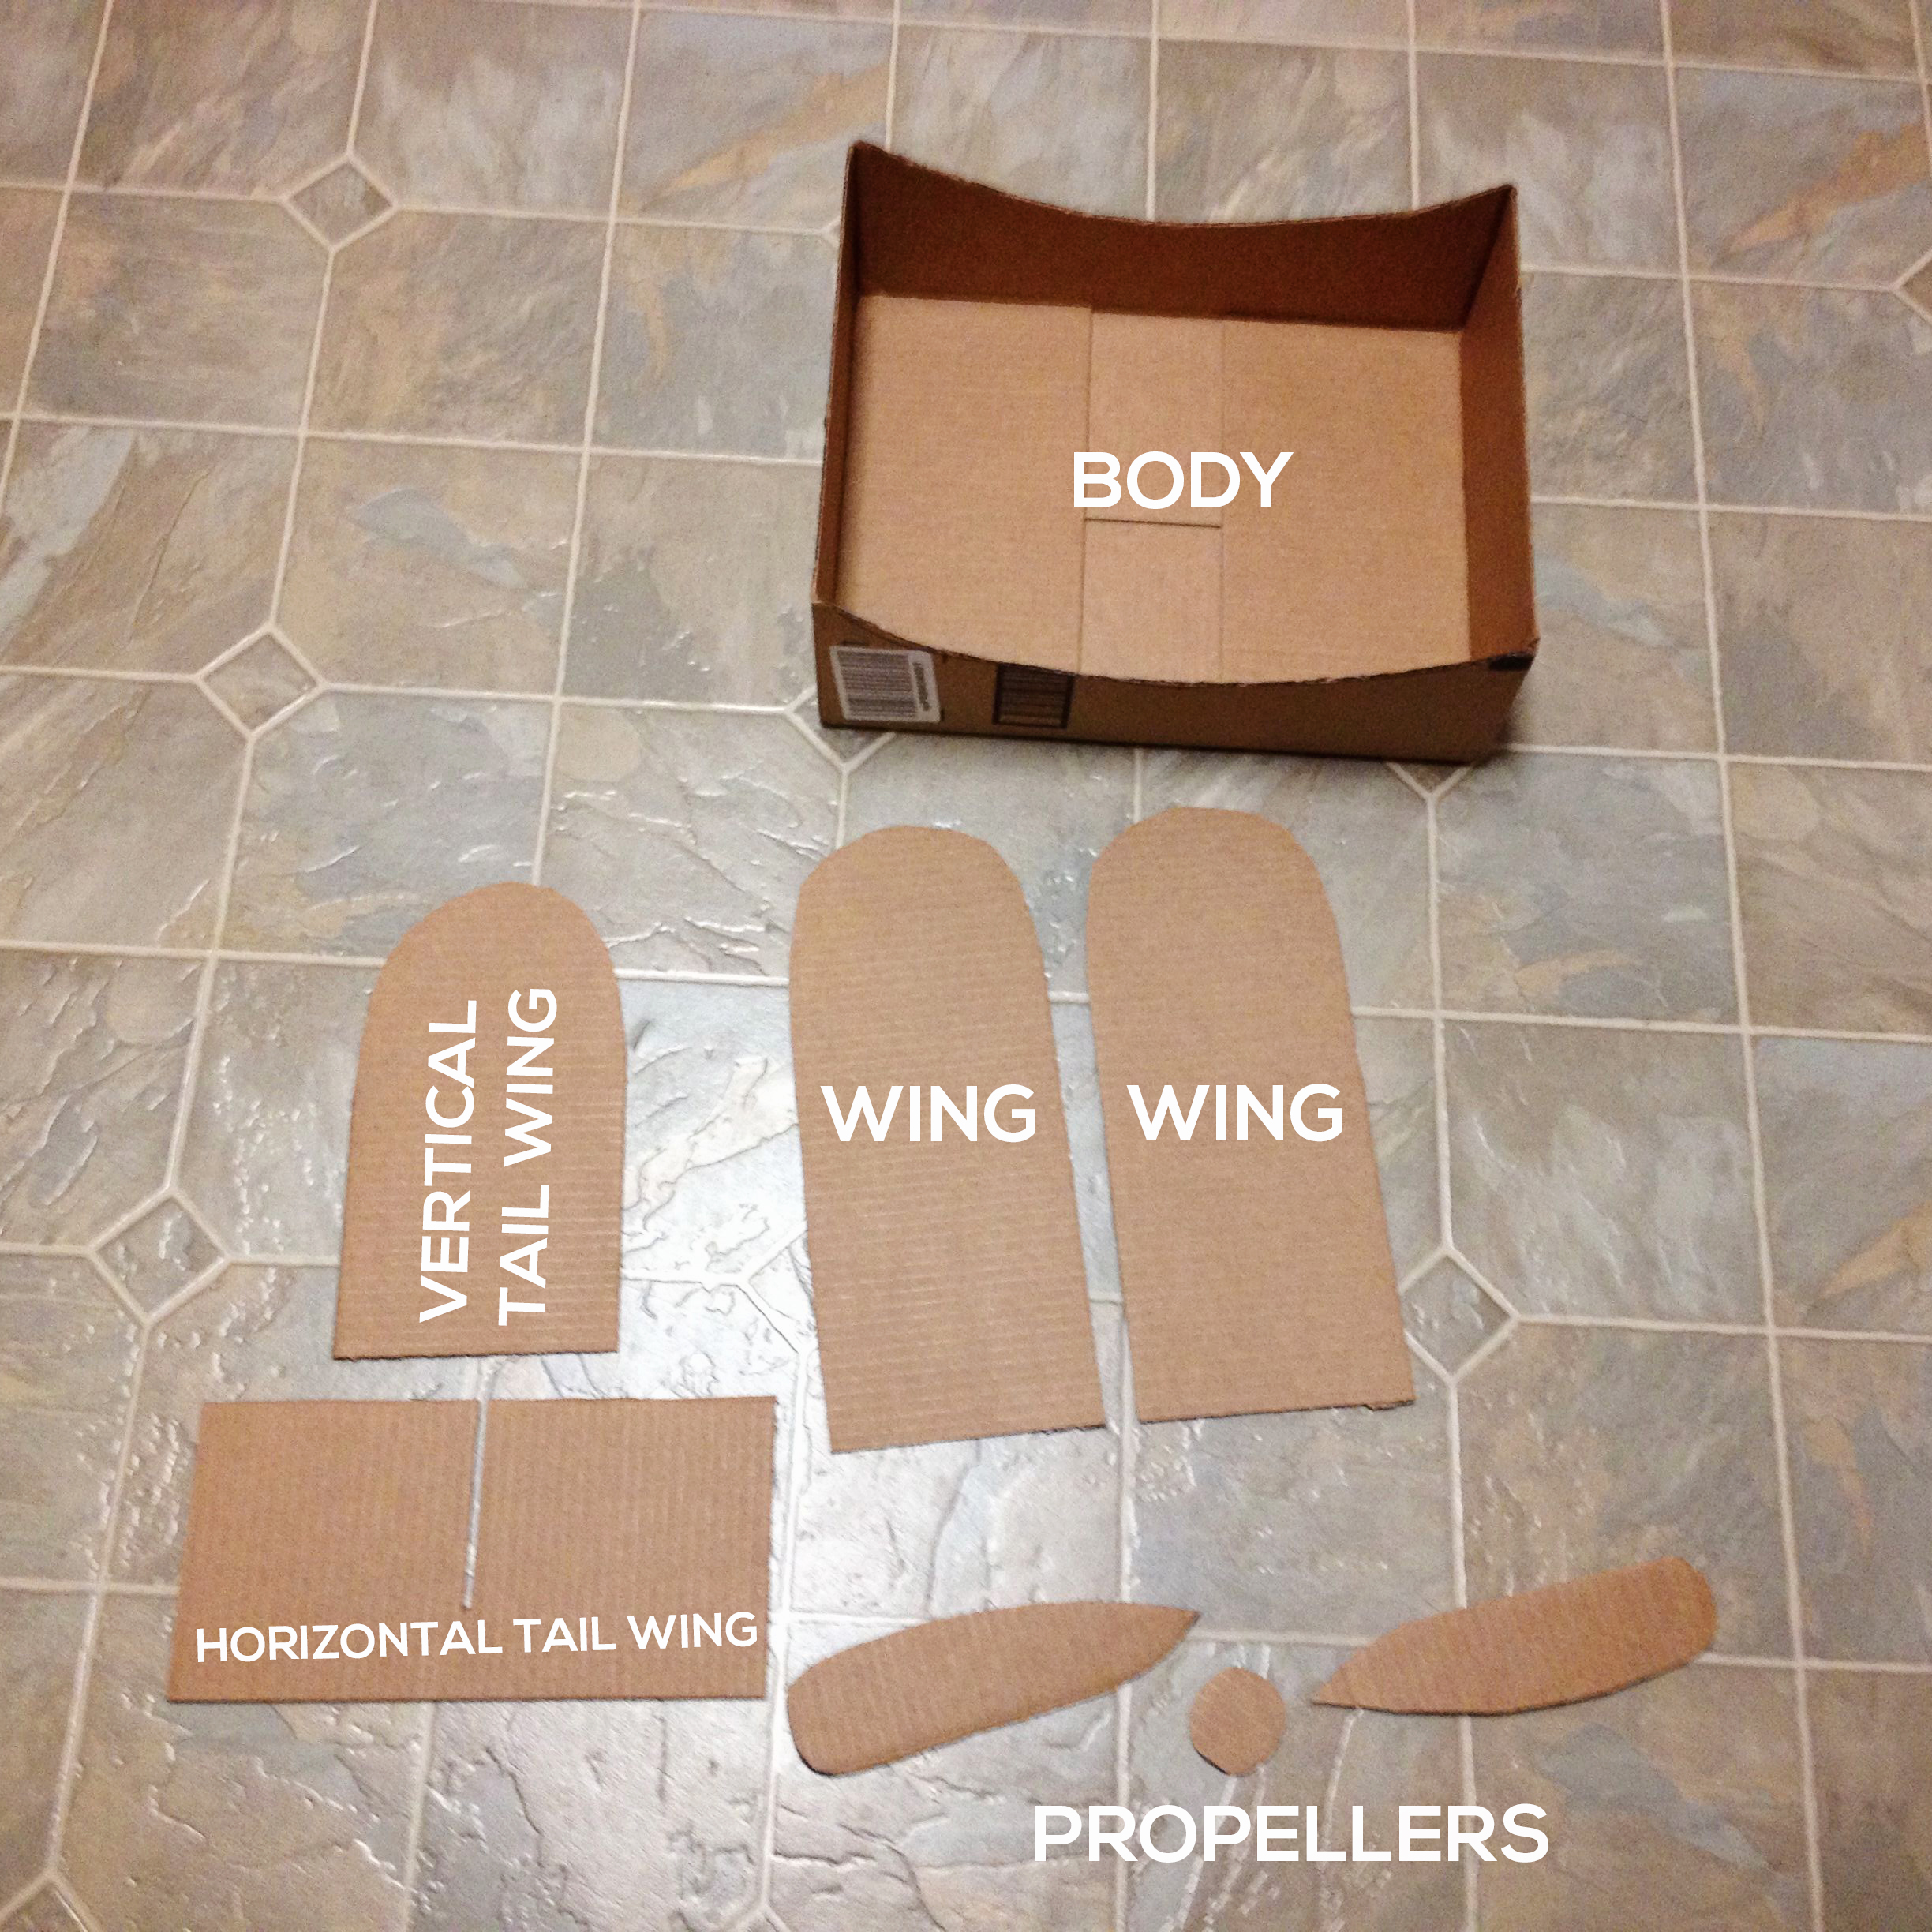
Sort your flaps according to what part of the plane they will become.
Step 3:
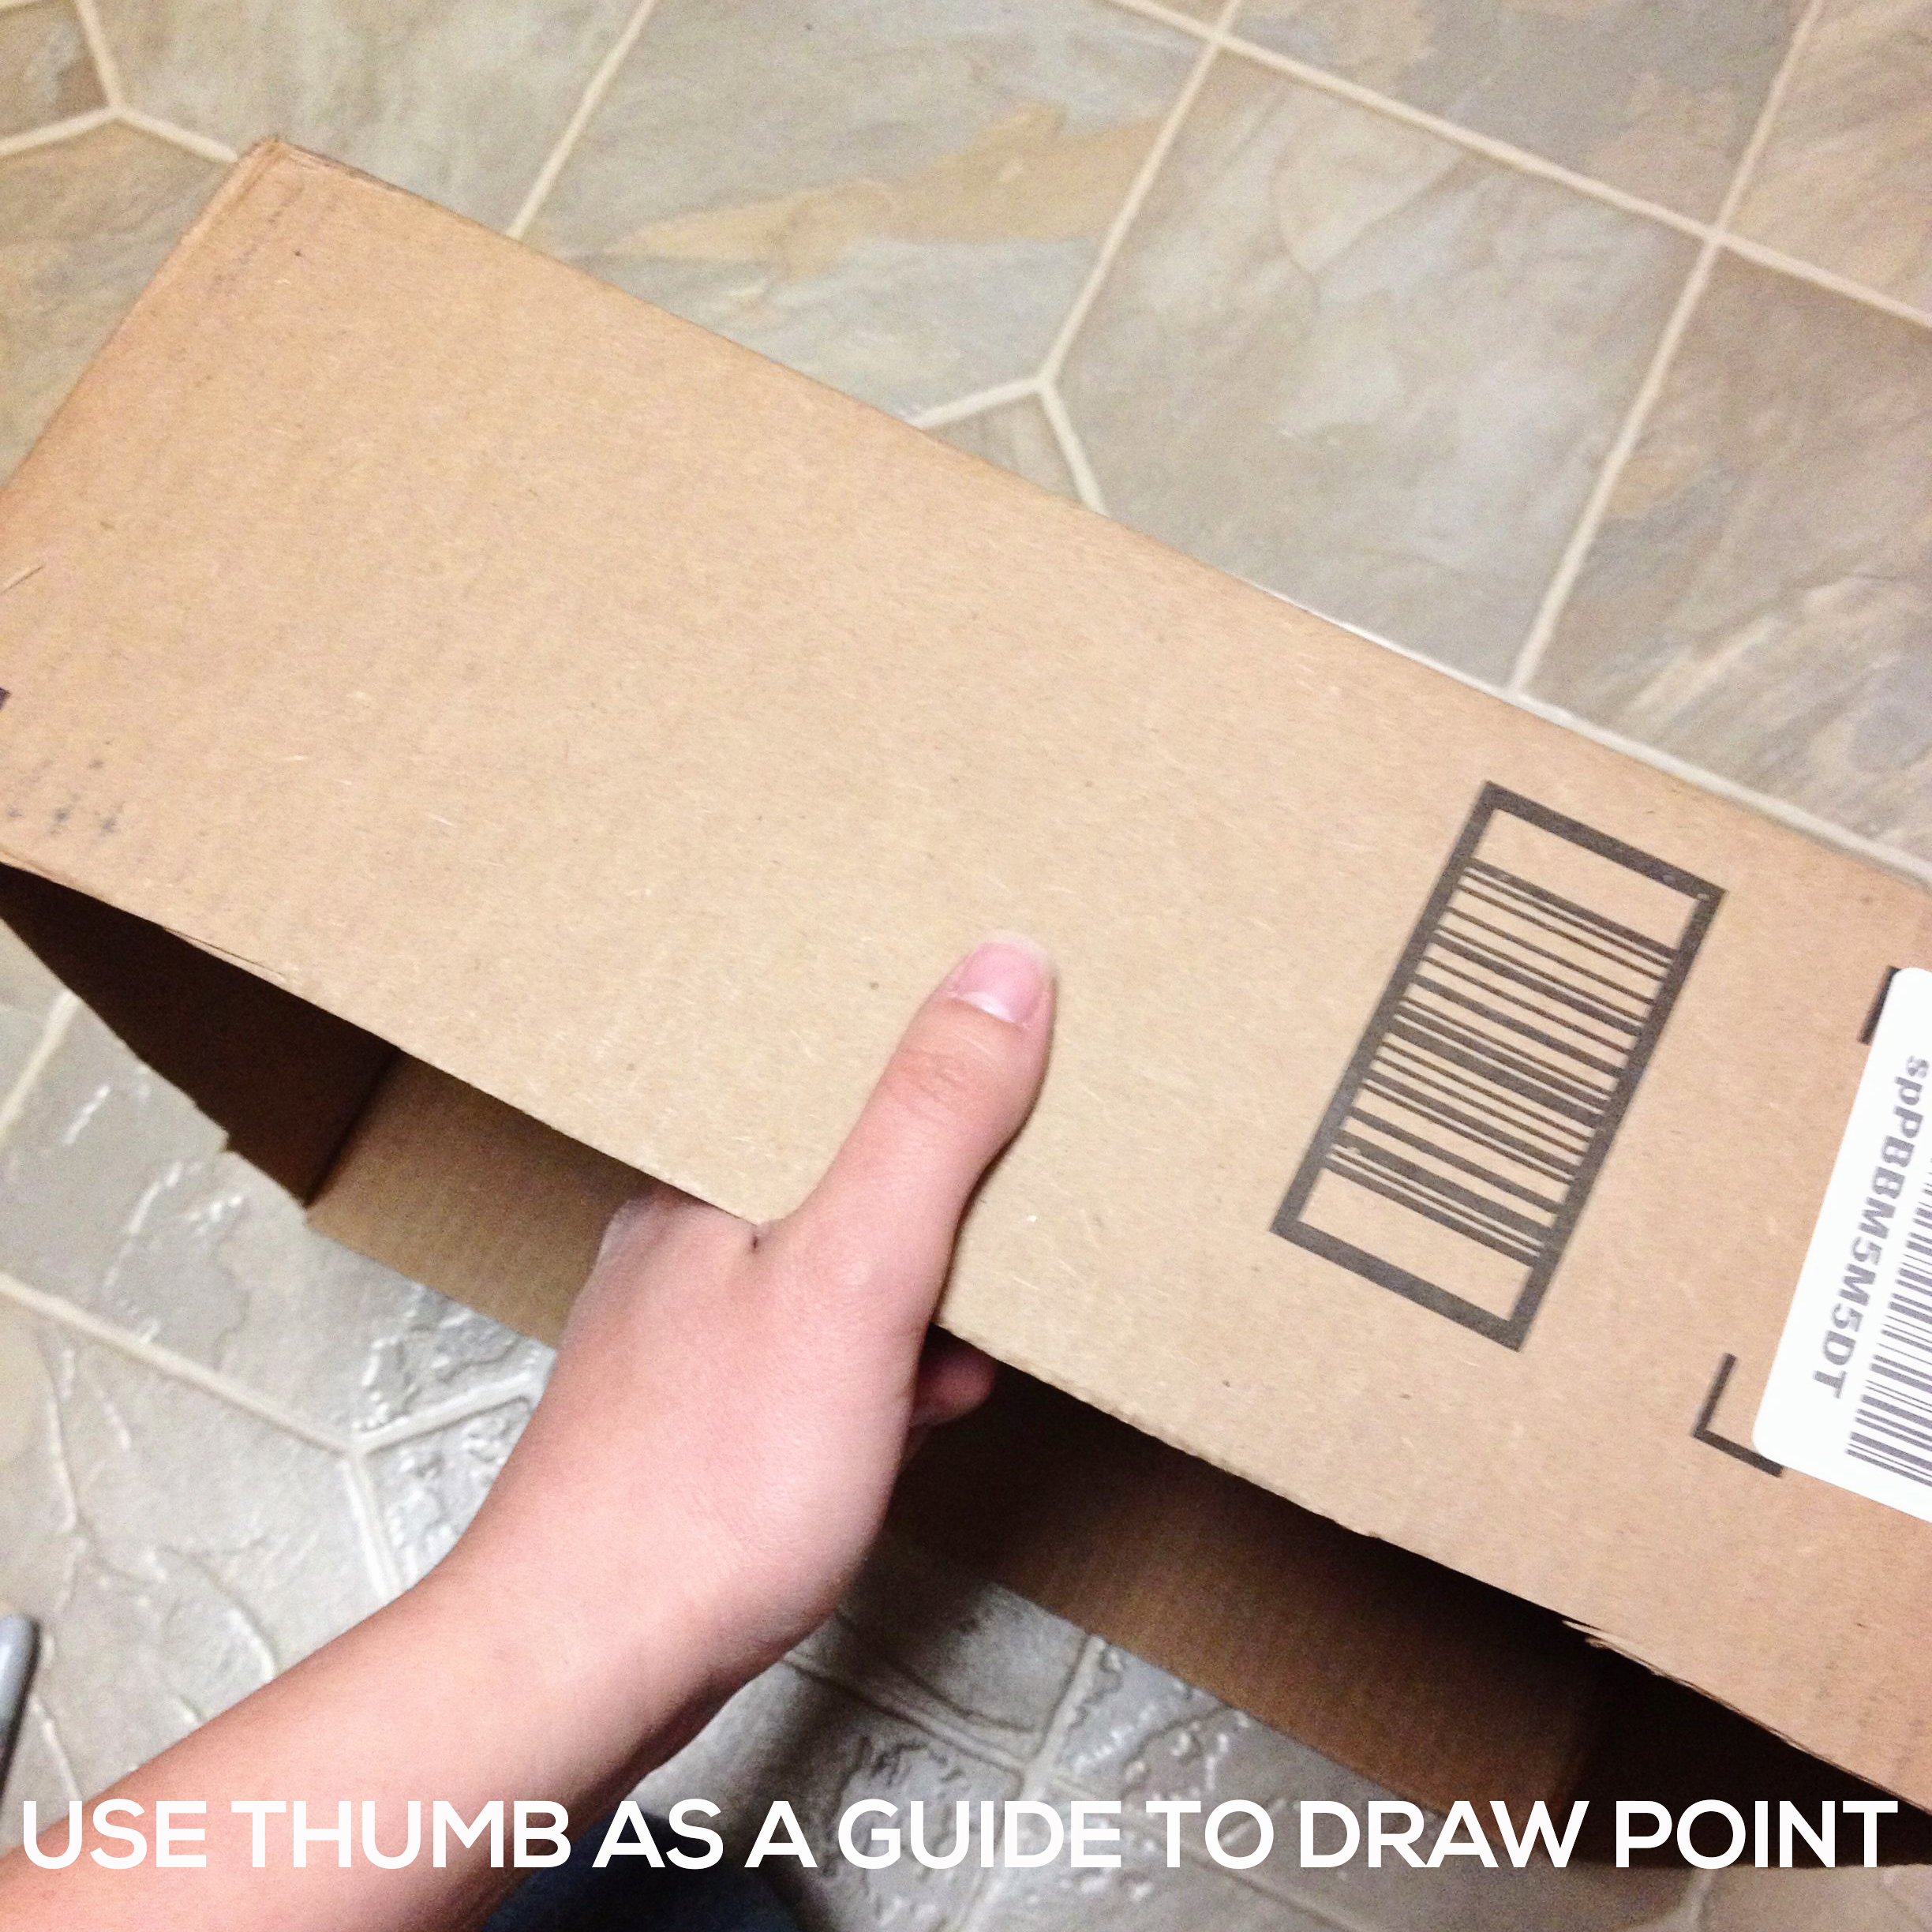
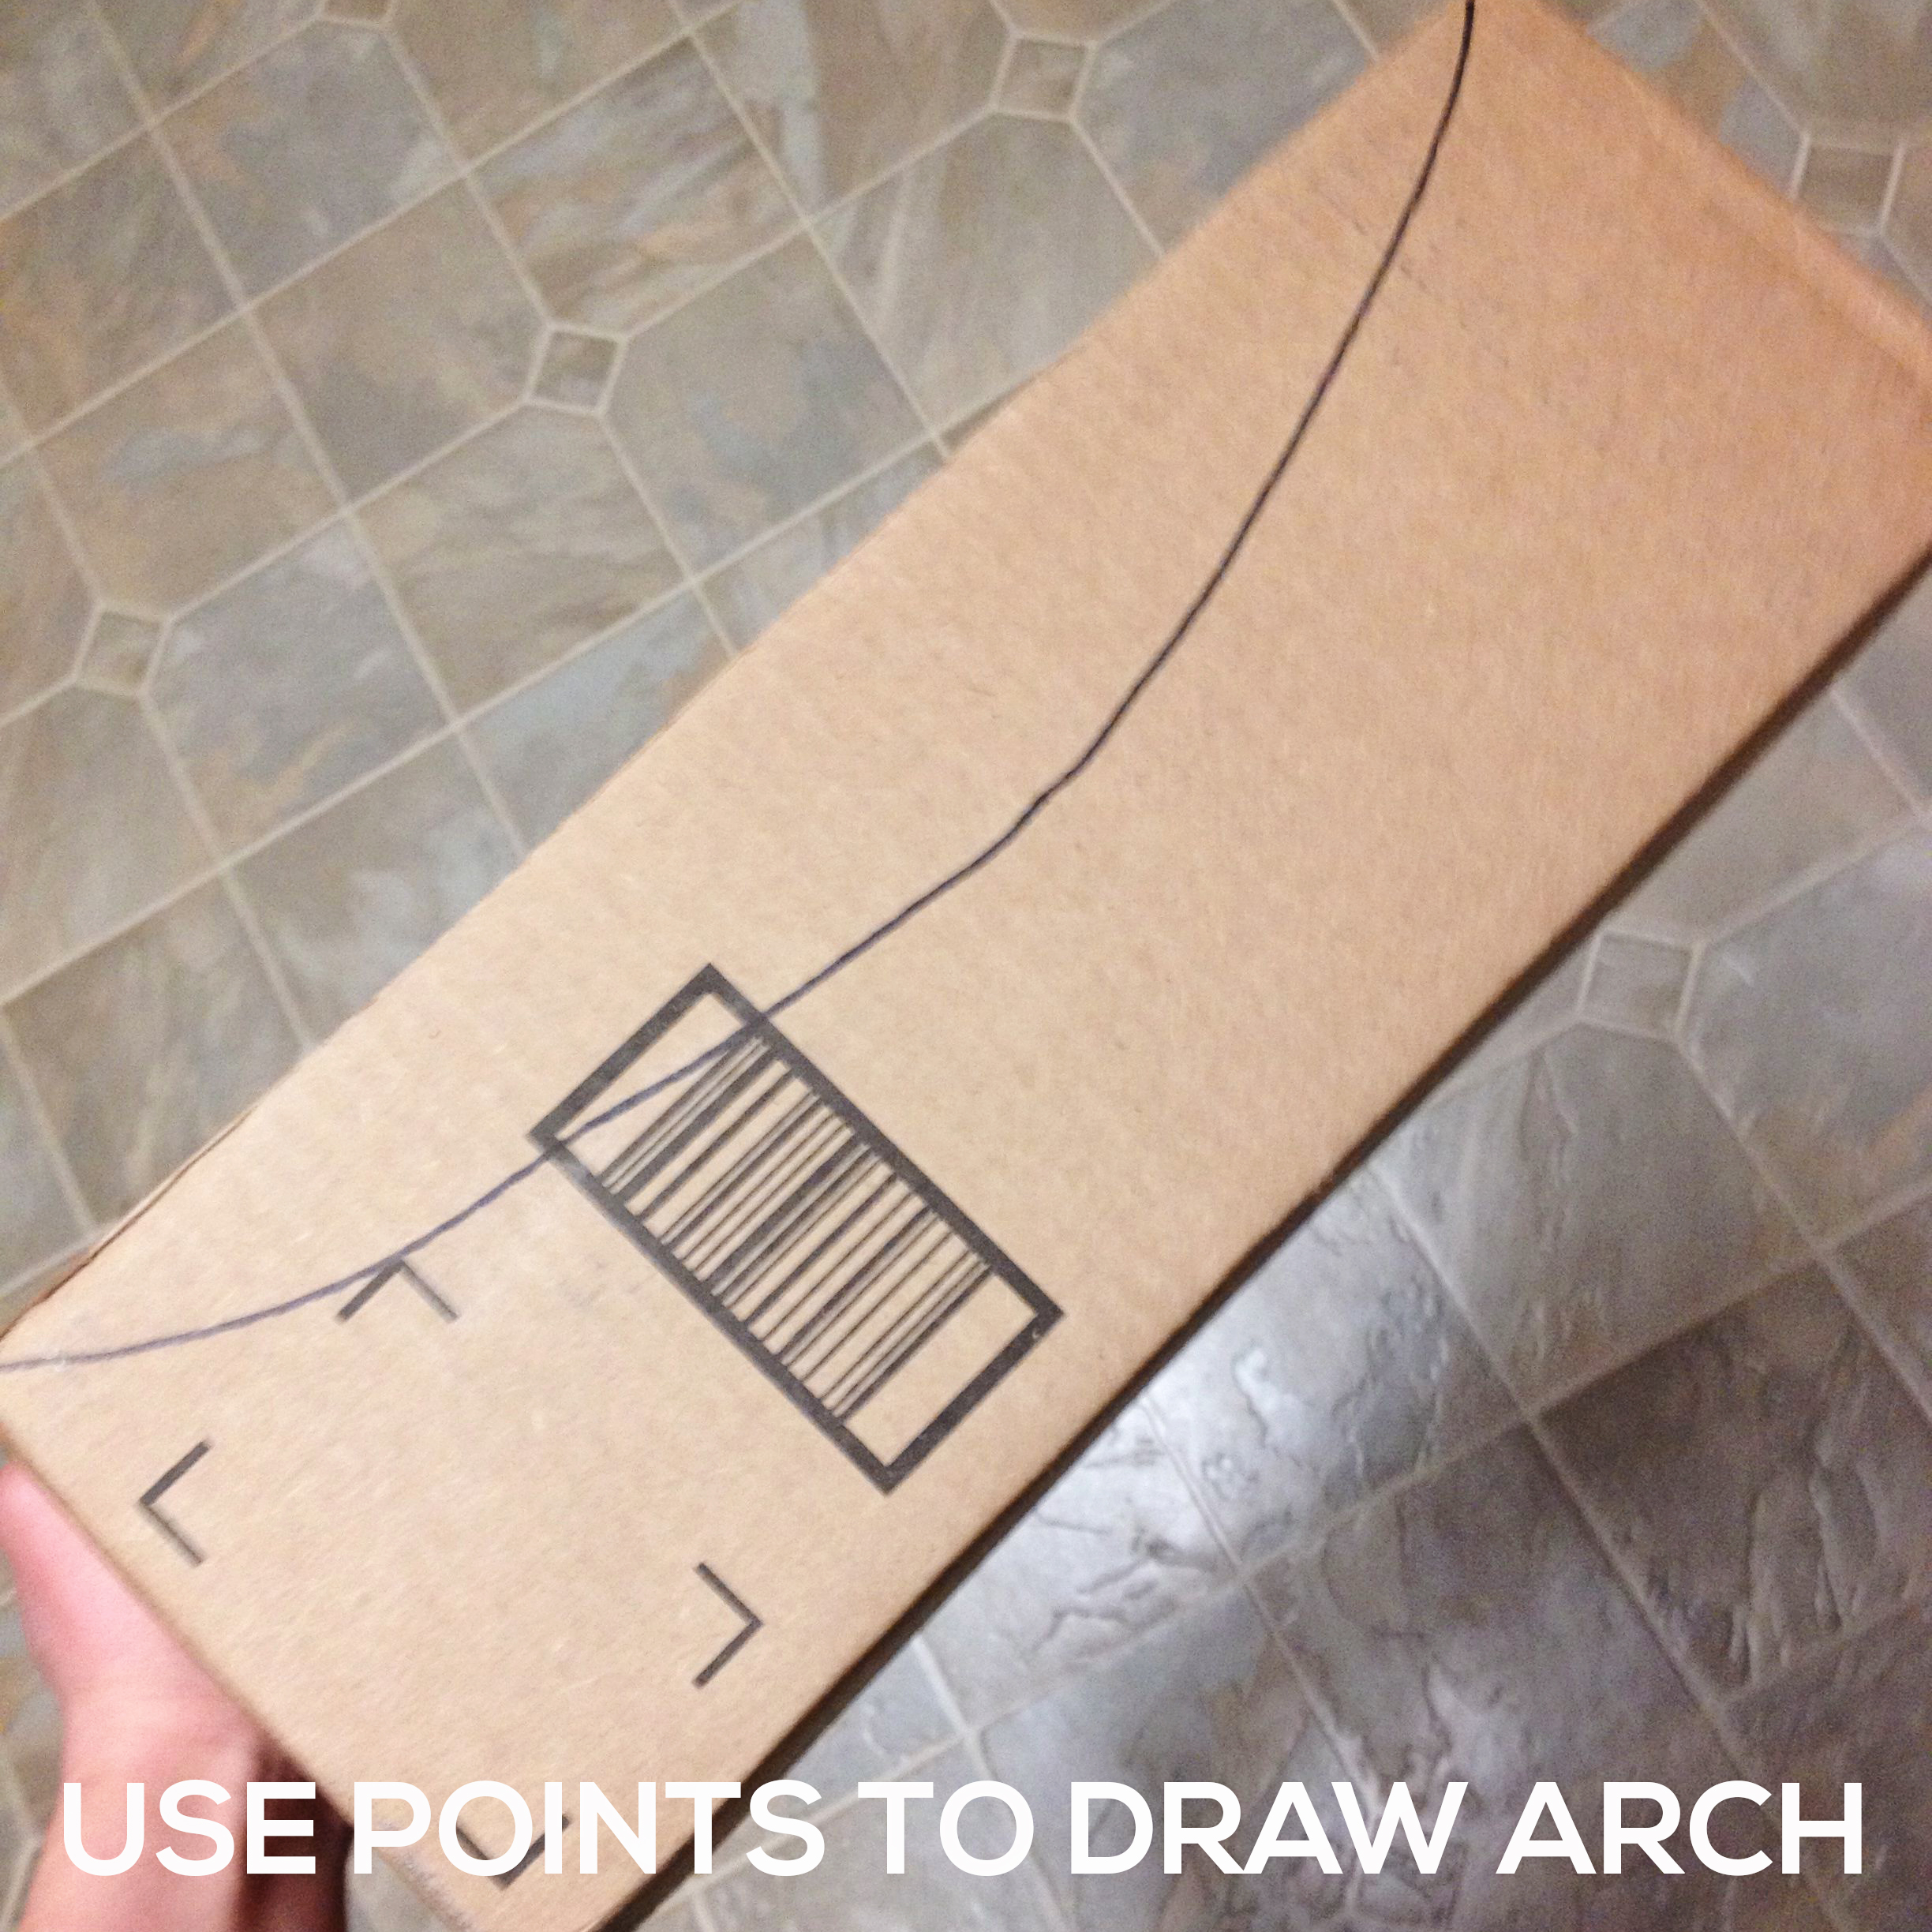
On the long side of the “body” of your box, use your thumb as a guide to mark a point at thumb’s length in the approximate center. Then use that point to draw an arch from corner to corner.
Step 4:
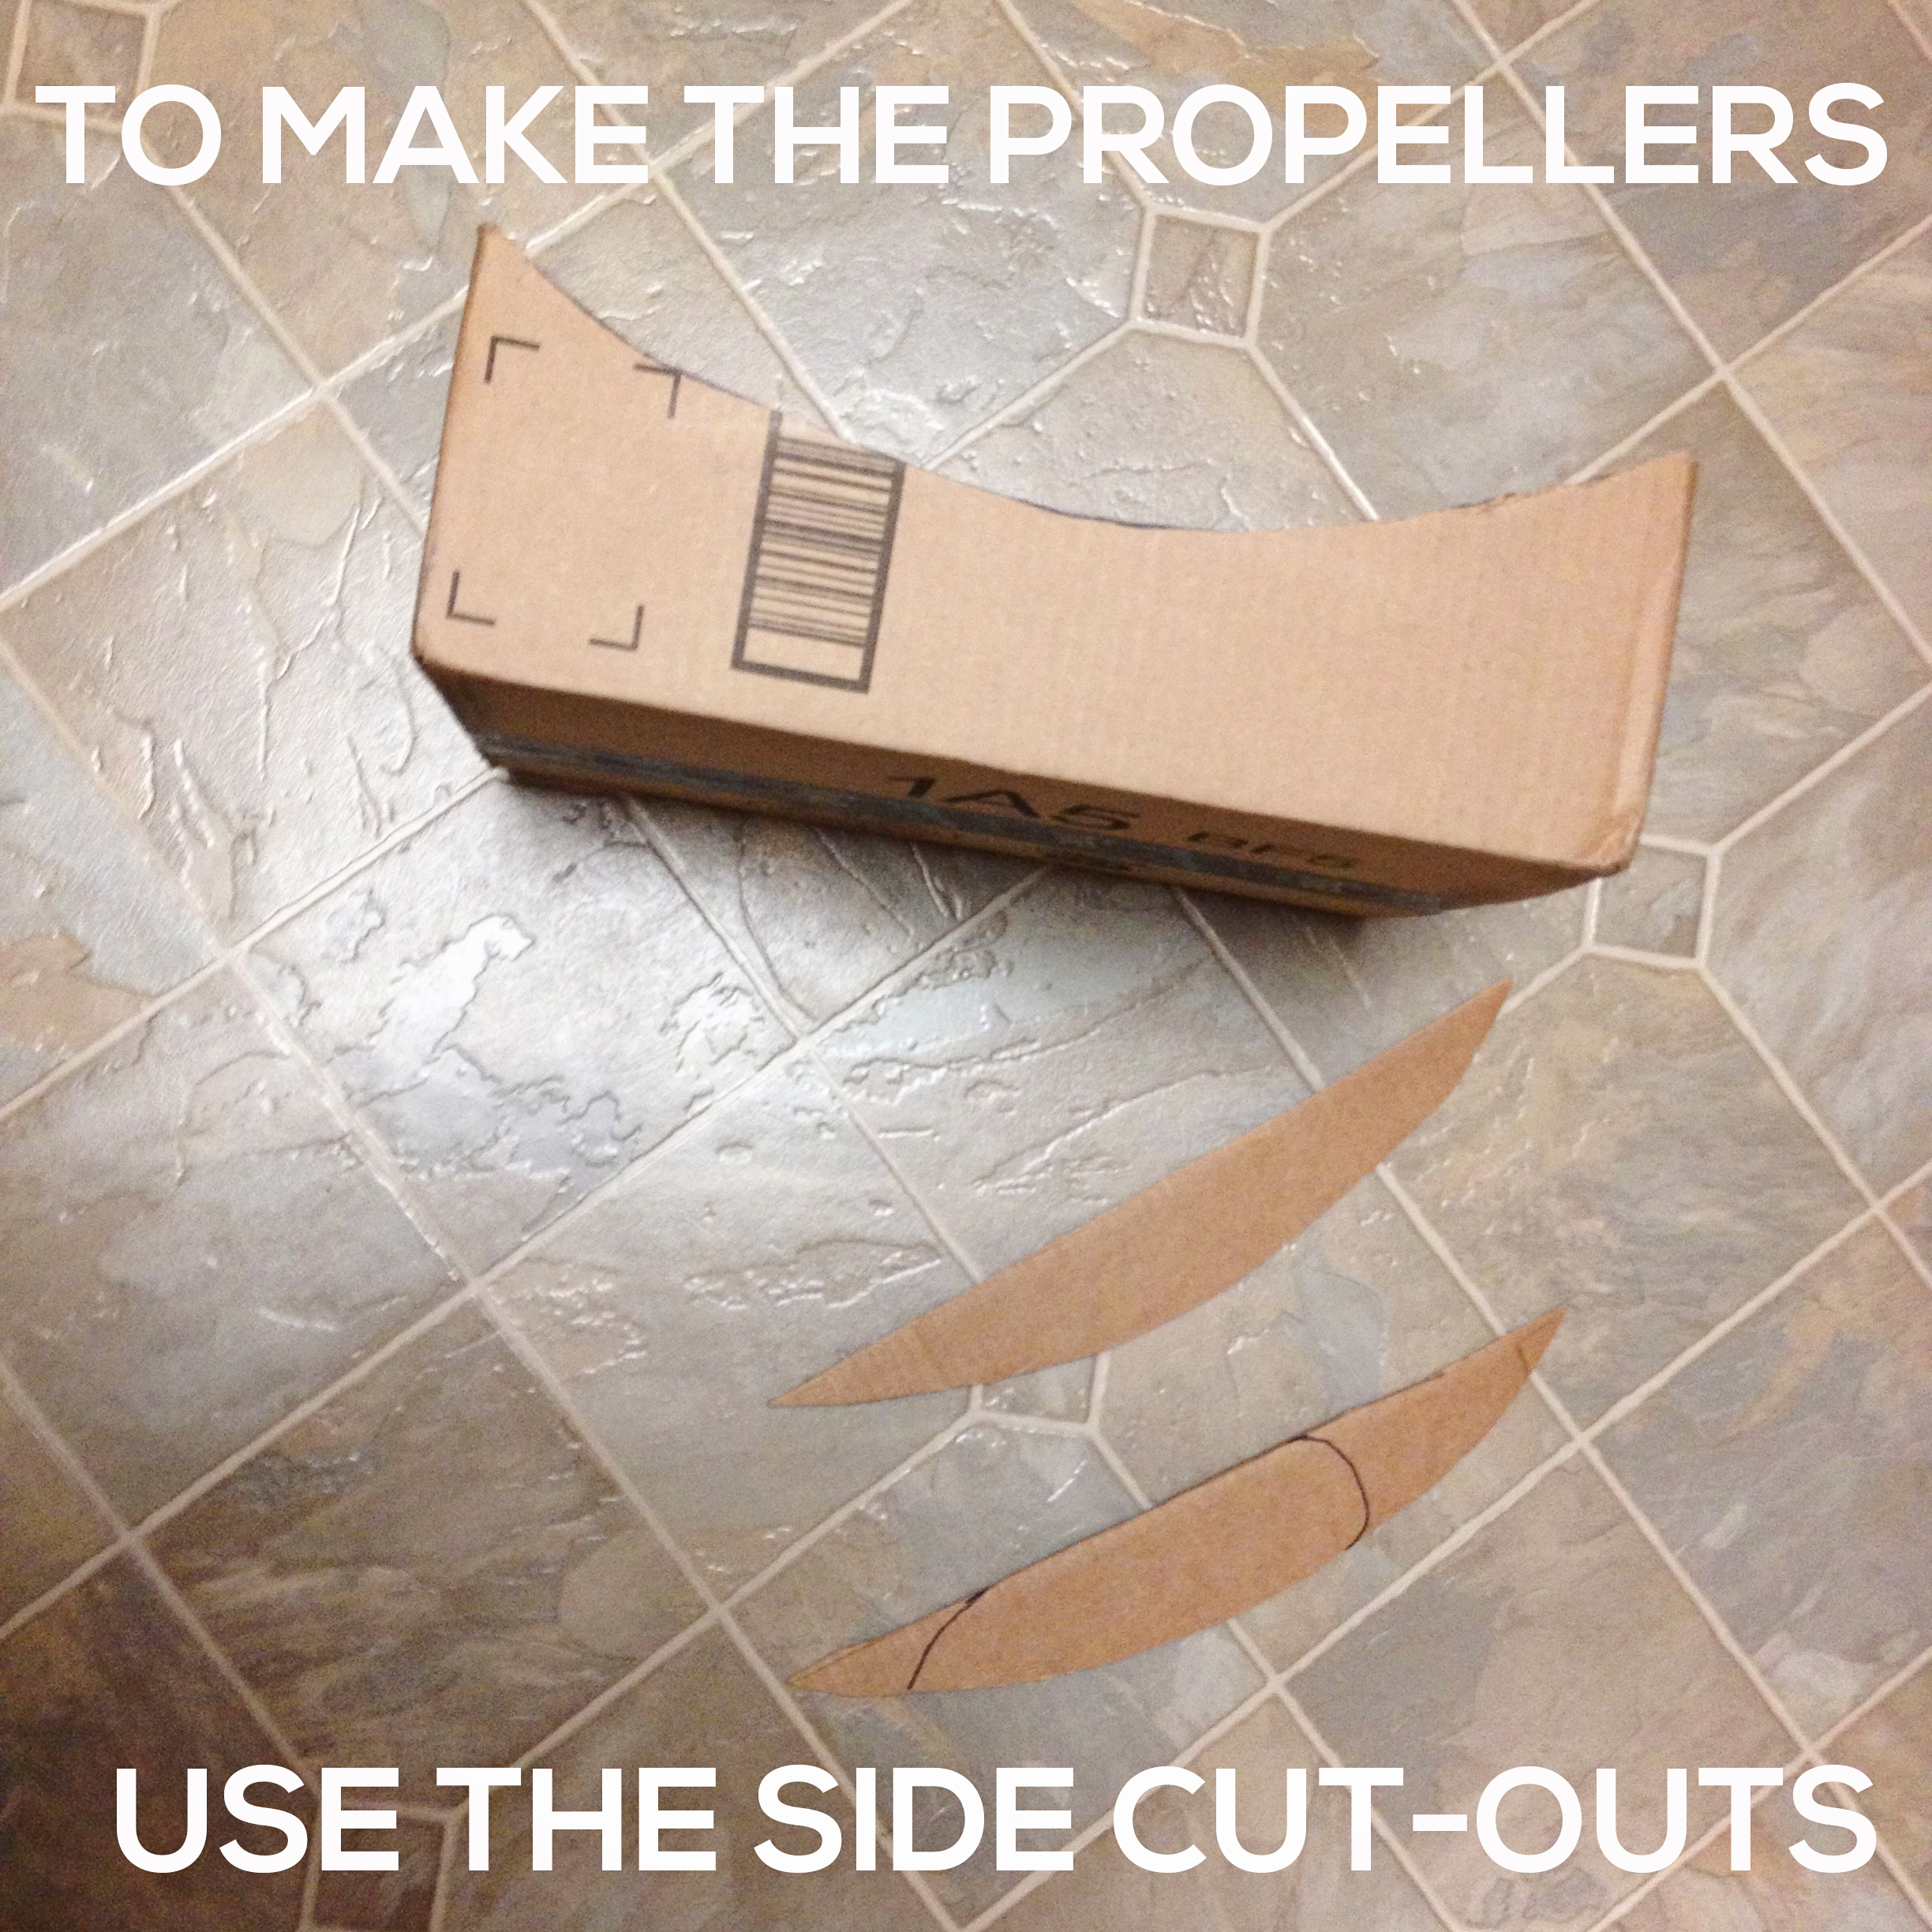
Cut out the arch and use it as a stencil to trace the same arch on the other long side of the box body. Cut out the second arch as well. Now, you will use the cut-outs from the arches to create the propellers. With your marker, draw an elongated tear drop shape on one cut-out, then trace it to the other and cut both out. After cutting out your propellers, use a bit of scrap from the cut-outs and cut out a small circle to use as the piece that will connect your propellers once attached.
Step 5:
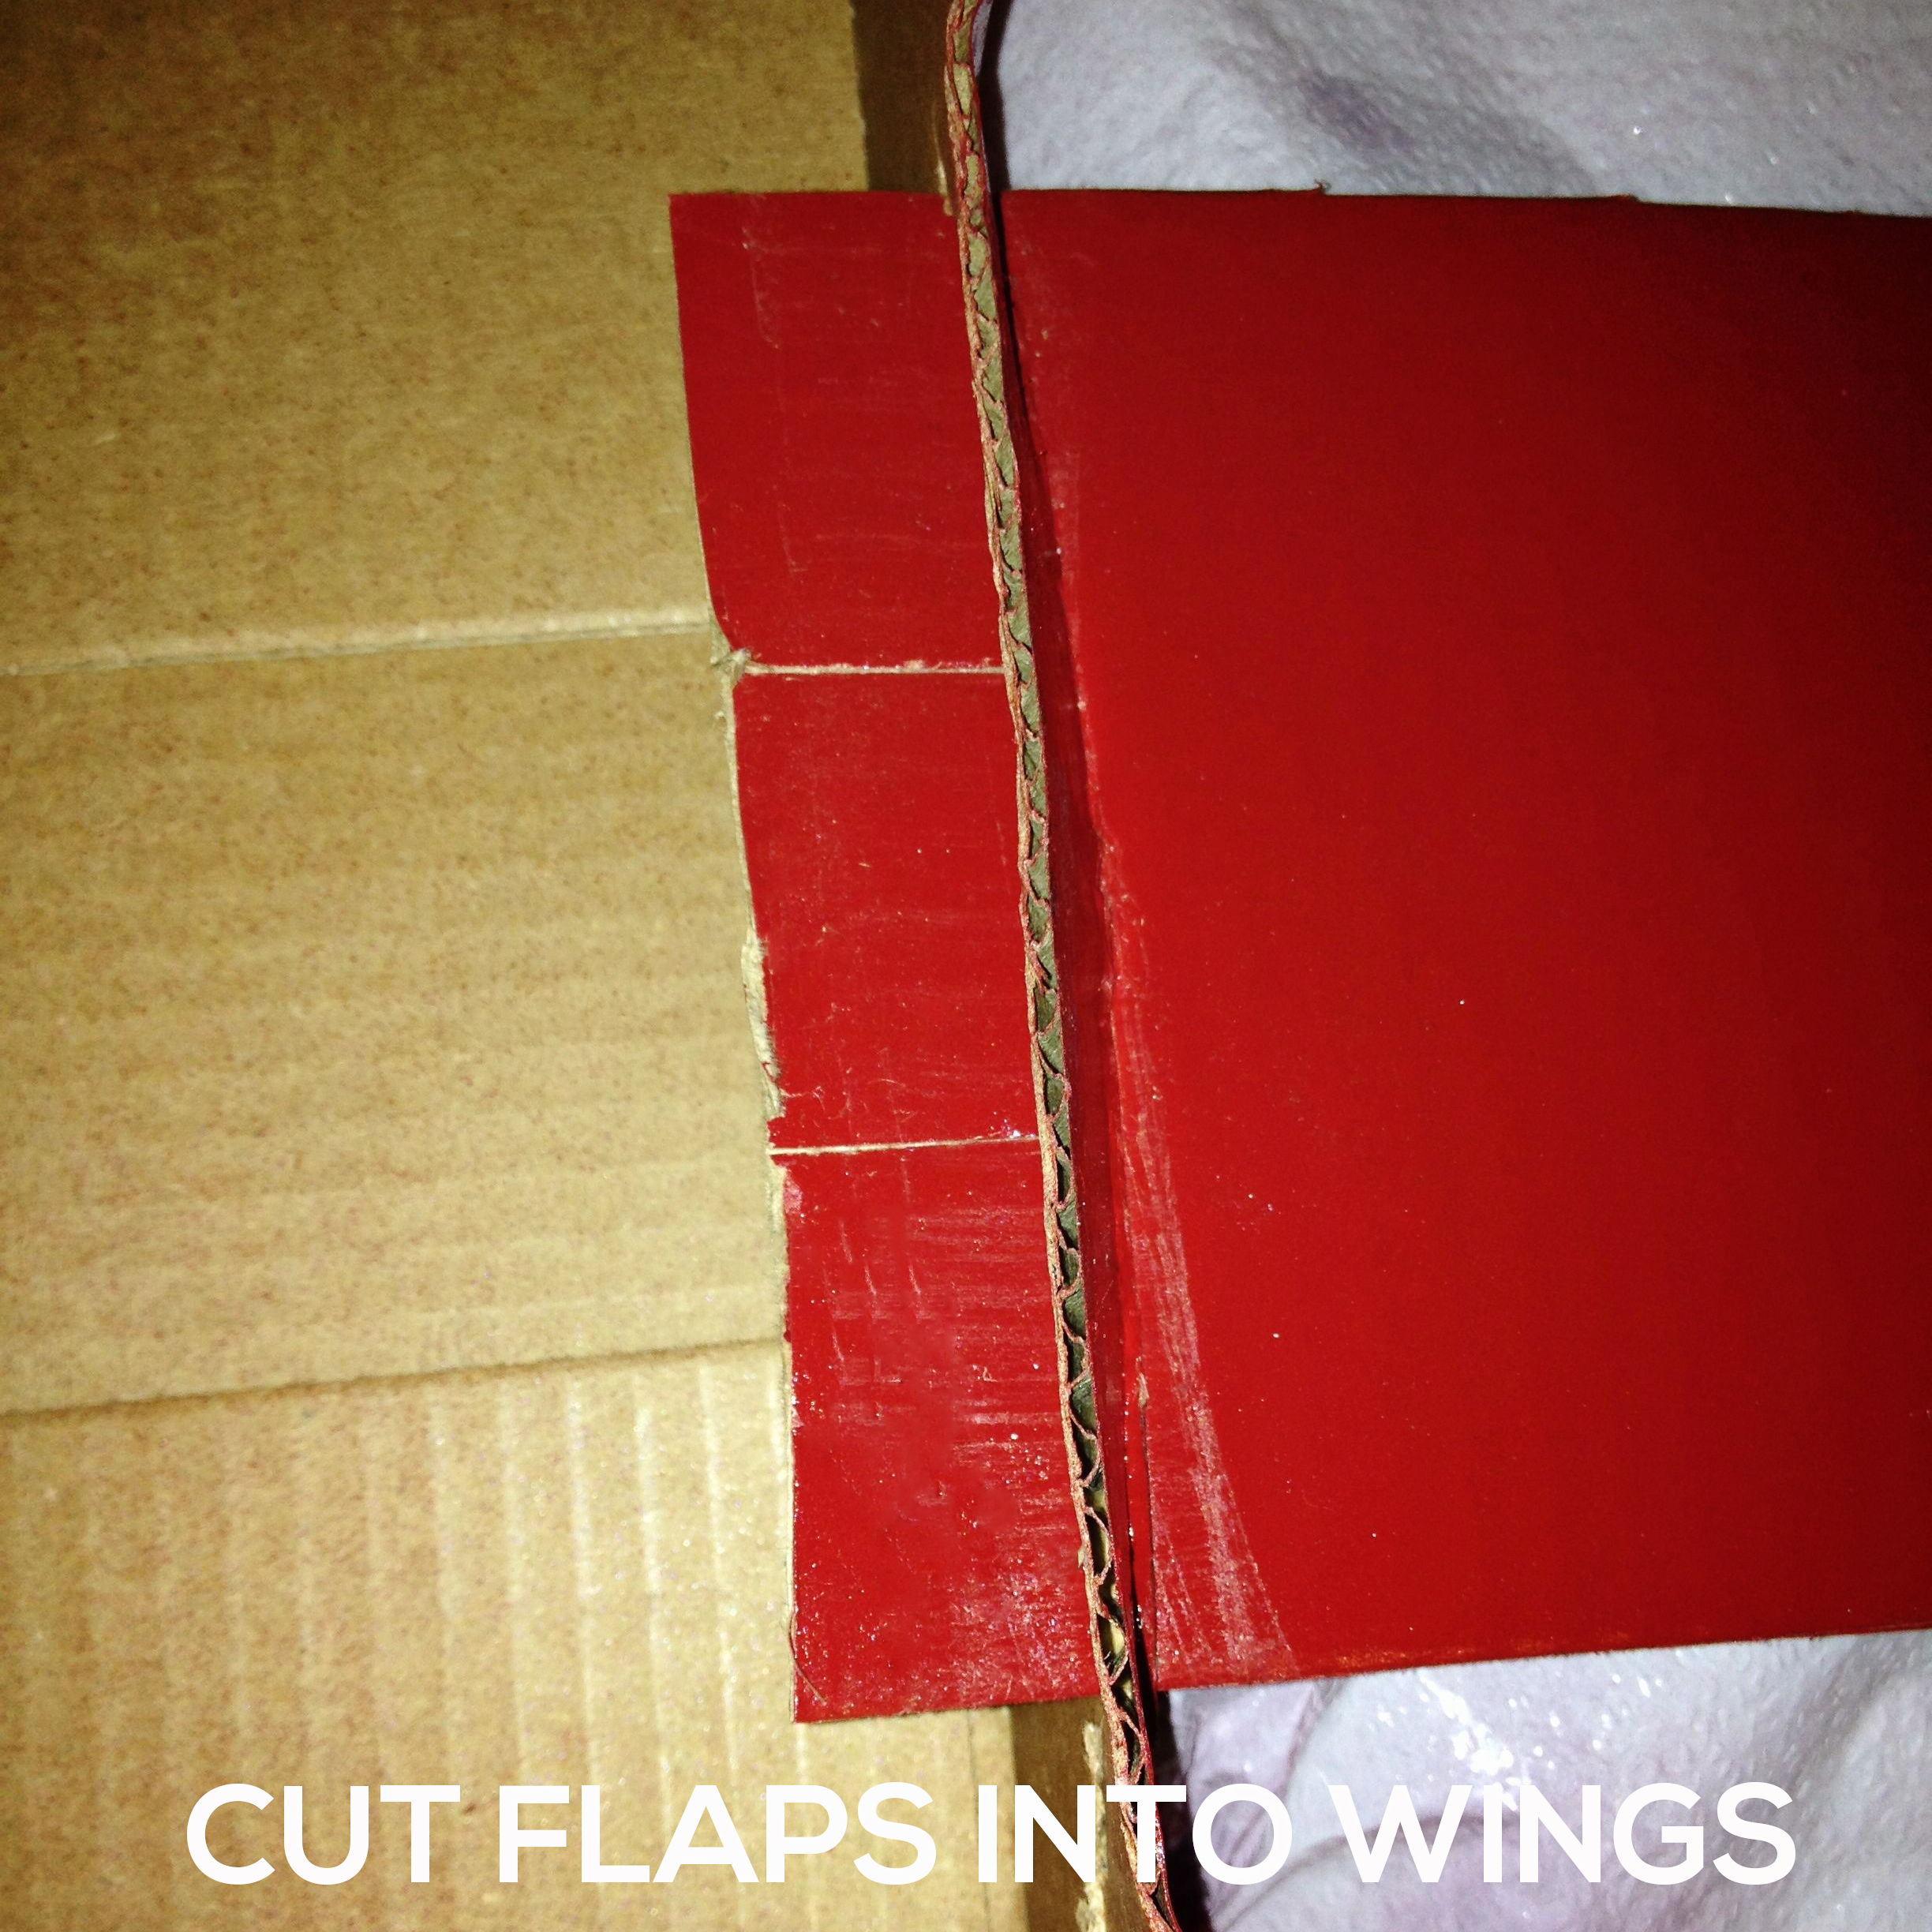
Cut out your wings and tail using the flaps you removed from the box earlier. Cut both long flaps into wings by rounding off one side of each flap. Do the same to one short flap to make the vertical piece of the tail. For the horizontal tail piece, cut a slit about 3/4 (or slightly more) of the way through your last short flap. This will allow the horizontal tail portion to attach to the vertical tail piece.
Step 6:
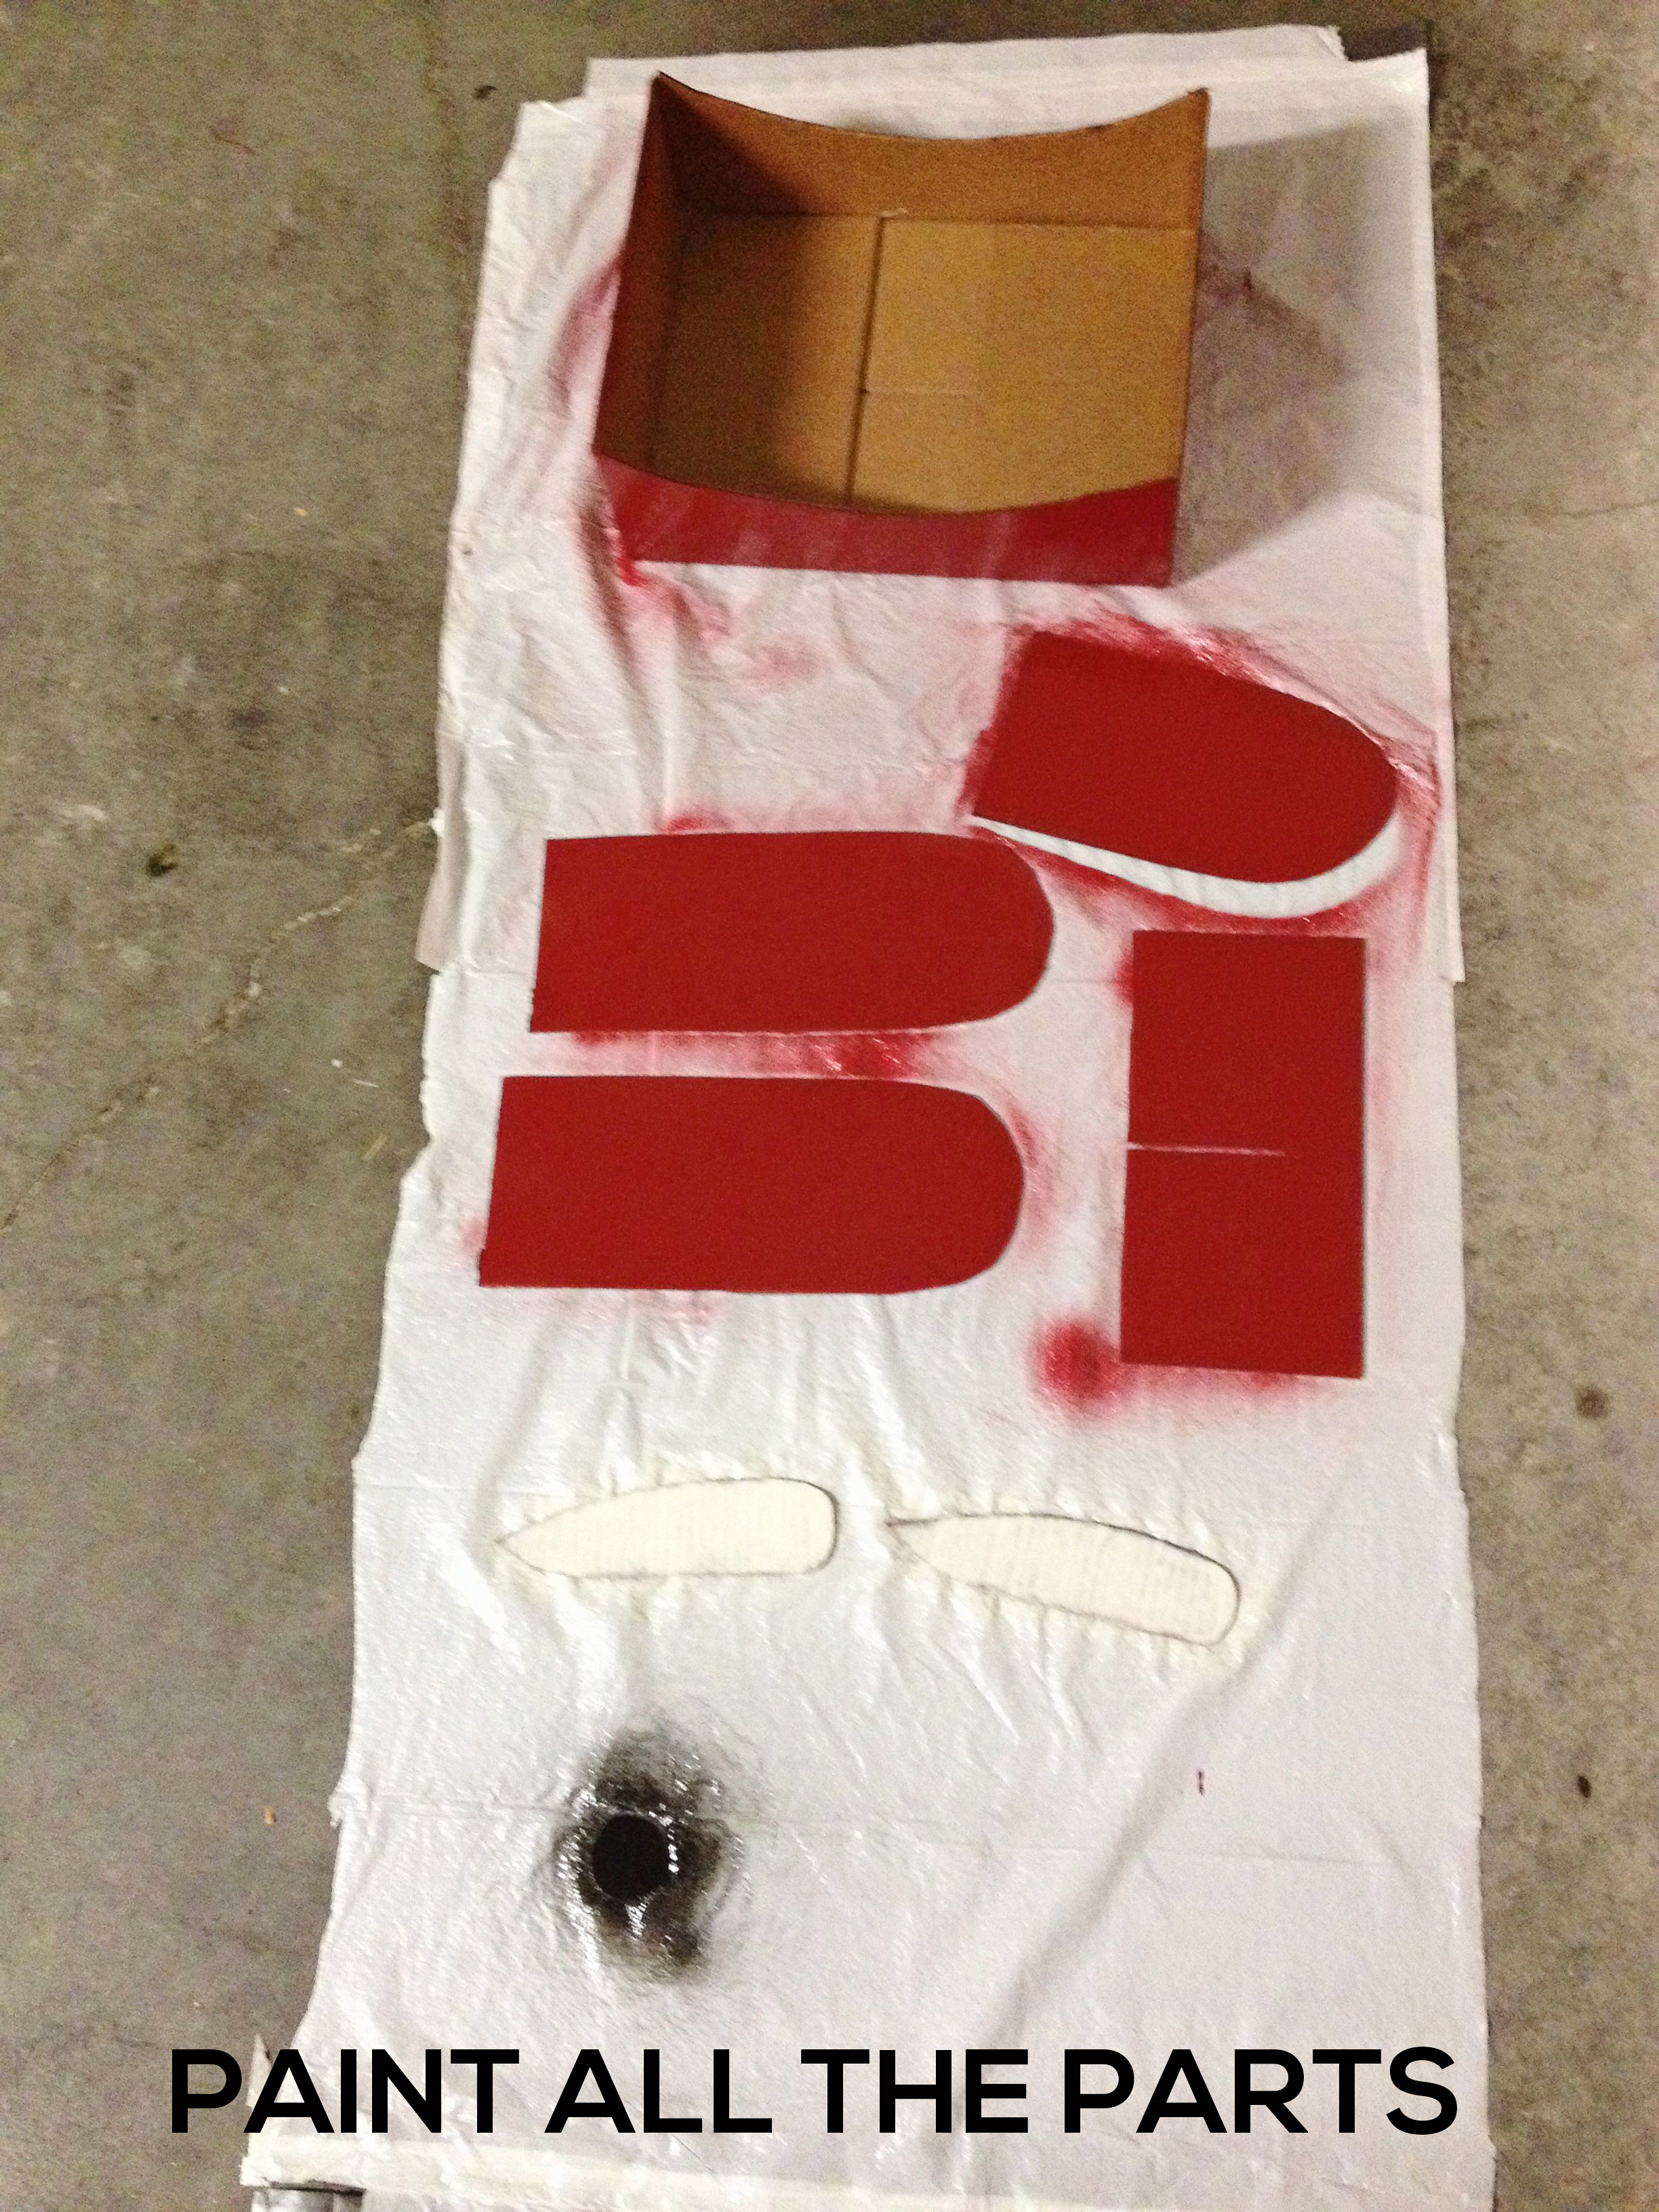
Place all of your airplane pieces on a tarp or trash bag to paint them. You can paint any color – I chose to paint the body, wings and tail red, the propeller blades white and the circle black. Once all the pieces were dry, I added a second coat of paint. Be sure to paint the vertical tail wing on both sides as you will be seeing both sides of it.
Step 7:
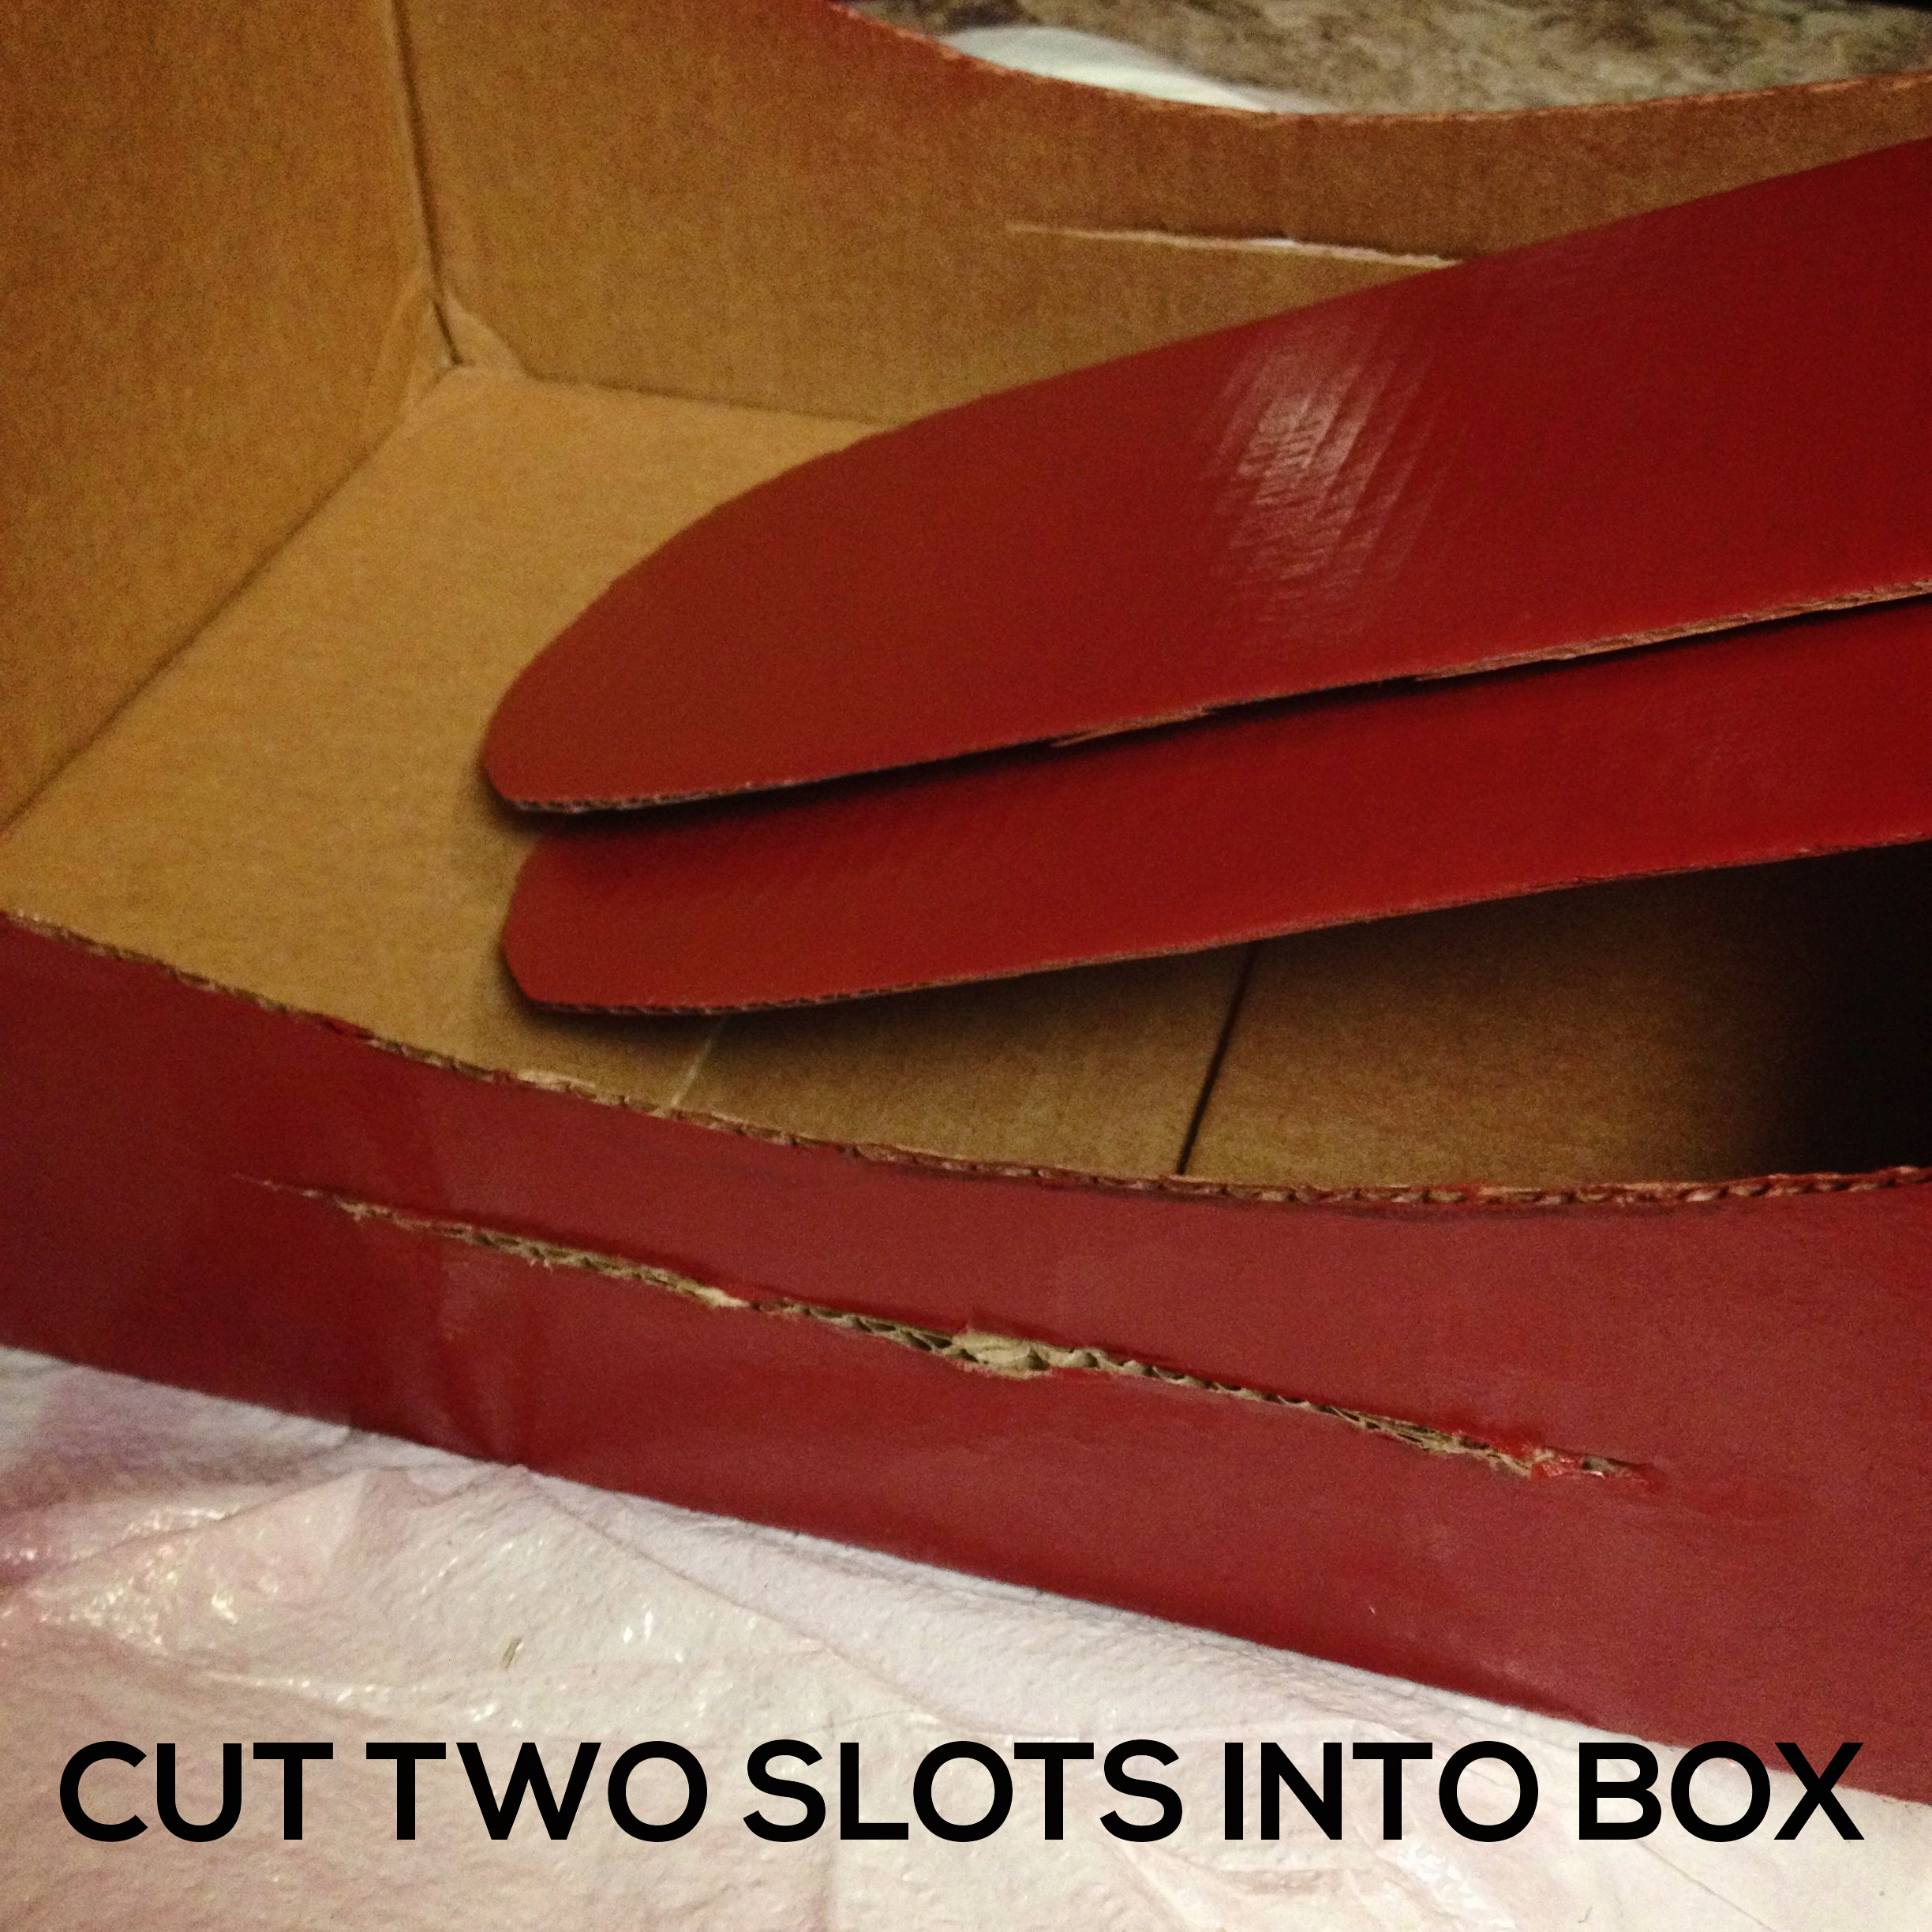
Once all the parts are completely dry, it is time to start assembling your airplane. Start by cutting a horizontal slit on both long sides of the plane’s body. This is where you will insert the wings. A tip is to make the slits slightly longer than the width of the wings so they will easily fit.
Step 8:
Insert one wing (paint side up) into each slot you have cut out. Leave about an inch of the flat side sticking out inside the body of the box. Then, using your scissors or box cutter, cut two slits into the flat end of each wing. It should look like there are 3 little flaps only on the part of the wing inside the box (you can see my paint was not completely dry, so I had a little damage from inserting the wings).
Step 9:
Fold the outer two flaps down, and the center flap up. Then, secure each flap to the inside of the box body with hot glue. Repeat the steps on the other wing.
Step 10:
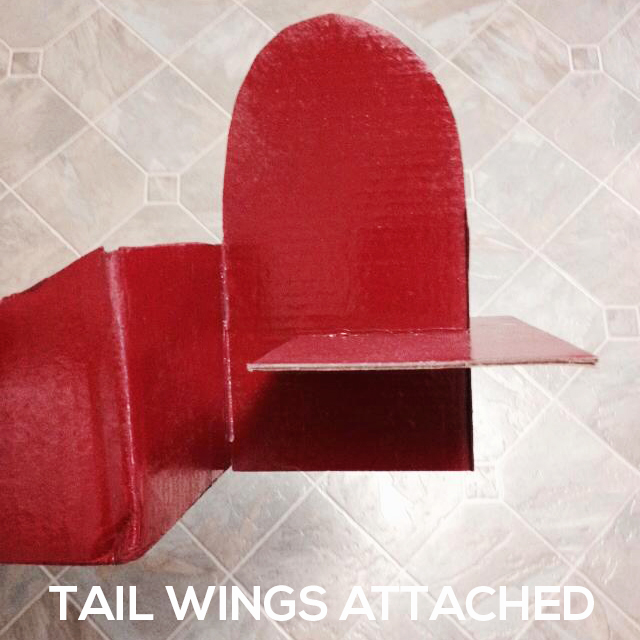
Attach the vertical tail wing to the back of your box by using hot glue along one edge and then secure it to the box body. Next, put hot glue along the entire cut-out notch of the horizontal tail wing, and slide it around the vertical tail wing. Hold these parts in place until the glue dries to ensure they do not slip out of place.
Step 11:
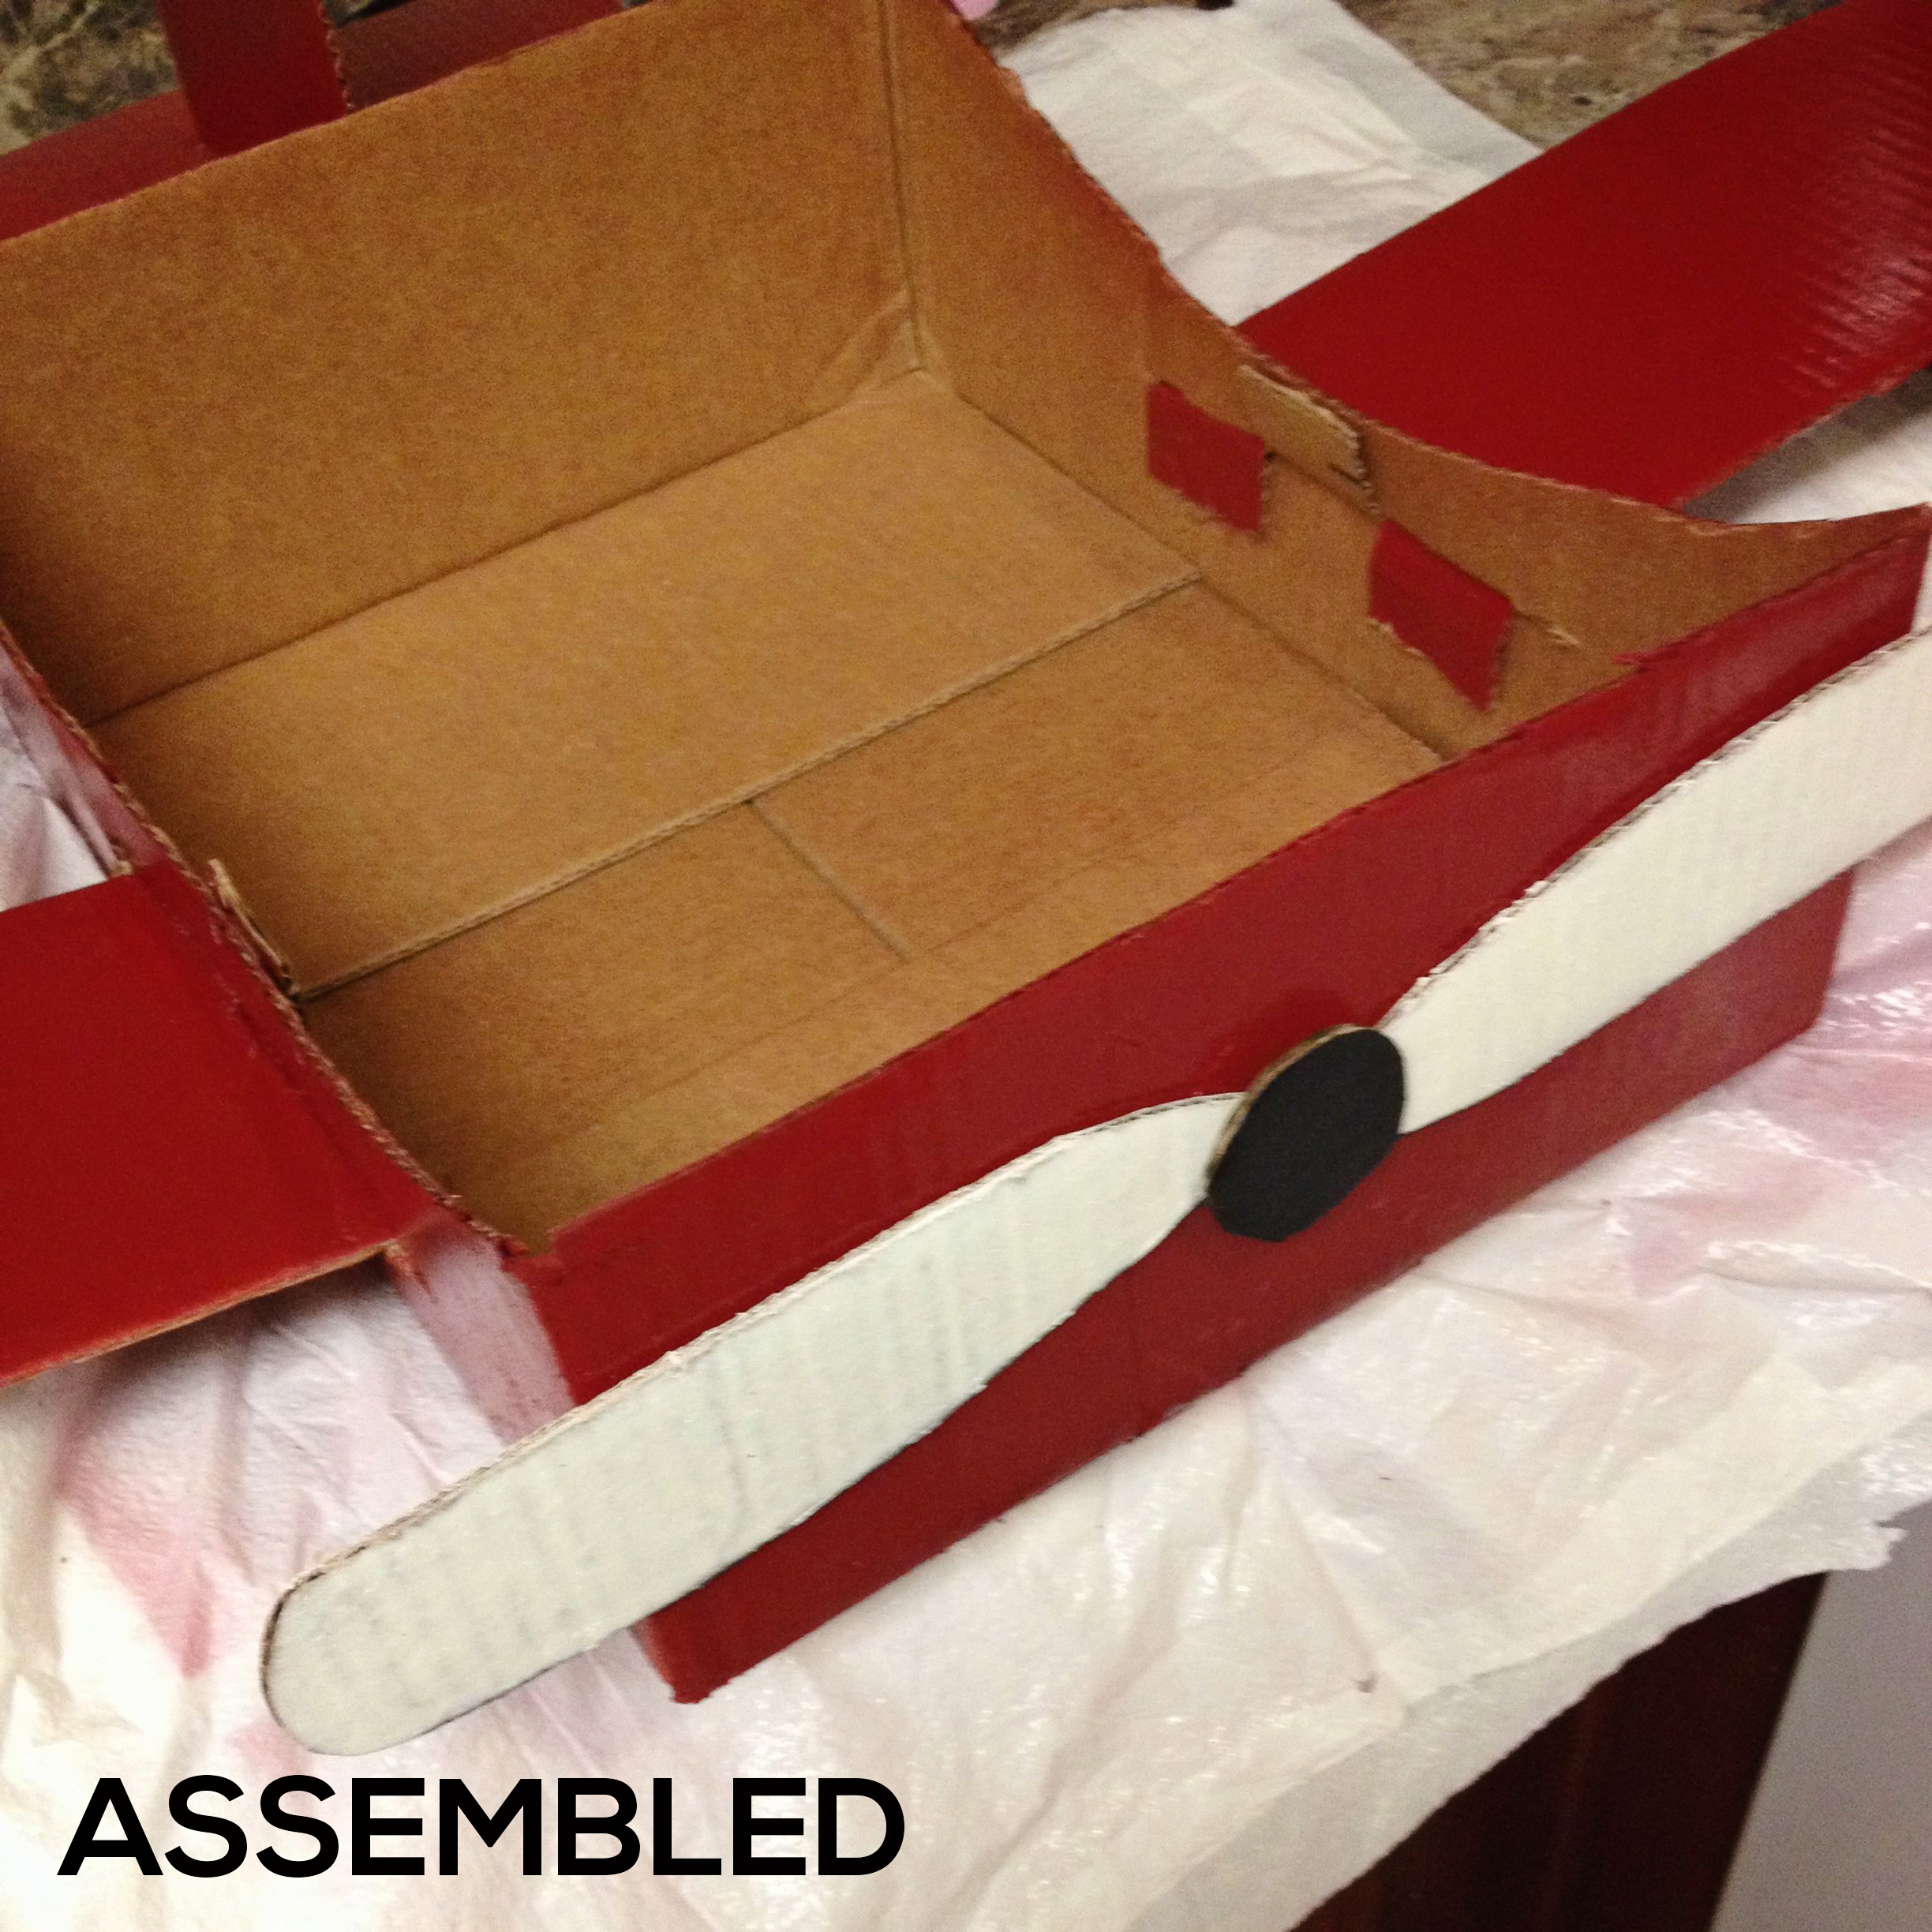
Use the hot glue to attach the propellers to the front of your box. Glue them so the points touch each other, and then glue the circle piece on top of the points to cover them up.
Your airplane is now assembled! Be sure it is completely dry before using it as a prop. Remember to always use a spotter and then do a composite in Photoshop, when posing a baby in a prop like this.
How to Use Your Airplane Prop
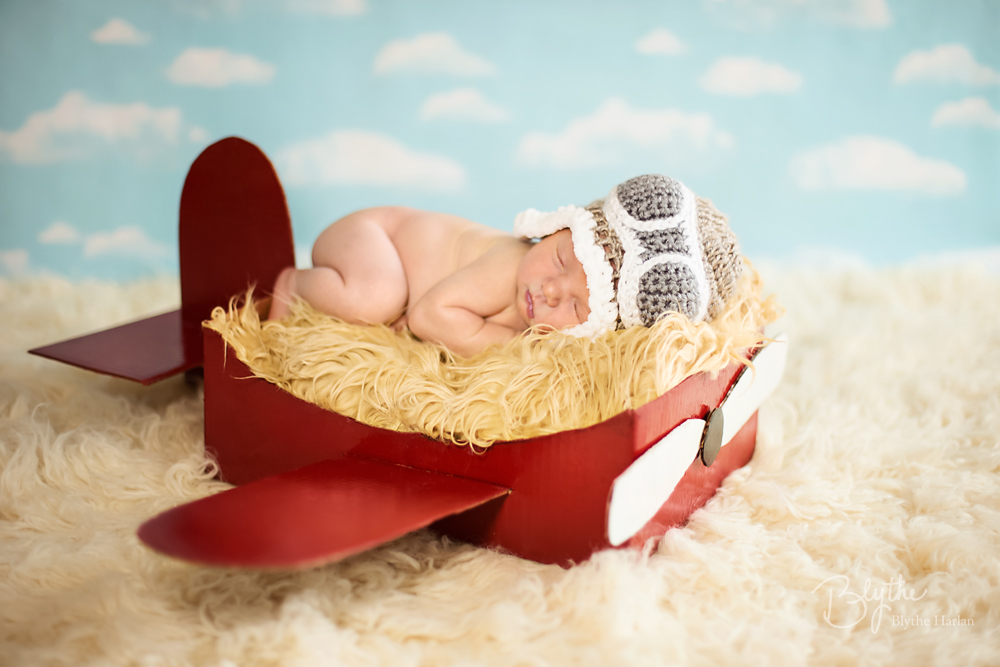
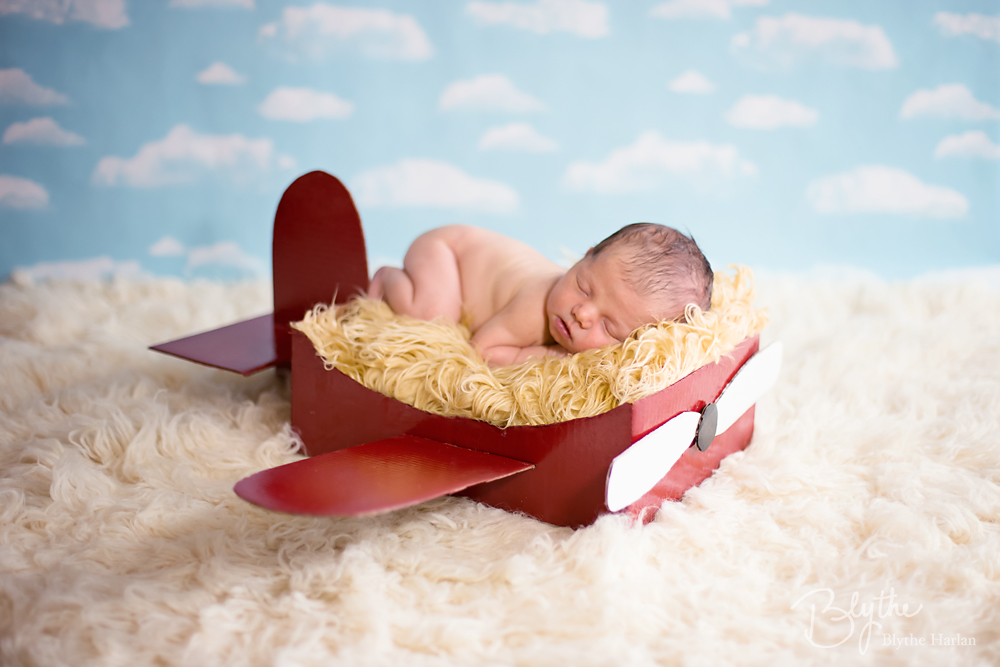
To pose the baby inside the airplane prop, I first used a bath towel to fill the inside of the box. I rolled up a smaller hand towel and placed that along the front edge of the plane. This allowed the baby’s head to be rested above the edge of the box, so his face could be seen better in the photos. Finally, I covered the top with furry basket stuffer fabric to hide the towels.
For my cloudy backdrop, I used a roll of bulletin board paper I found at my local craft store for $8.99.
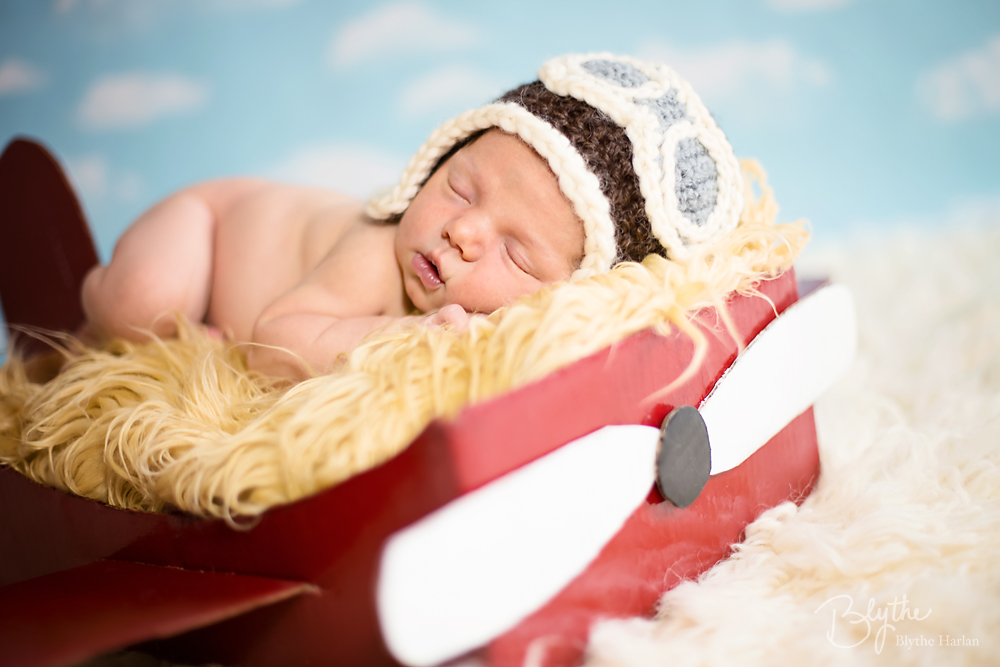
We used a couple aviator hats that the baby’s mom had brought, but we also took photos without a hat on to show off his beautiful dark hair. All the photos were edited with MCP’s Inspire Actions for Photoshop and Newborn Necessities Actions for Photoshop. Detailed editing steps will be on Friday’s post. So check back then.
Blythe Harlan is a hobbyist photographer currently in Fort Bliss, Texas — you can find her on Facebook.


