Lightroom Tips
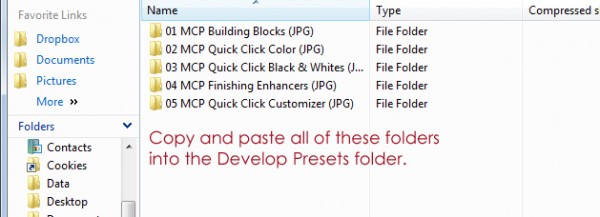
The BEST Way to Install Lightroom Presets
Installing Lightroom Presets is easy! While there are many ways to install presets, we are going to share you the best way which keeps them organized. Once you download our Free Lightroom Presets or our photographer-tested, time-saving Quick Clicks Collection LR Presets, there is no need to navigate to a specific folder on your computer.…

Turn Your Photos from This… To This… Using MCP’s Lightroom Presets
Spanki Mills of Spanki Mills Photography was out of town with her laptop and had limited images to edit. She started playing around with our Lightroom Presets and here are some of her results and her steps to achieve the after looks. Here are the Lightroom presets she used from the Quick Clicks Collection –…
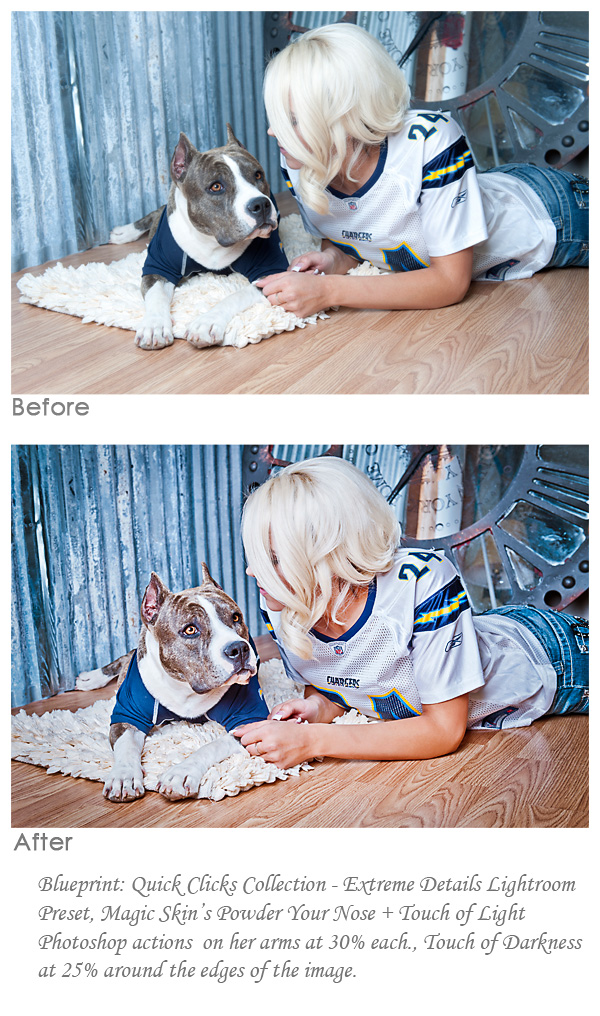
Combining Lightroom Presets and Photoshop Actions
Do you prefer Lightroom or Photoshop? For many photographers, both are an important part of their workflow. Learn how to use both together.
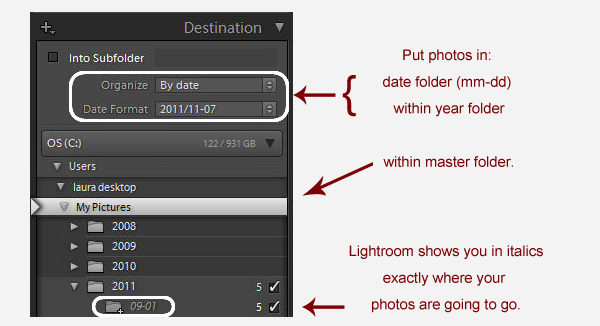
Avoiding a Lightroom Folder Mess — Lightroom Import Basics
If you have ever gotten frustrated trying to get your photos into Lightroom, this post will calm you down and get you back on track.
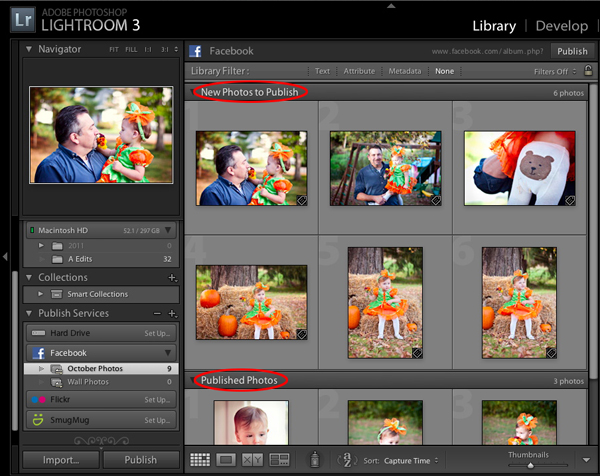
How to Quickly Share Your Lightroom Collections on Facebook
This tutorial shows how to set up Lightroom for publishing your photos on Facebook. The process is similar for other photo sharing services such as Flickr or SmugMug. Once you edit your photos in Lightroom, possibly using MCP Quick Clicks Collection presets or even the free Mini Quick Clicks presets, you want to display your…

How to Create a Watermark in Lightroom 3
Learn to brand your images by using a watermark in Lightroom 3.
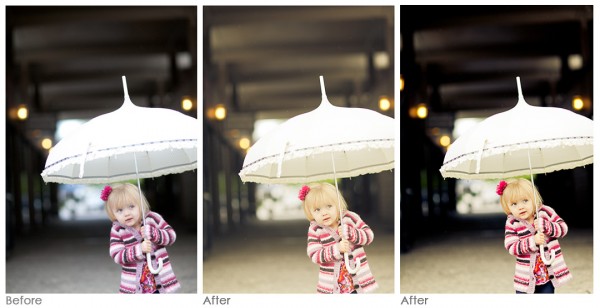
Hazy or Vivid: You’ll Be Shocked How Fast You Can Create Looks in Lightroom
In seconds you can create dozens of looks you will love, when combining the power of Lightroom with our well crafted Lightroom Presets.

How to Fix a Screwed Up Photo with Lightroom Presets & Raw!
Have you ever screwed up while taking a photo? Bet you have. Learn to fix those “outtakes” and make them useable again.
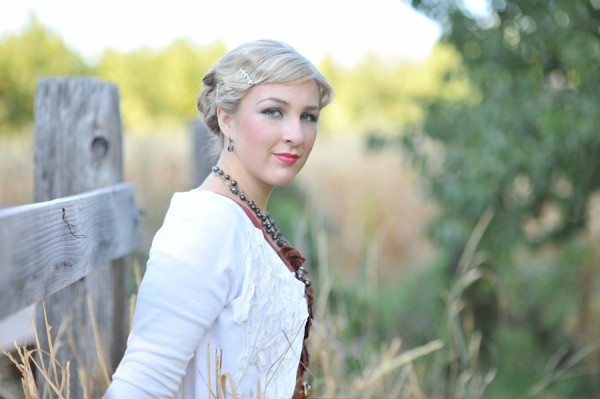
Lightroom Presets Make Editing Faster
A few close photographer friends of mine got a sneak peek as testers for our upcoming Lightroom Presets. I am featuring some of them in upcoming weeks so you can see how to edit with these new tools. Make sure to check back Monday, October 17th to get your presets! Picture edit 1 is…
Photoshop Actions vs. Lightroom Presets: What’s the Difference?
Many of you are familiar with Photoshop actions. Presets and actions are NOT the same, but both have a place in an efficient photo editing workflow. After reading about them, we invite you to try our free Lightroom presets, Mini Quick Clicks, which is a sampling of our full Quick Clicks Collection. Actions and presets…
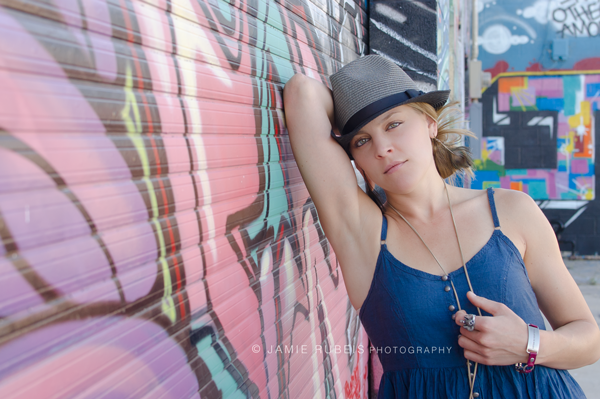
Add Dramatic Color to an Urban Photo Using Session Photoshop Actions
Learn how to quickly enhance your urban photos and add color pop and contrast using MCP’s Photoshop actions in this Friday Blueprint.

Brighten Colors and Deepen Shadows using Photoshop Actions
A Las Vegas photographer shows you how to edit your work in a few clicks in Photoshop Elements.
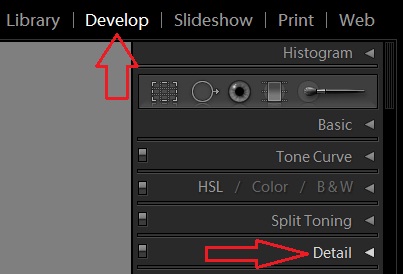
How to Effectively Reduce Noise Using Lightroom 3 Noise Reduction
If you are tired of excess noise from shooting at high ISOs or in less than ideal lighting conditions, read how Lightroom 3 and ACR can save your photos!
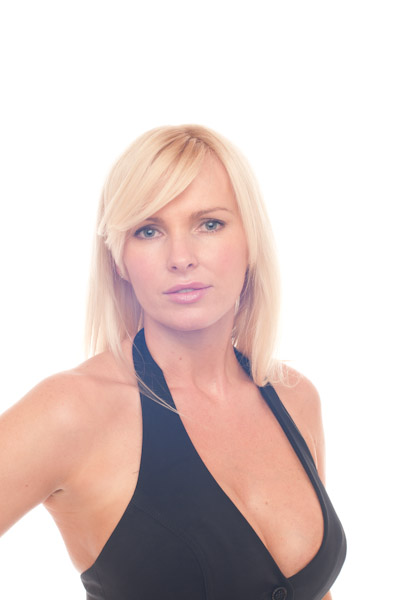
How To Create a High Key Image in Photoshop
How To Create a High Key Image in Photoshop by Michael Sweeney A classic look in photography is Black and White imagery. Black and white images are not always pure; sometimes they are sepia tone or cool blue tone, or even Duotone which is not B/W but most drop it into that catagory. It’s a…
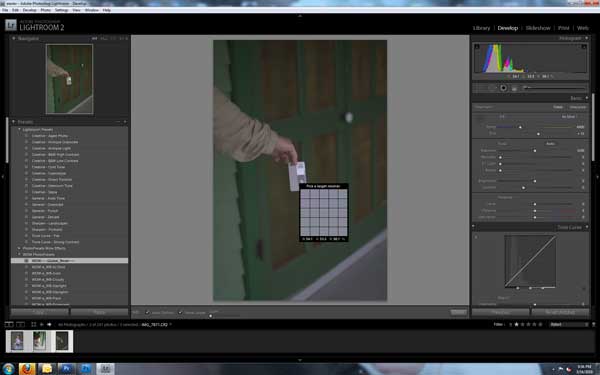
White Balance: Tools to Help Set Custom White Balance ~ Part 3
White Balance: What Tools to Use and How to Set a Custom White Balance by Rich Reierson This post is the third in a short series on how photographers can use white balance to improve color in their photographs. Make sure to read part 1 and part 2. Here is the sample image prior to…
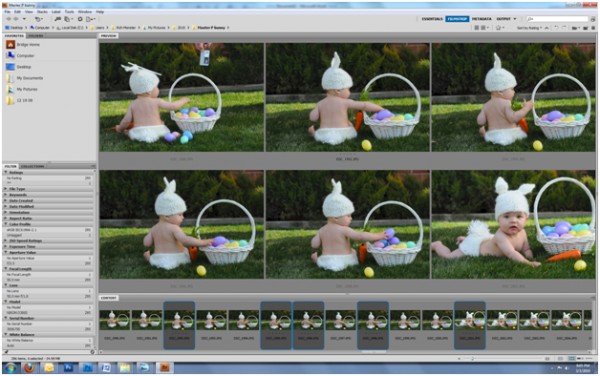
White Balance: Get Accurate Color Using a Gray Card ~ Part 2
White Balance: Get Better Color Using a Gray Card by Rich Reierson This post is the second in a short series on how photographers can use white balance to improve color in their photographs. Make sure to read part 1. Excellent white balance is crucial for professional photographers. As mentioned in Part 1, there are…
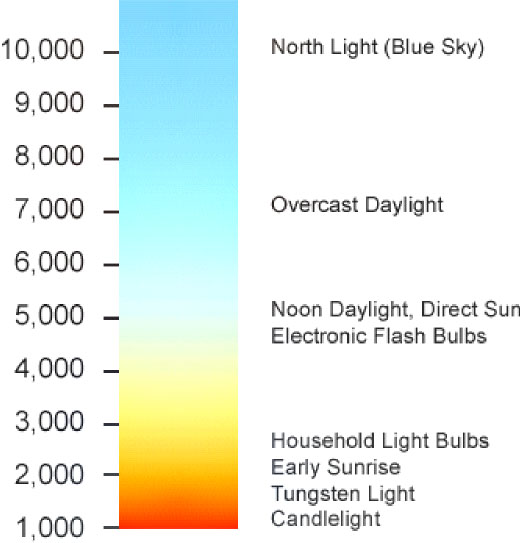
White Balance: Get Accurate Color in Your Photographs ~ Part 1
White Balance: What is it and why it is important to Photographers by Rich Reierson This post is the first in a short series on how photographers can use white balance to improve color in their photographs. White balance is one of the most important and fundamental skills when shooting pictures. Think of your photo…
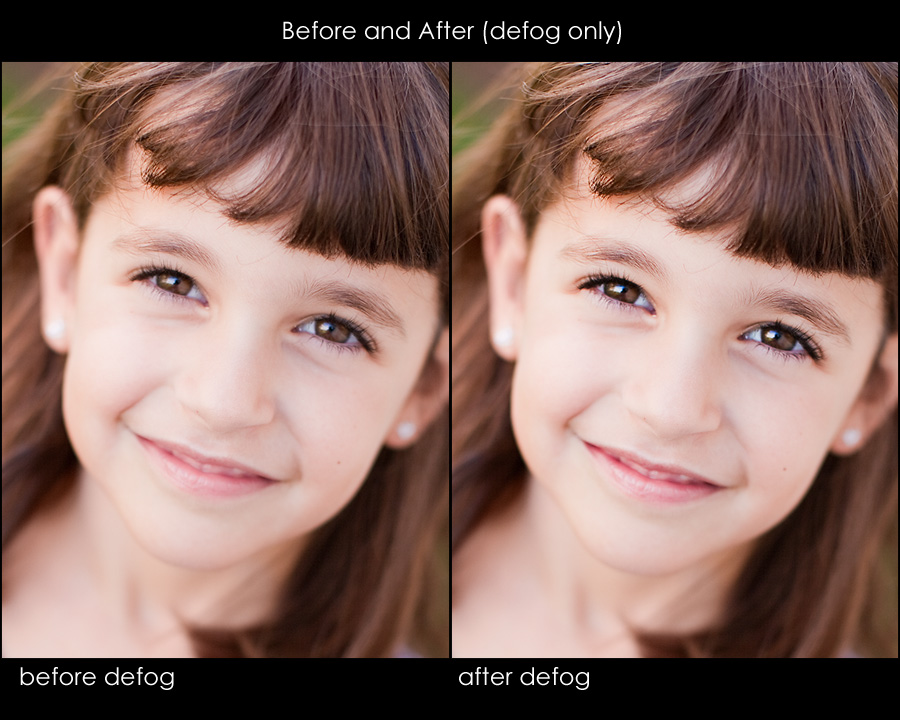
To “defog” or not to “defog” in Lightroom or Photoshop
When you say the word defog to a photographer or Photoshop professional, you usually get one of three reactions: What is a “defog?” I LOVE defogging. It is the best! I hate defogging. It is the worst. Like many things in the photograph industry, it can be controversial. I have gotten into many disagreements on…
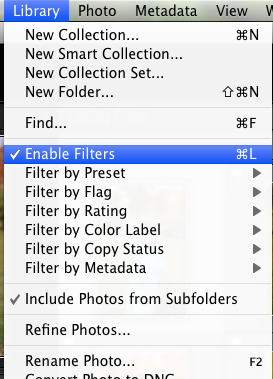
Lightroom Tutorial – Organizing Photos For Quick Editing
For more great Lightroom Tutorials (and lessons on the Beta version of Lightroom 3) join NAPP (The National Association of Photoshop Professionals). After you have flagged all your images as “picks” or “rejects” you can get down to making a collection of these images to edit. You will need to decide if you want to…
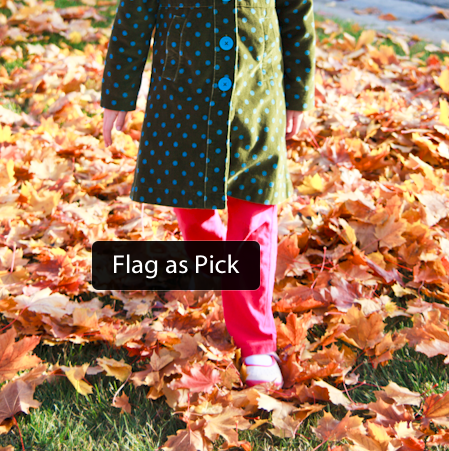
Lightroom Tutorial – The Speed Round – Sort Photos Faster
When using Lightroom, you may be tempted to “rate” your shots. Sorting them on a 1-5 scale takes a lot of time, or shall I say can waste a lot of time. You really need to decide, are you showing/keeping the image, or is the image unworthy. A better way to do this is to…
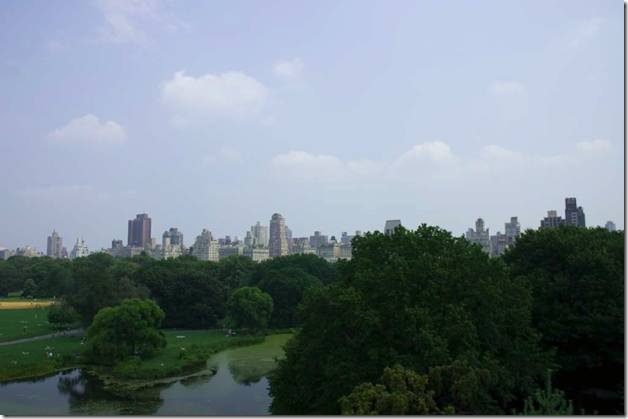
Enhancing Skies Using Smart Objects in Adobe Camera Raw and Photoshop
Yesterday I showed you how to add fake skies where the sky is completely blown. Today’s tutorial will teach you what to do if you have a nice sky that is just a little too light and could use some depth. Thank you to our guest blogger Daniel Hurtubise for this fantastic tutorial. One note:…


