Featured Products
Here’s a before and how to edit maternity photos – and the steps used to achieve this look using Photoshop actions as well as some manual editing.
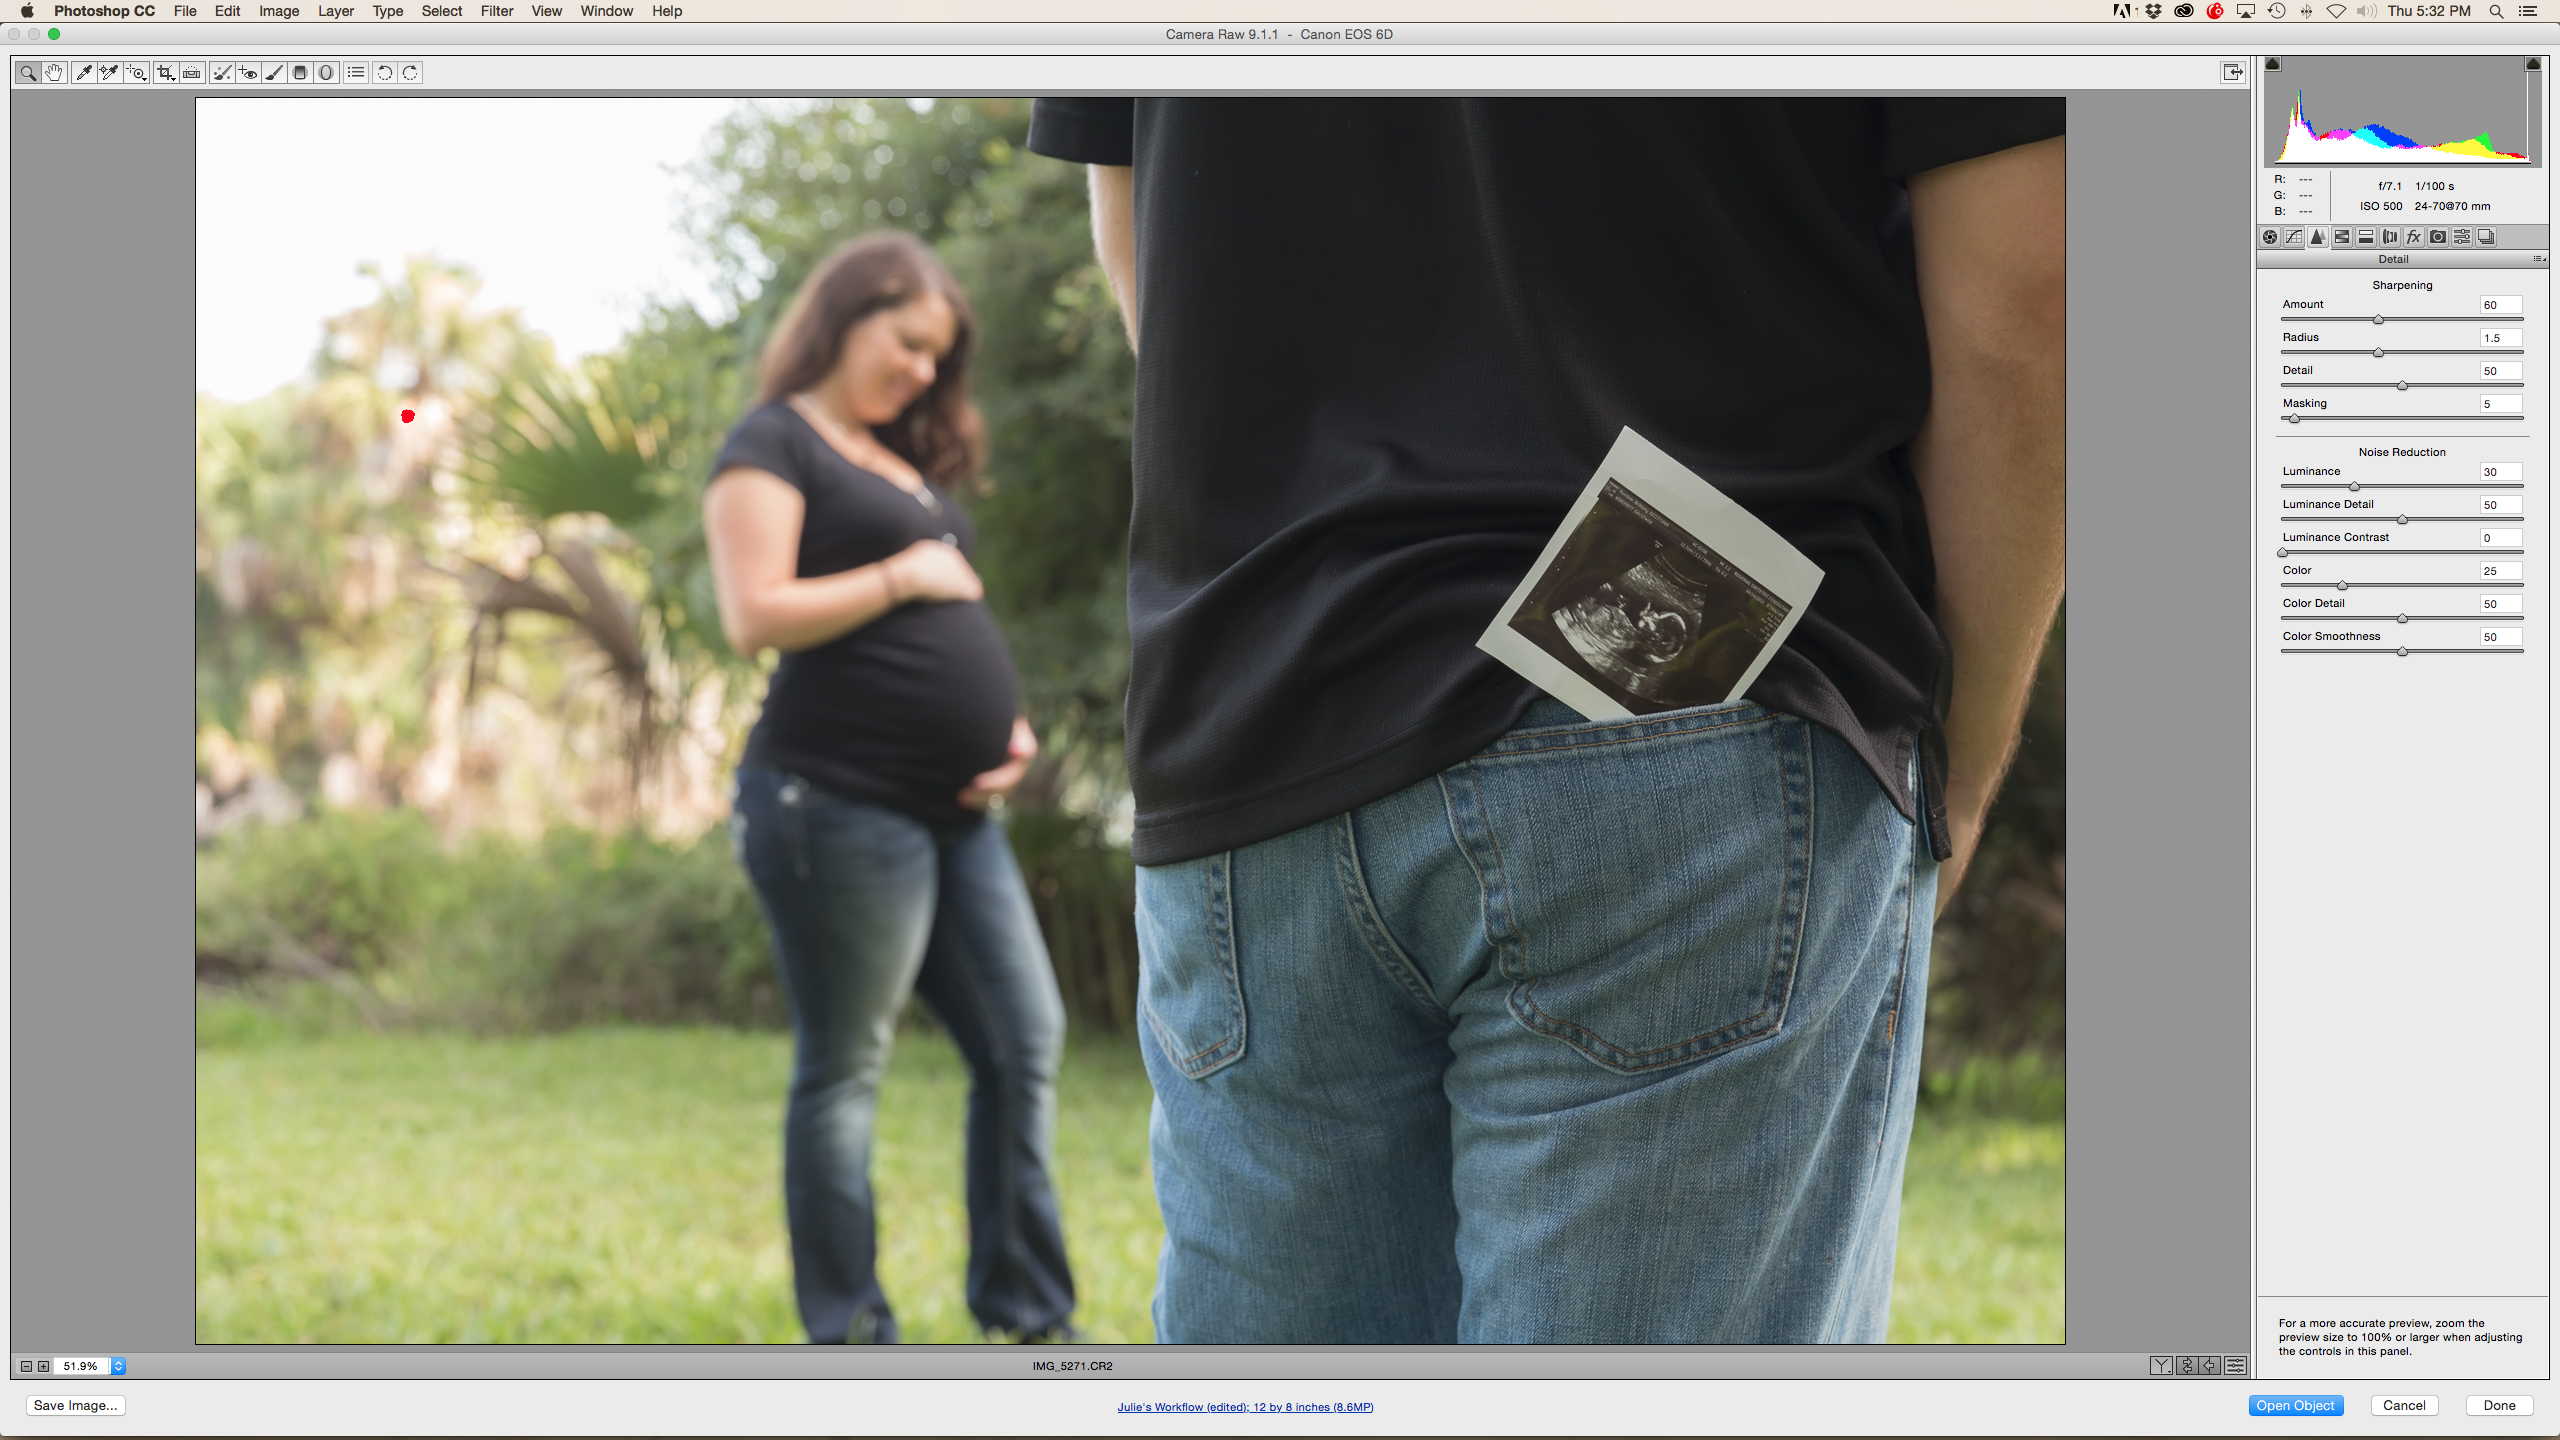
Step 1 – Opened the photo in Camera Raw 9.1.1. I adjusted the Highlights to -58; Clarity to -5 to soften a bit; and the adjustments you see in the Details tab. This is the base edit I do on all of my photos. If you look on the right hand side of this screen shot you will see my adjustments.
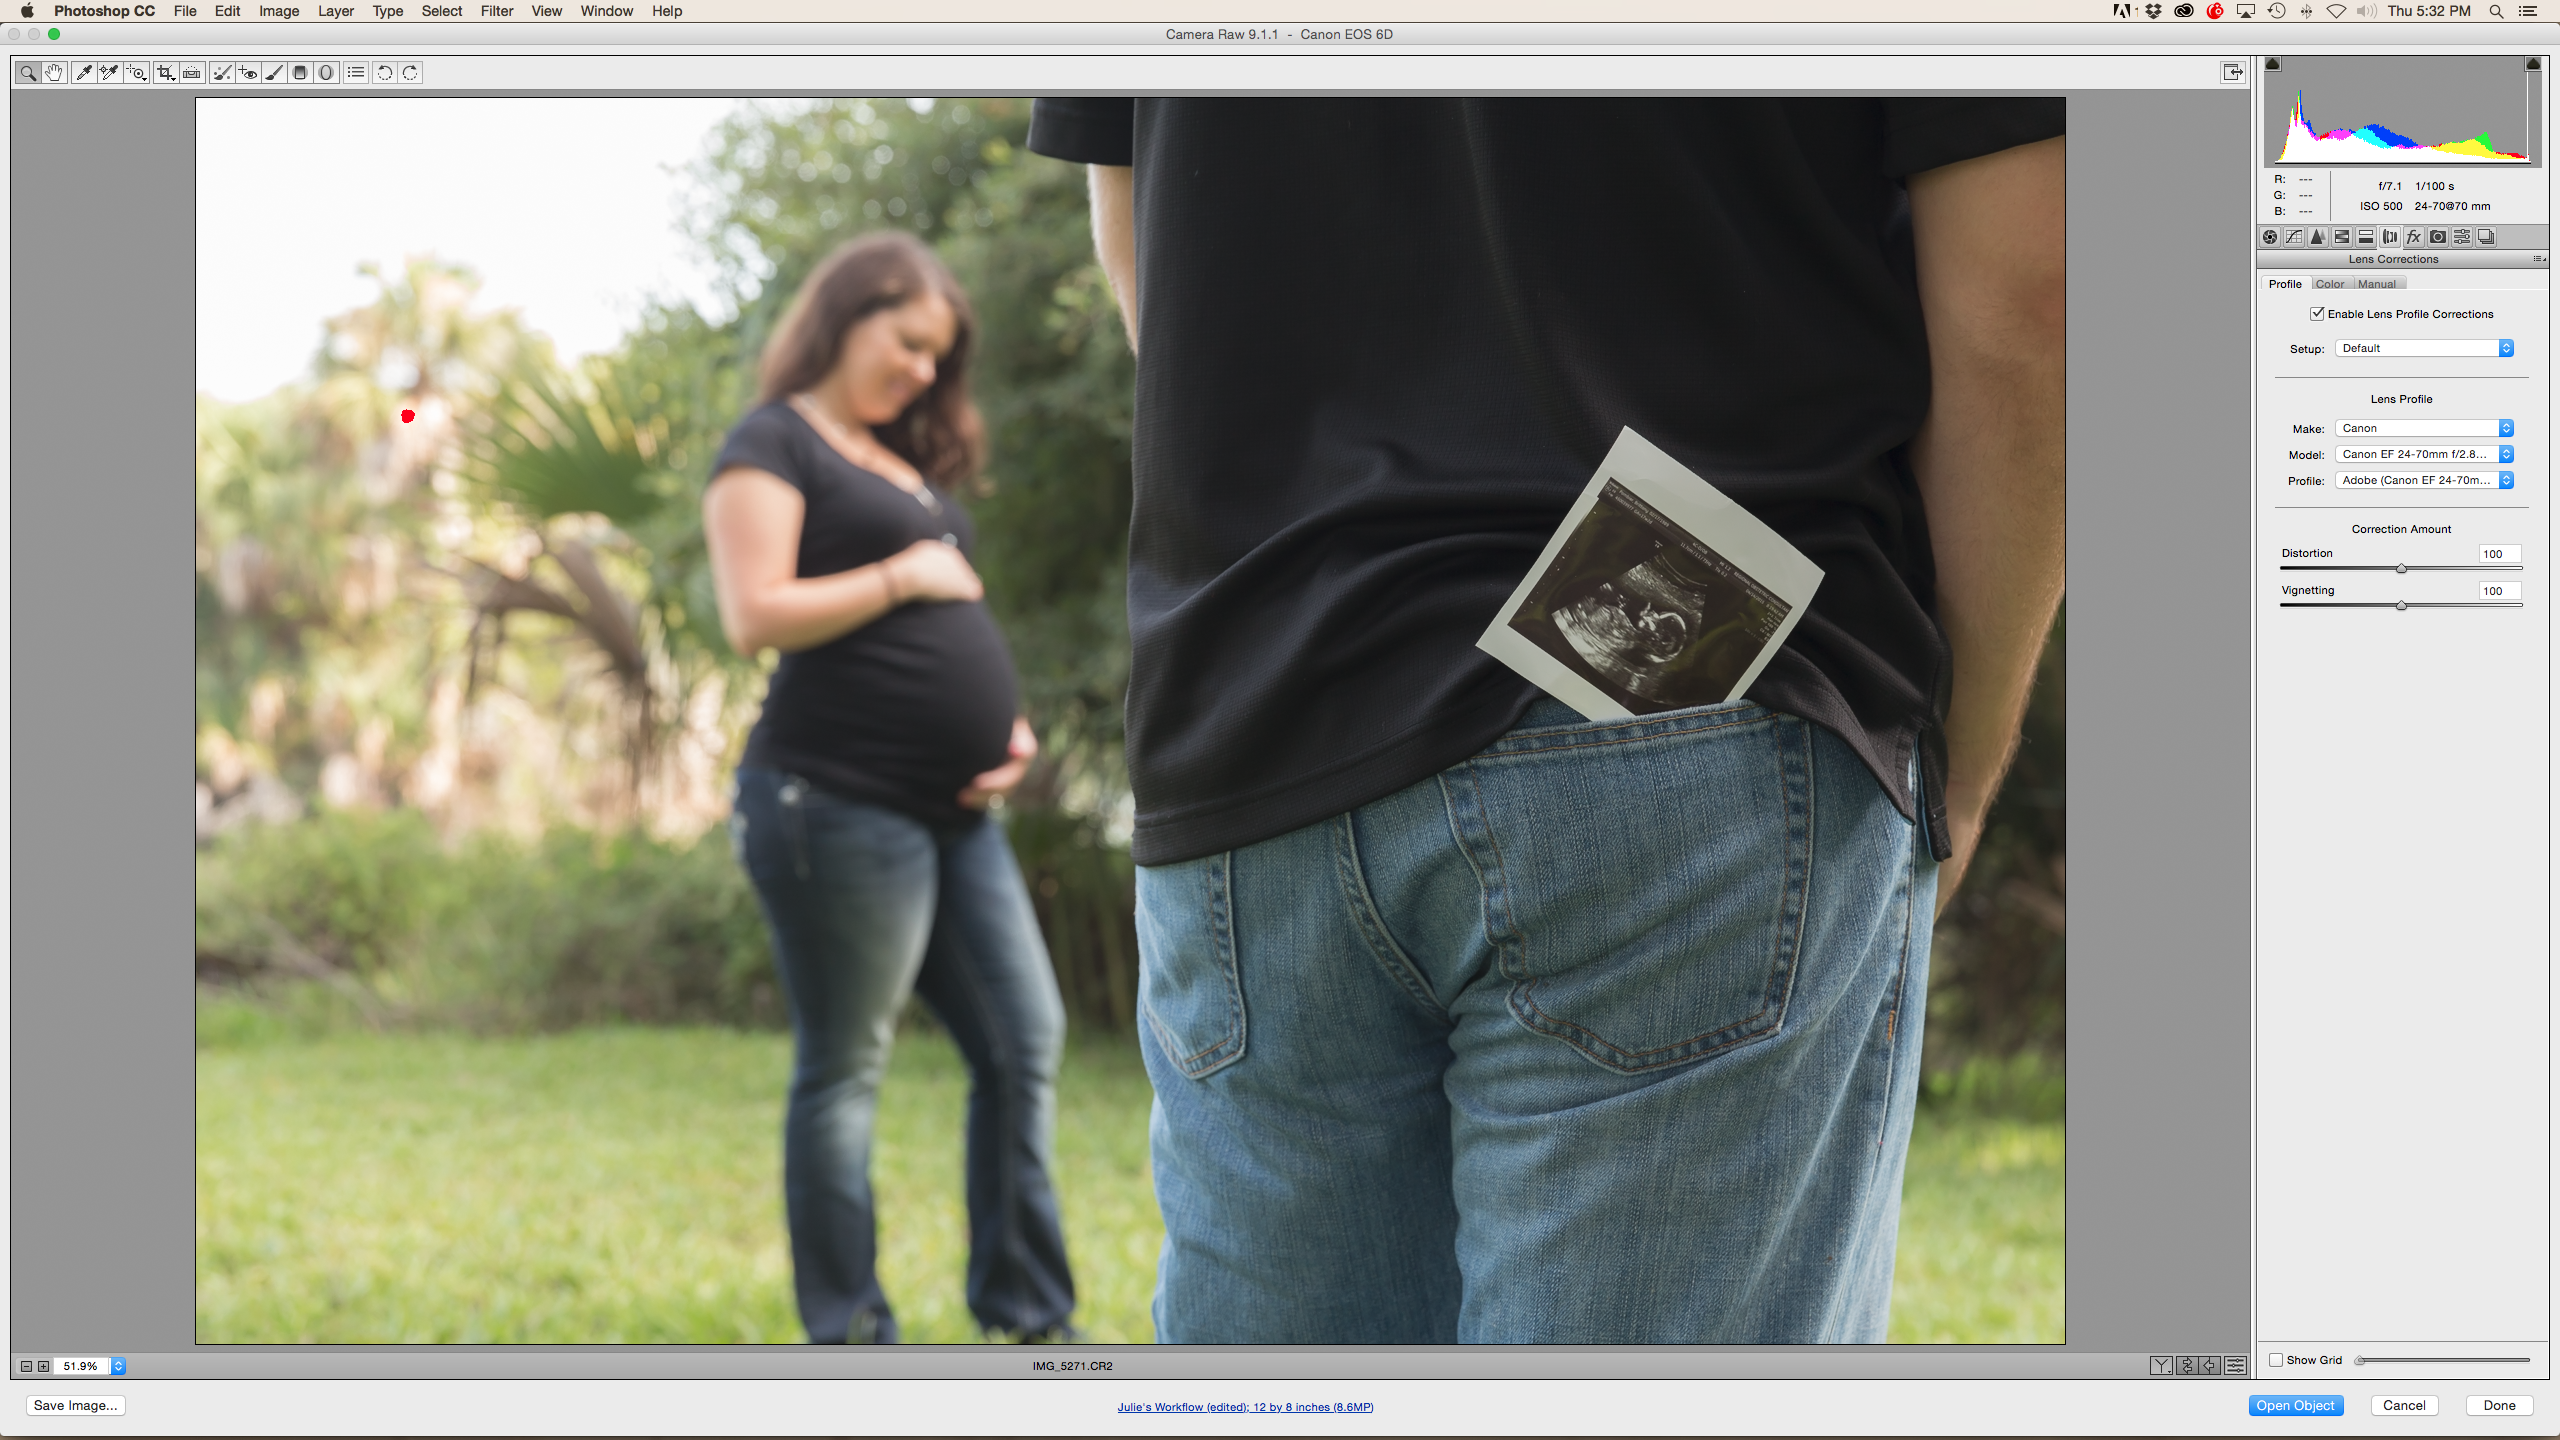
Step 2 – Next I adjusted for Lens Distortion. This helps ensure your image distortion is removed depending on the lens you are using. Prime lenses that are not wide seem to yield less distortion. Here is what the tab looks like in Camera Raw and you can see the lens I was using:
Step 3 – Next I opened the photo in Photoshop CC. I immediately knew I didn’t like the left hand side of this image. The brown dead growth was a distraction and did not add to the story I was trying to tell. We had quite the challenging background to deal with in this location.
- I ran MCP Fusion’s One Click Color: Summer Camp at 30% opacity for a touch of warm glow. I adjusted the opacity of One Click Color Slider to 50% for a pop of color.
- I flattened the image and ran more from Fusion: Spark (Selective Detail Finder) with a brush opacity at 77% and flow at 100%. I ran this on the sonogram picture in his back pocket. I left the Opacity Slider on the right hand side of my screen at 100% to sharpen and darken the photo.
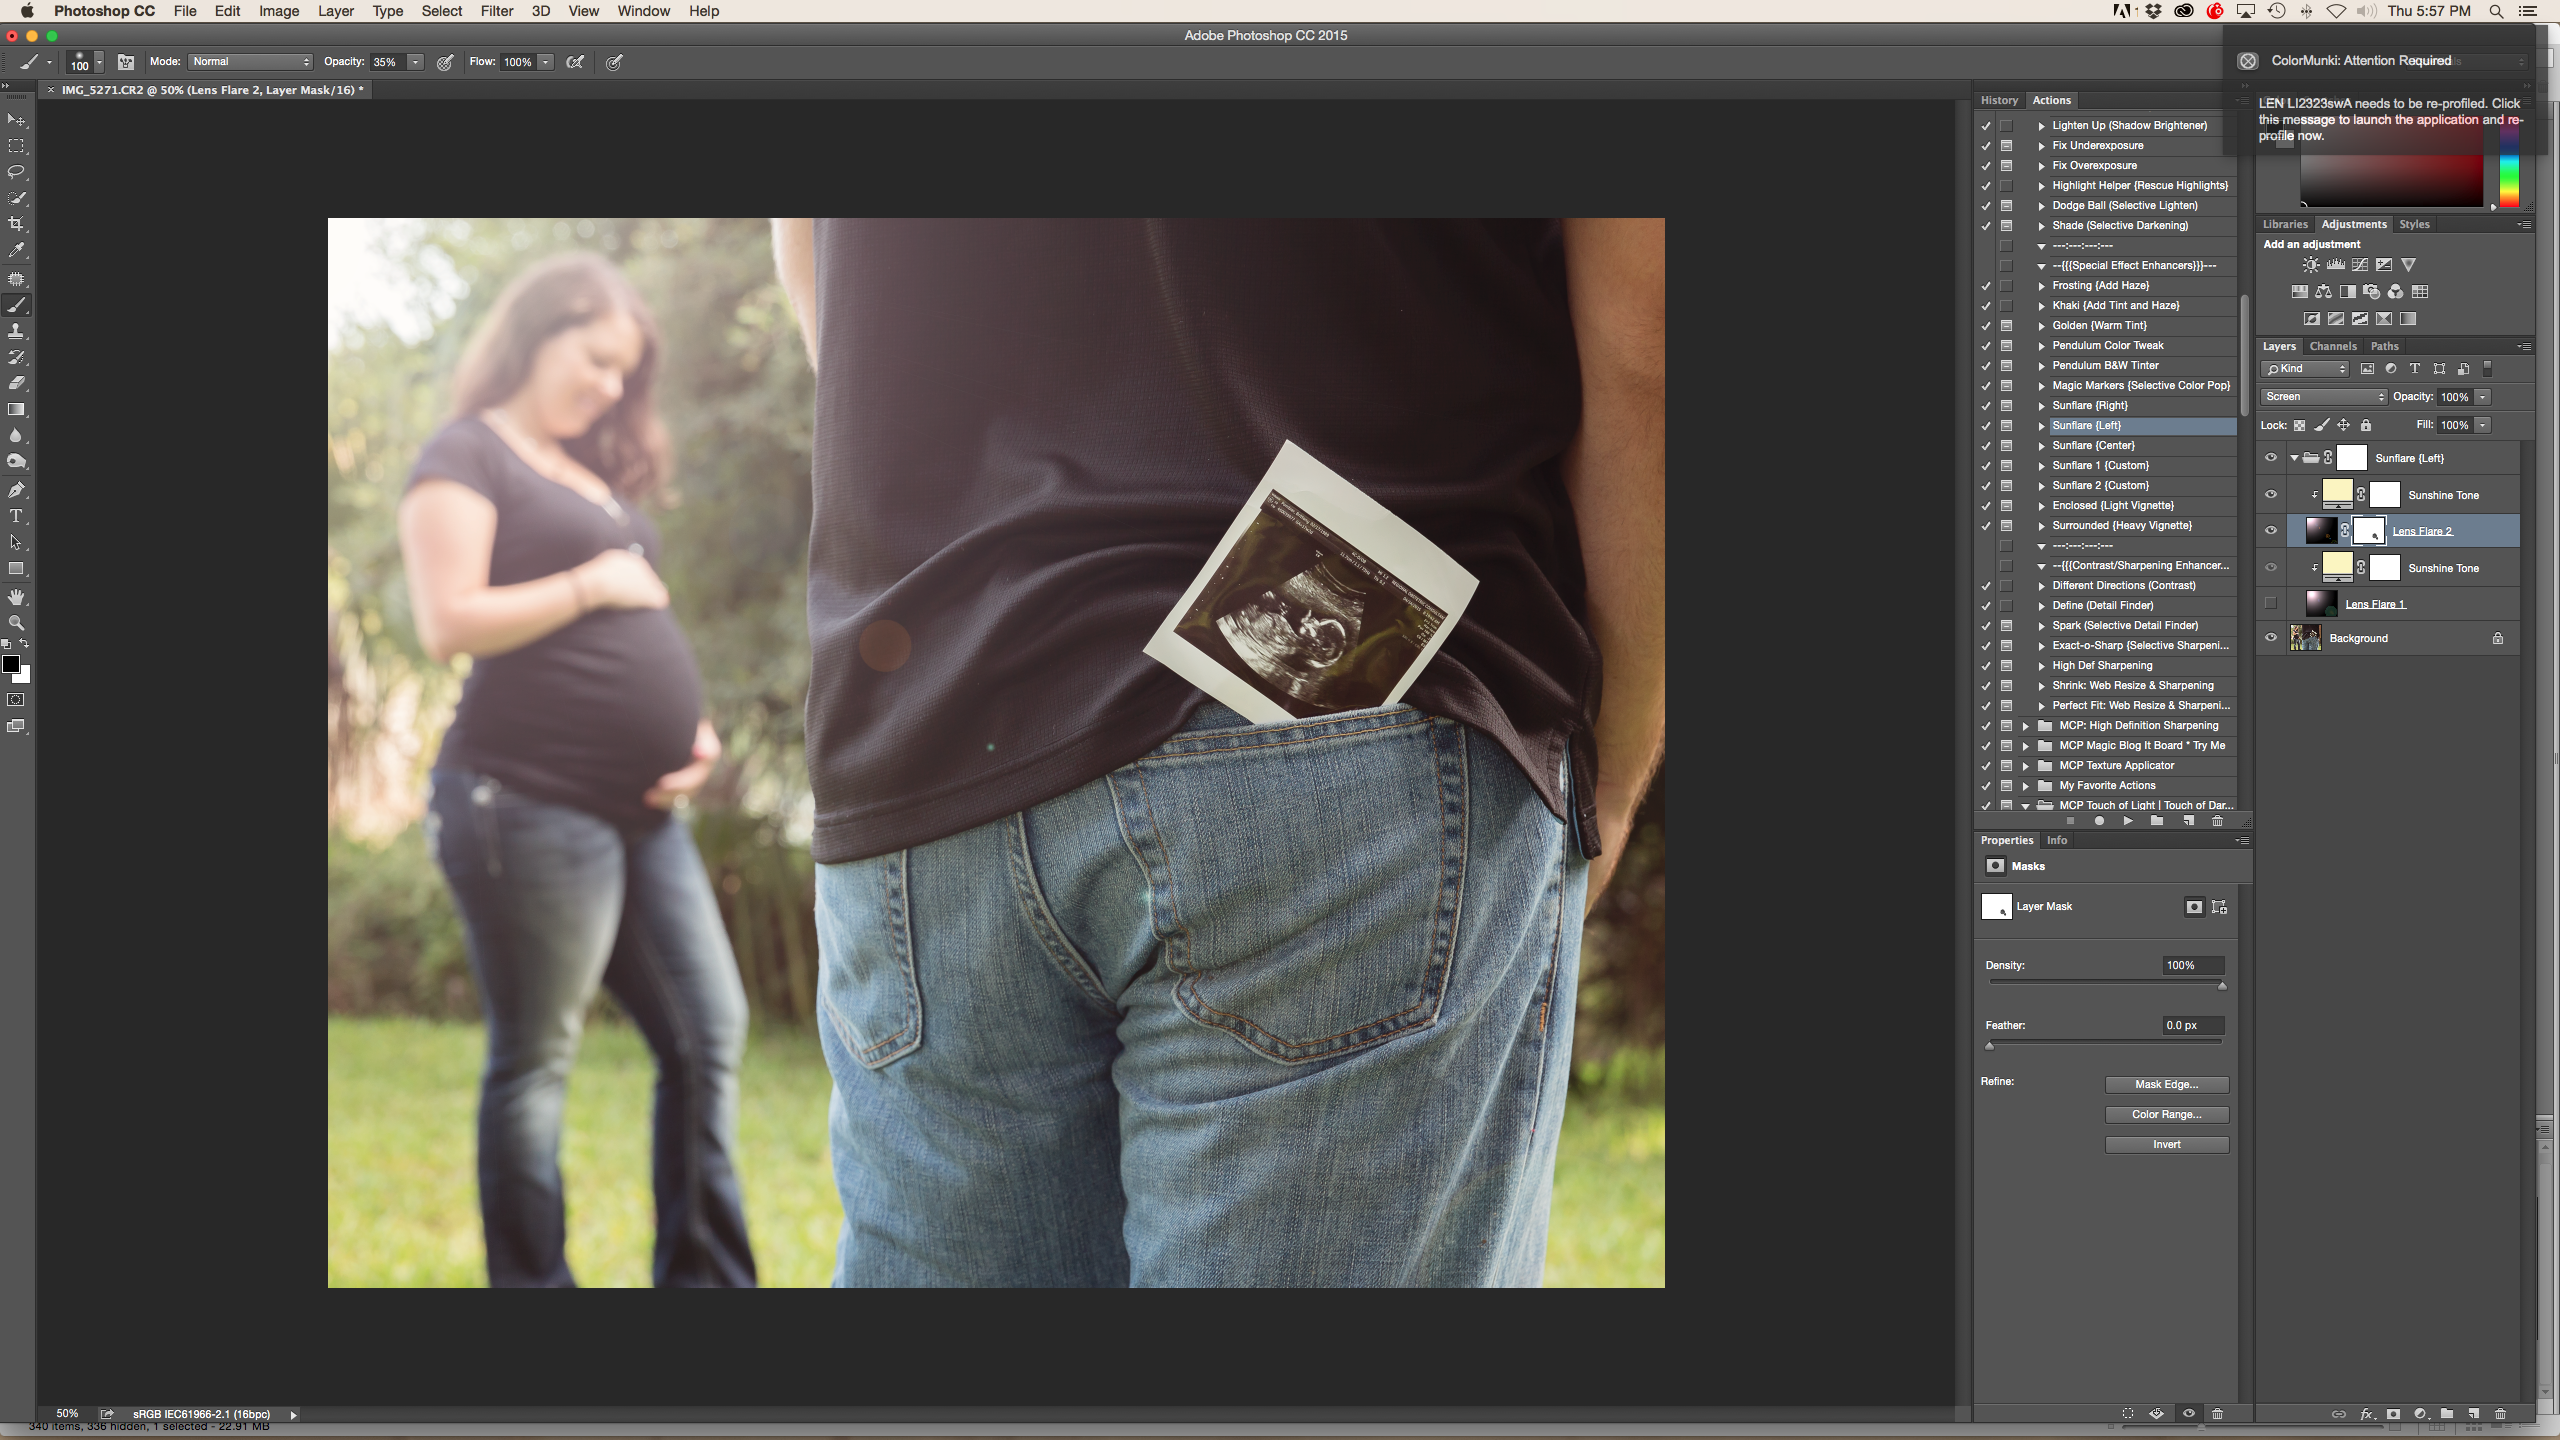
Step 4 – At this point I was pretty happy with the image but felt it needed a little something more so I used the Fusion action: LensFlare (Left) and used Lens Flare 2 at 50%. I added a mask to the sunflare to remove spots from the back of his jeans and lowered the opacity of the Lensflare to 77%. Default is 100% and it was a little strong for my image. Here is the Sunflare at 100%.
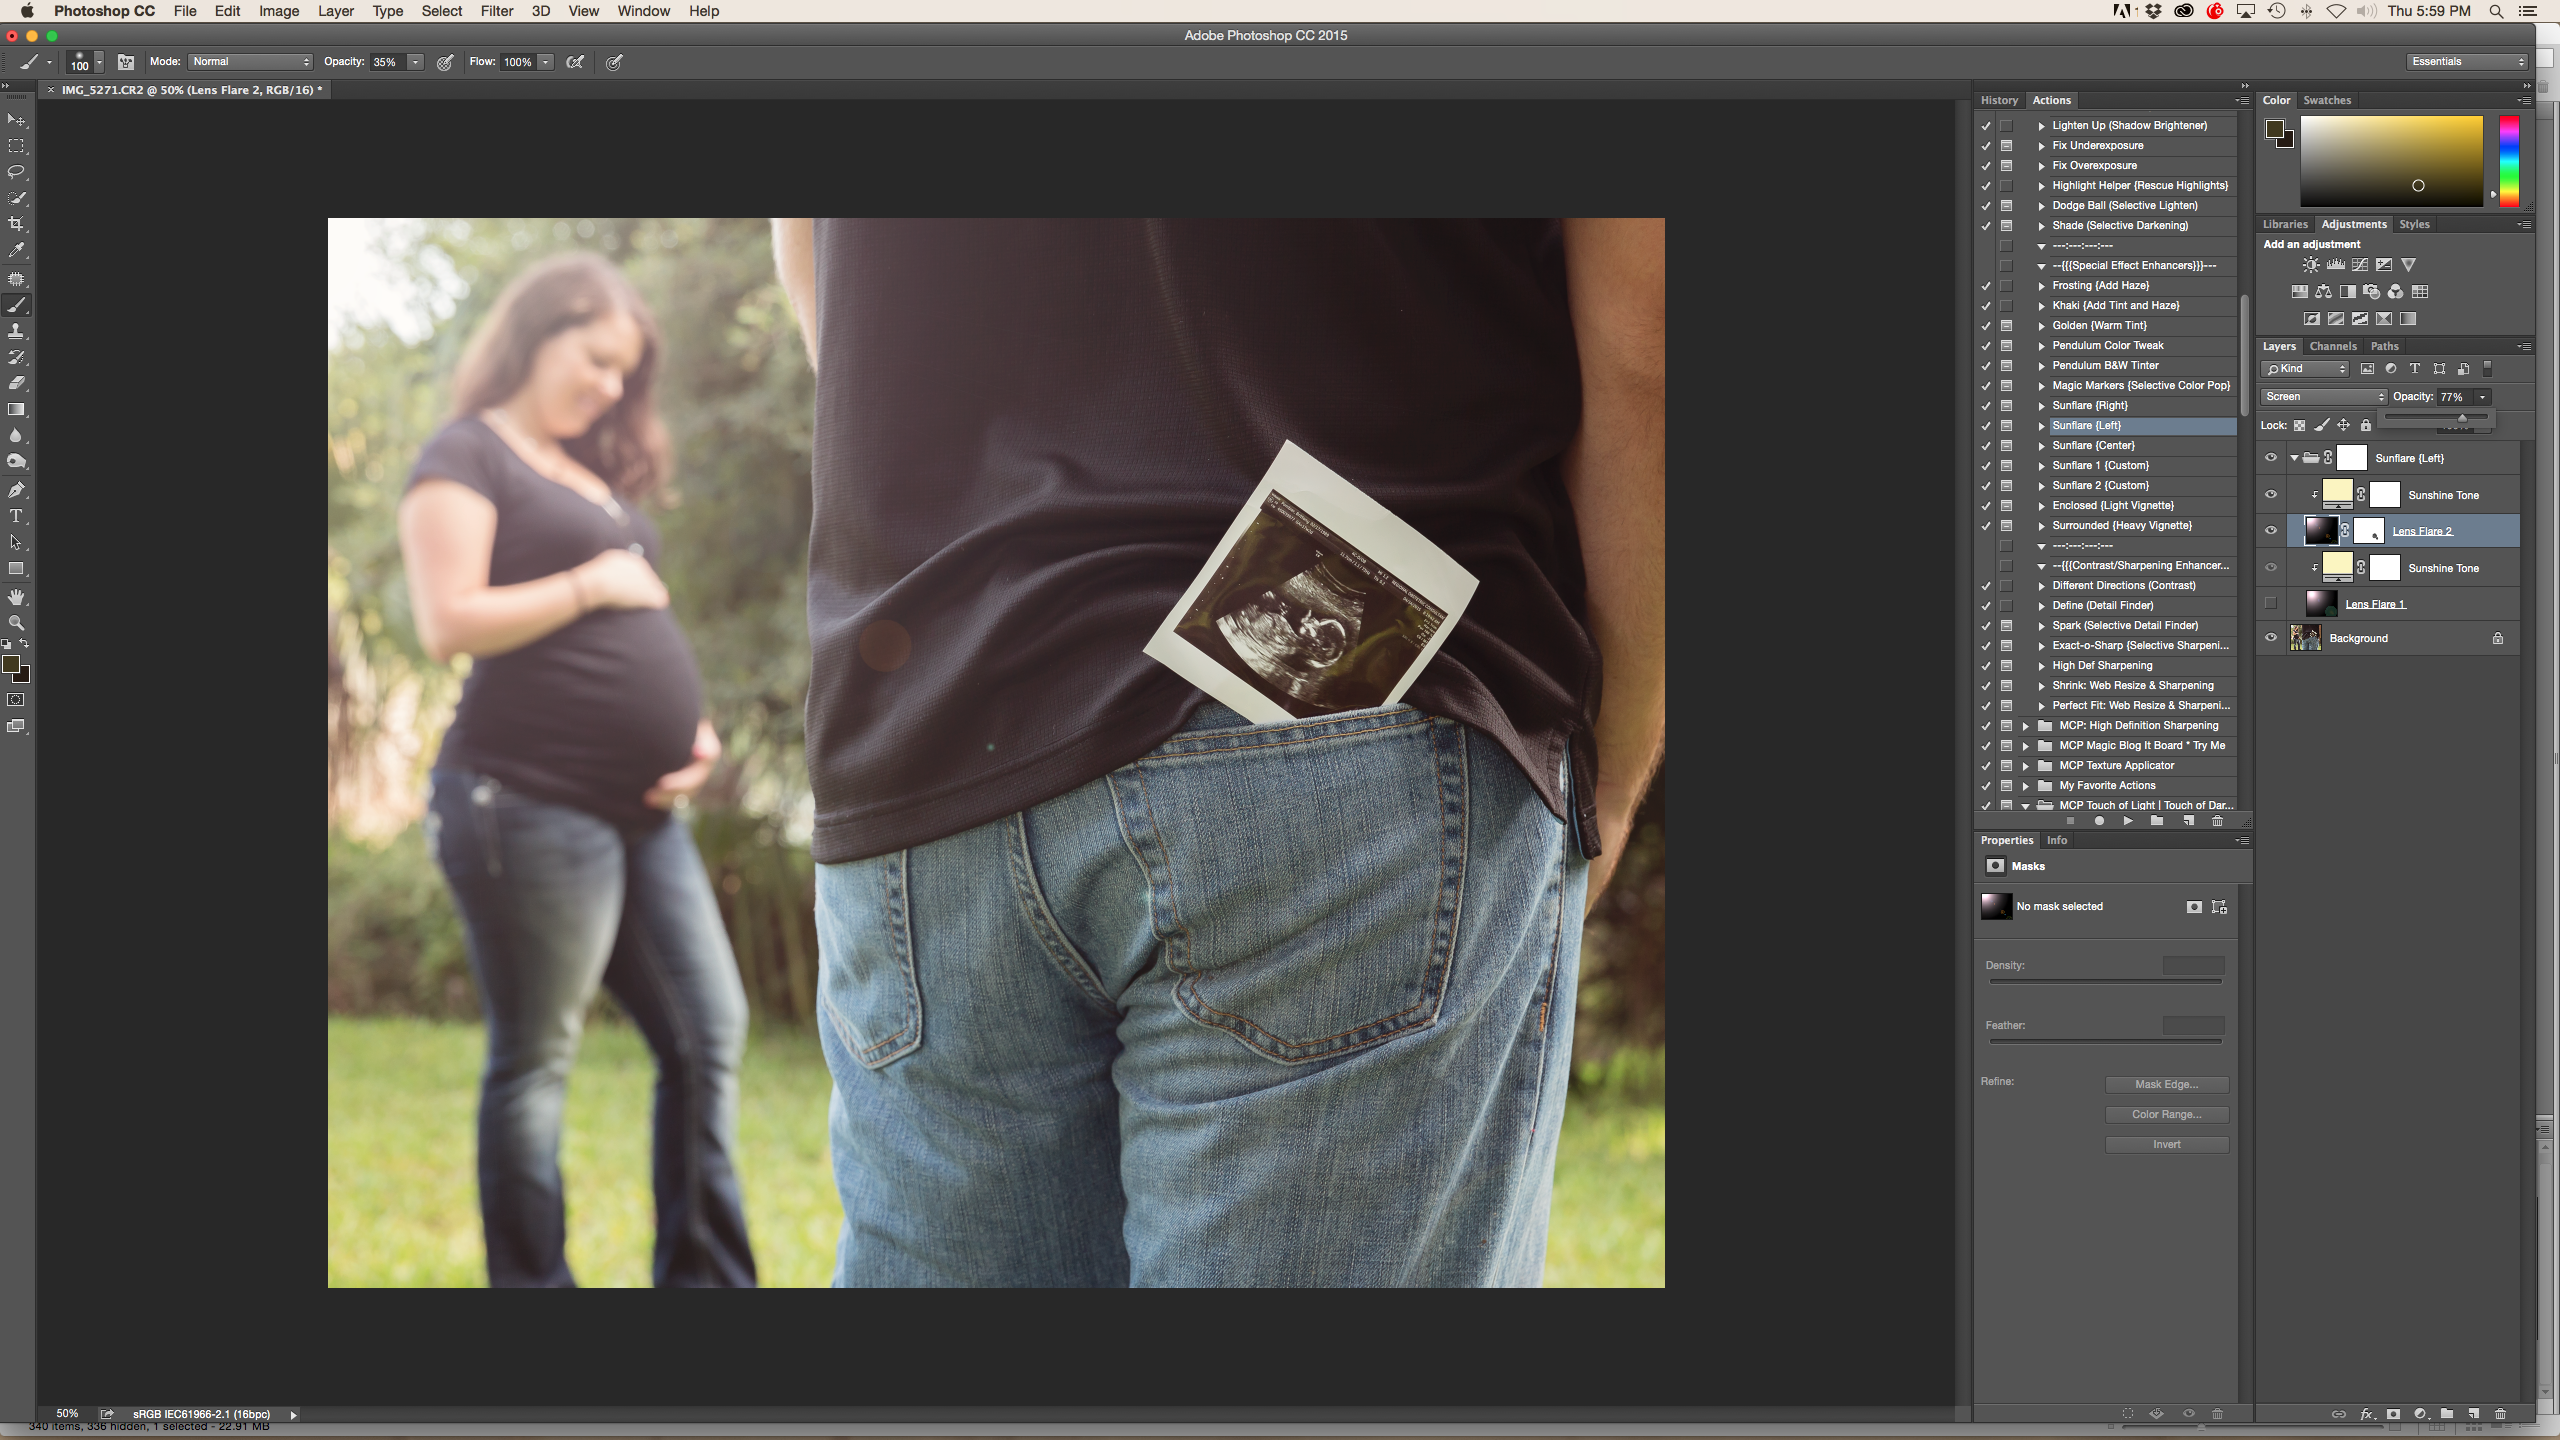
And here is the Sunflare at 77%. You can see the slider at the right brought down to 77%.
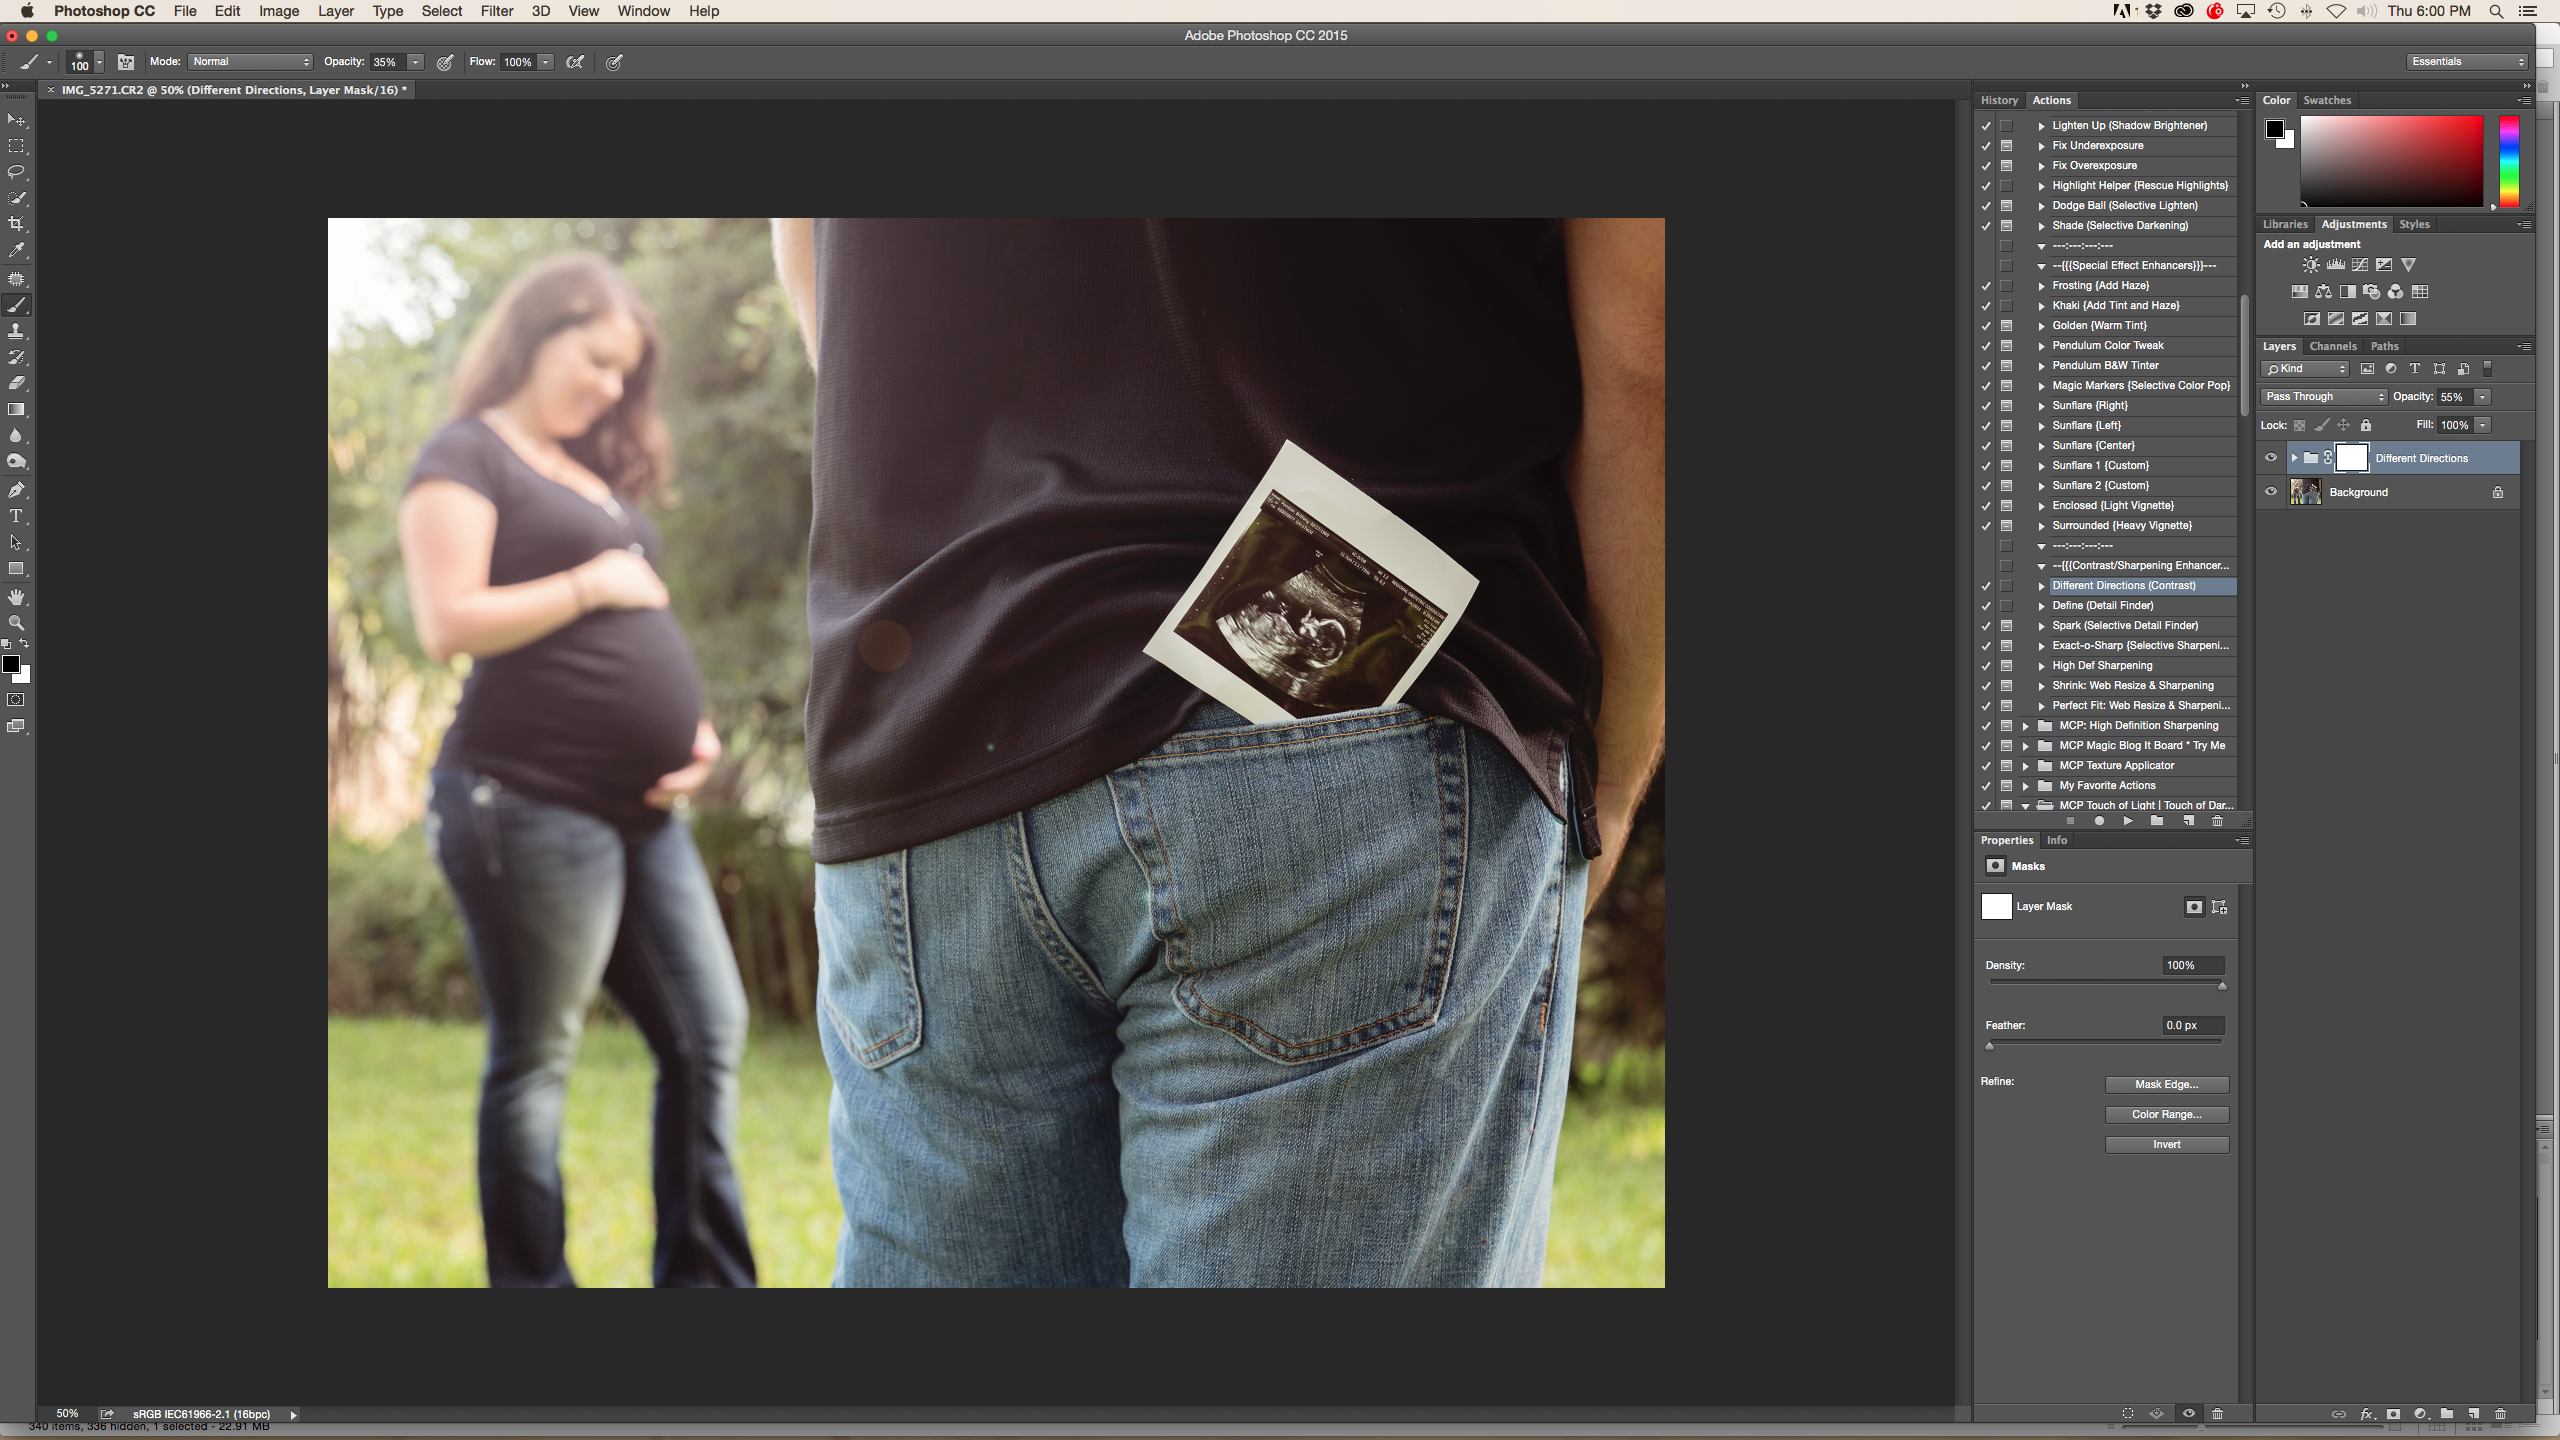
I flattened the image again and ran Different Directions for contrast at 55% which is the default setting. Note this on the right hand side of the screen shot below.
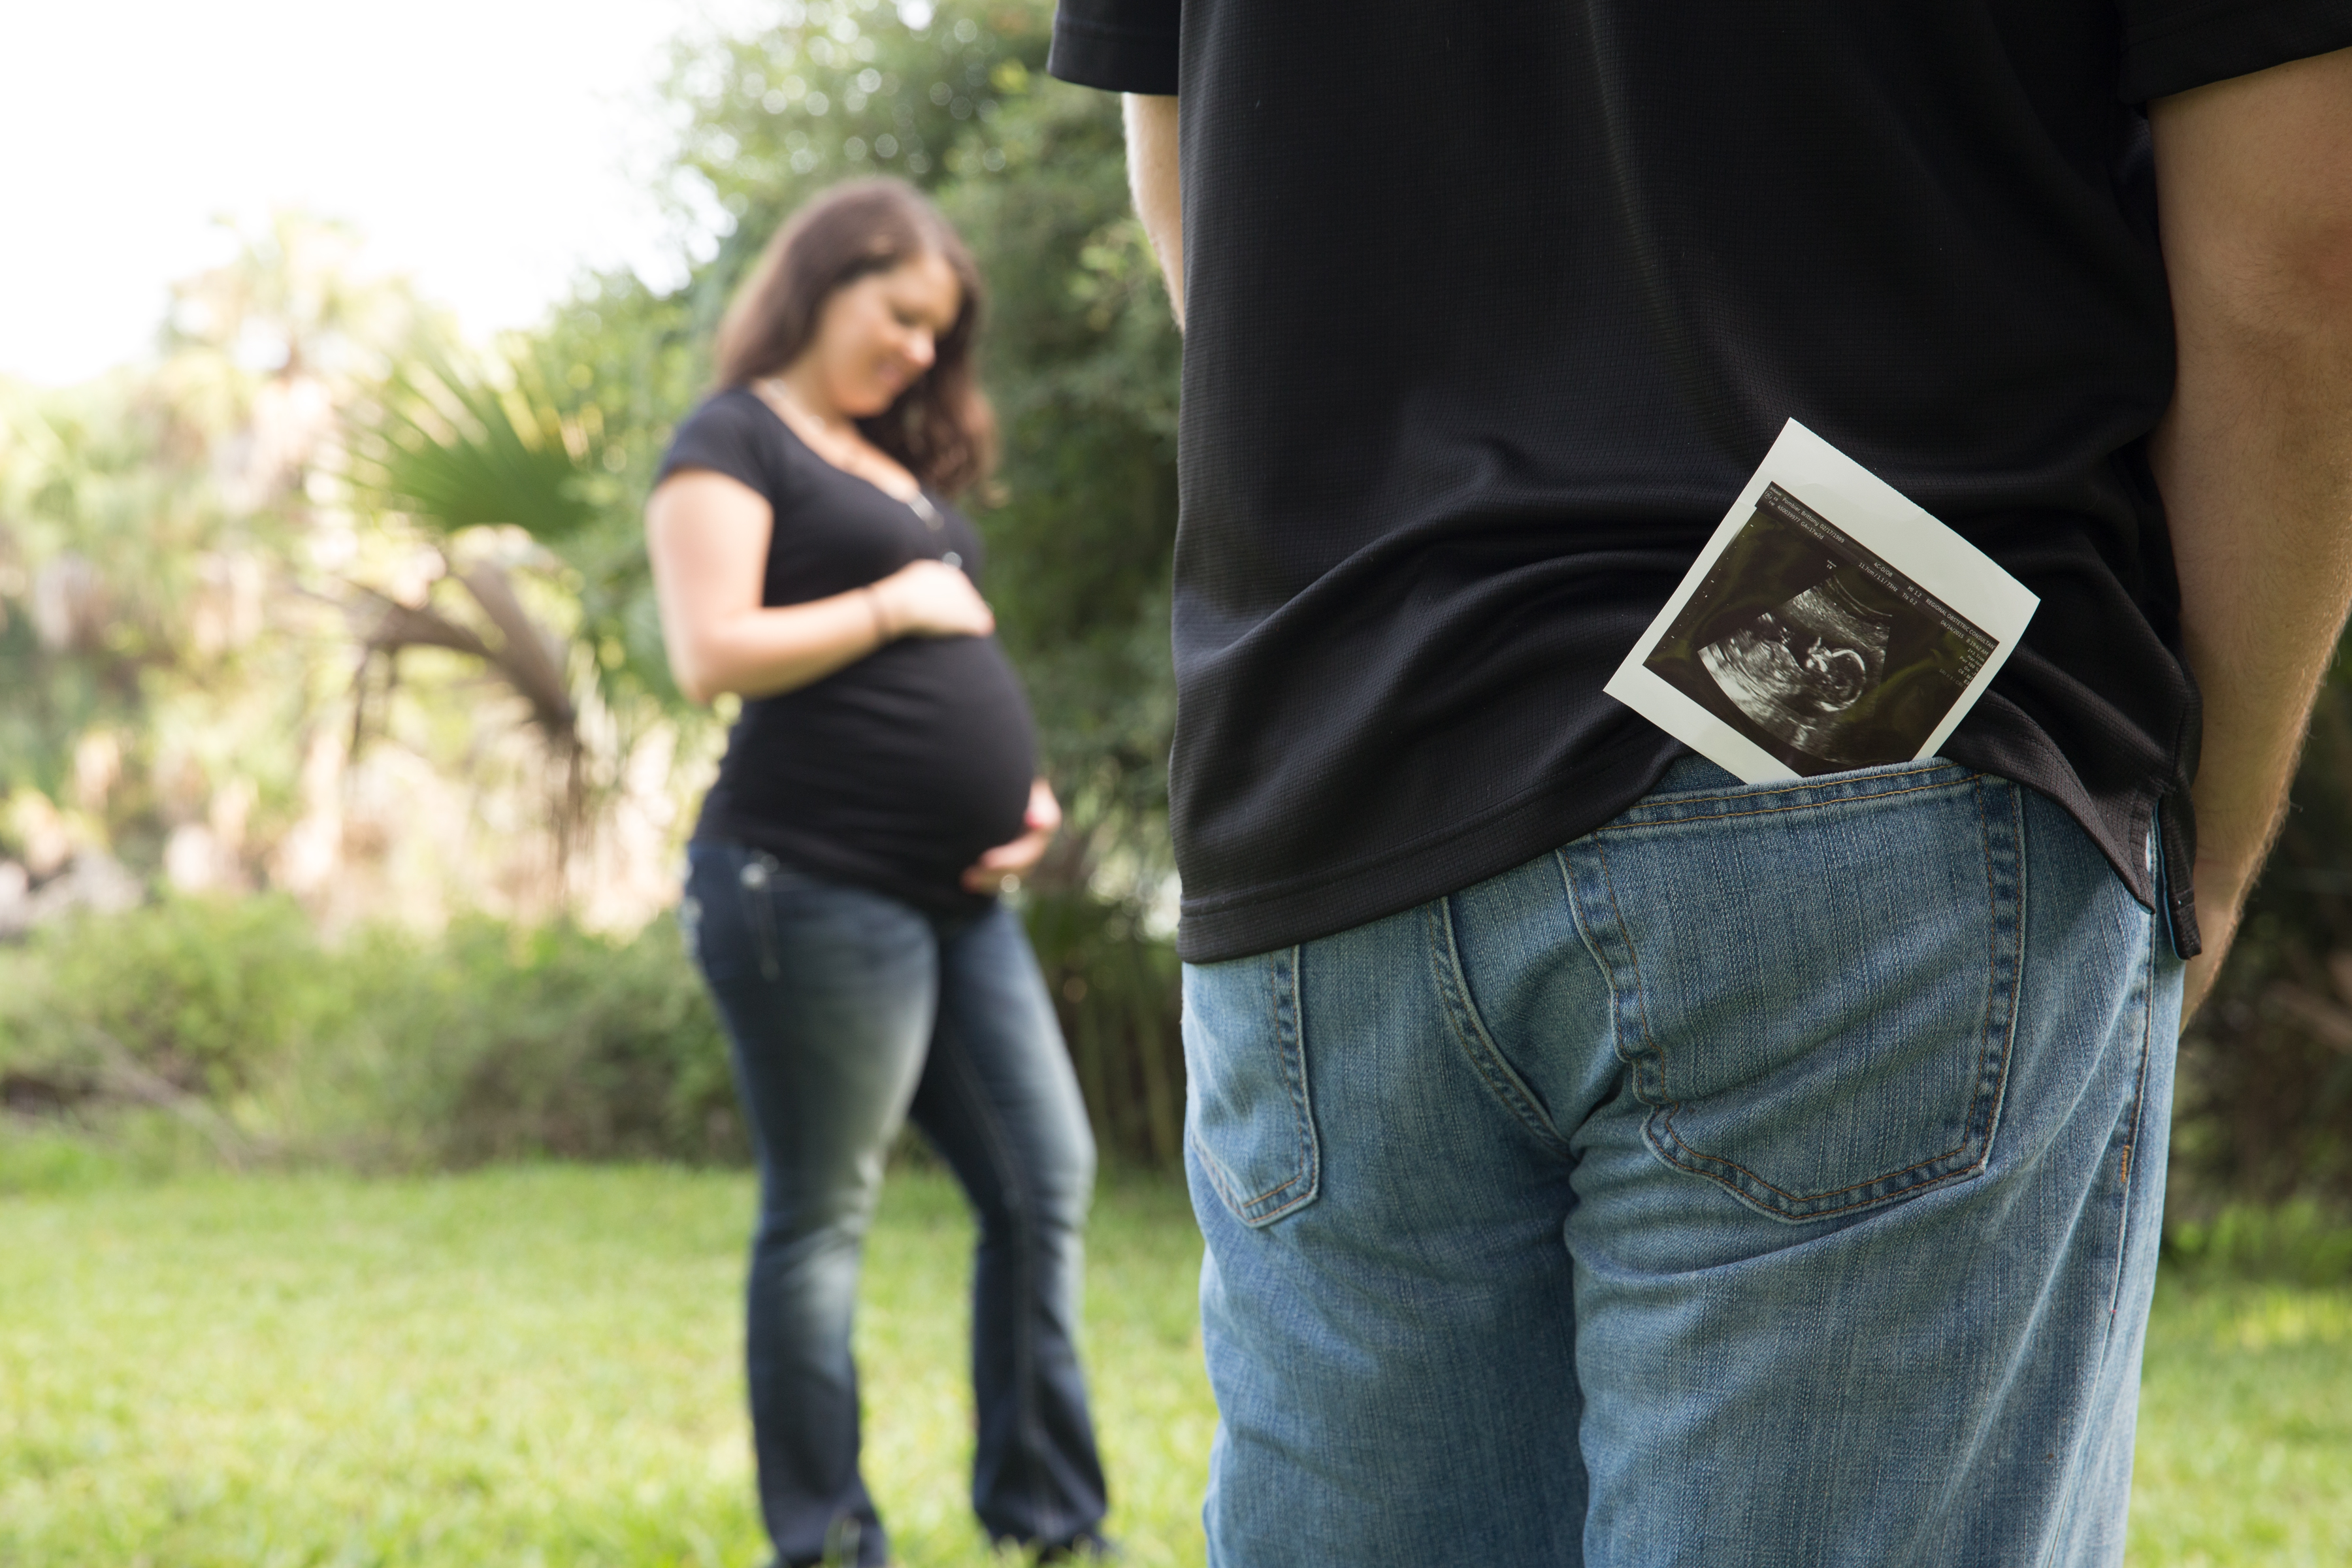
Here’s the “Before” editing with MCP Action Fusion Set:
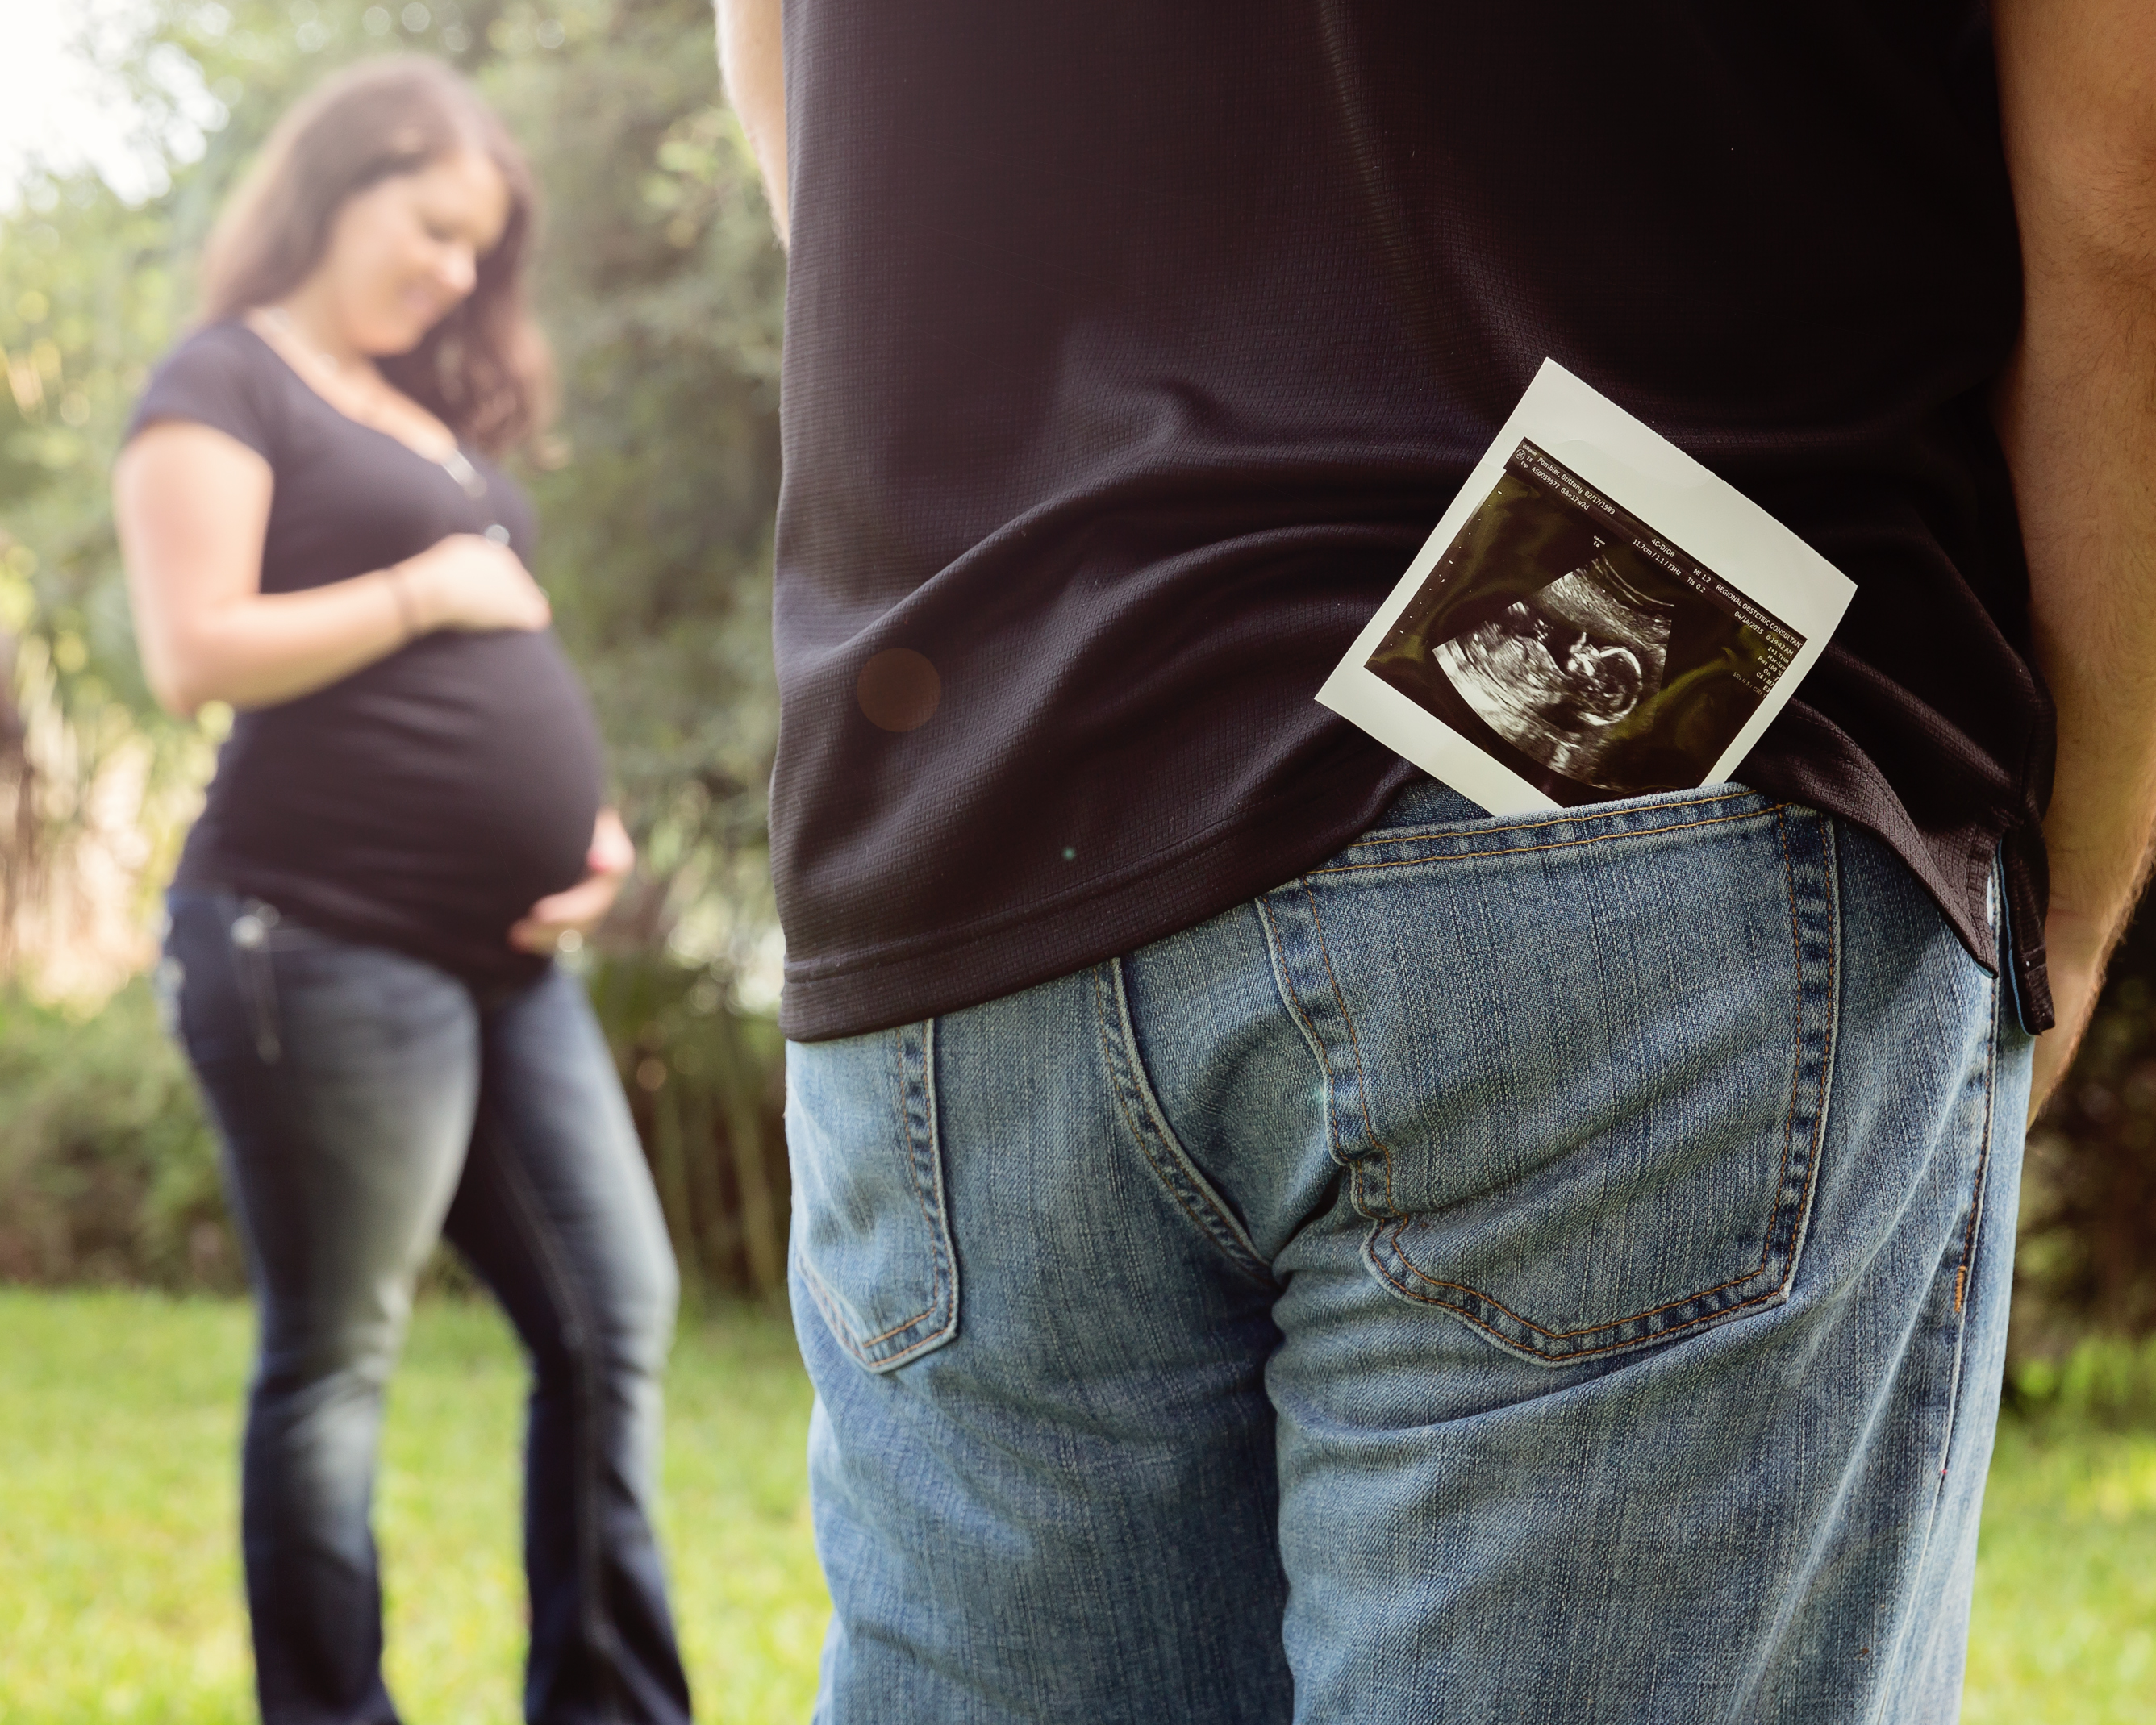
And here is the “After” editing with MCP Fusion Set:
Editing from (me) Julie Worthy at Julie Worthy Photography. I live in Jacksonville, Florida with my husband and four children. I began my business three years ago. I have loved photography since I was a child and work alongside running a family of six. I love Seniors, Couples, Weddings and because I have a household with three boys…..Football! You can find me at www.julieworthyphotography.com and on facebook at HERE.


