Featured Products
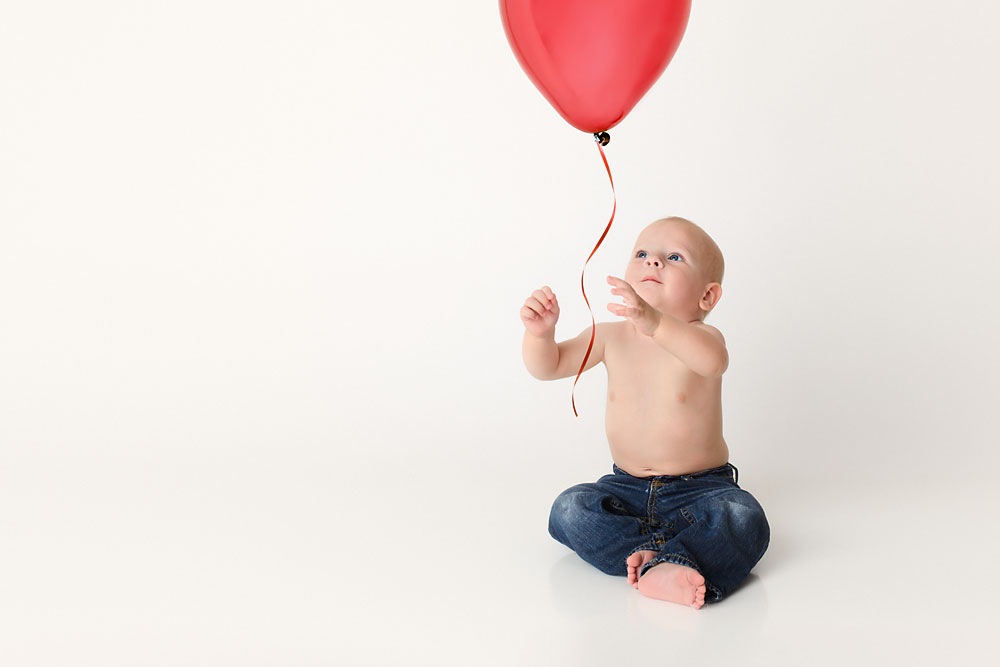
Some sessions don’t go as planned… Photoshop to the rescue!
Since we didn’t have balloons or a cake and balloons to keep his attention, I had to get creative to get the photo shown above.
Equipment used – Nikon D610, 35mm lens
Lighting – AB800 Strobe with PLM
Editing Software – Photoshop CS6
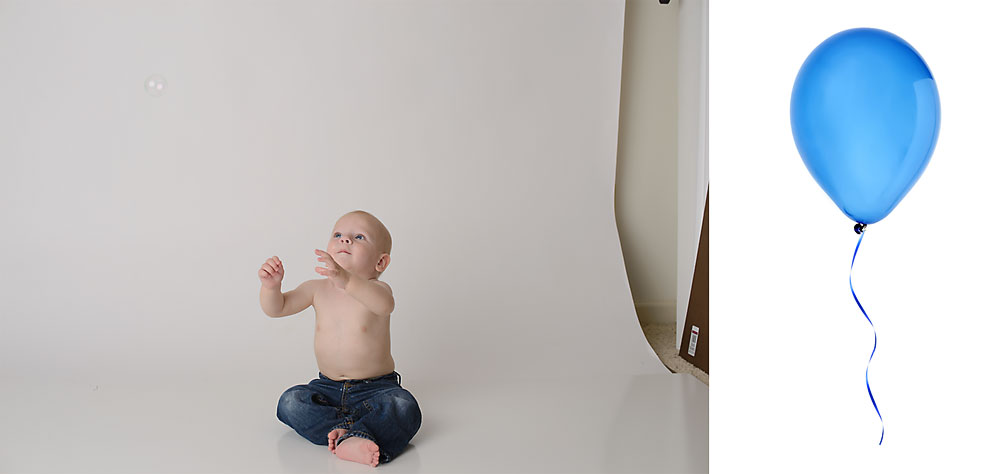
Here is the SOOC image showing the bubbles that were used to get the baby’s attention. To the right is a stock photo I purchased to add later.
Step 1 – Extending & Editing The Backdrop
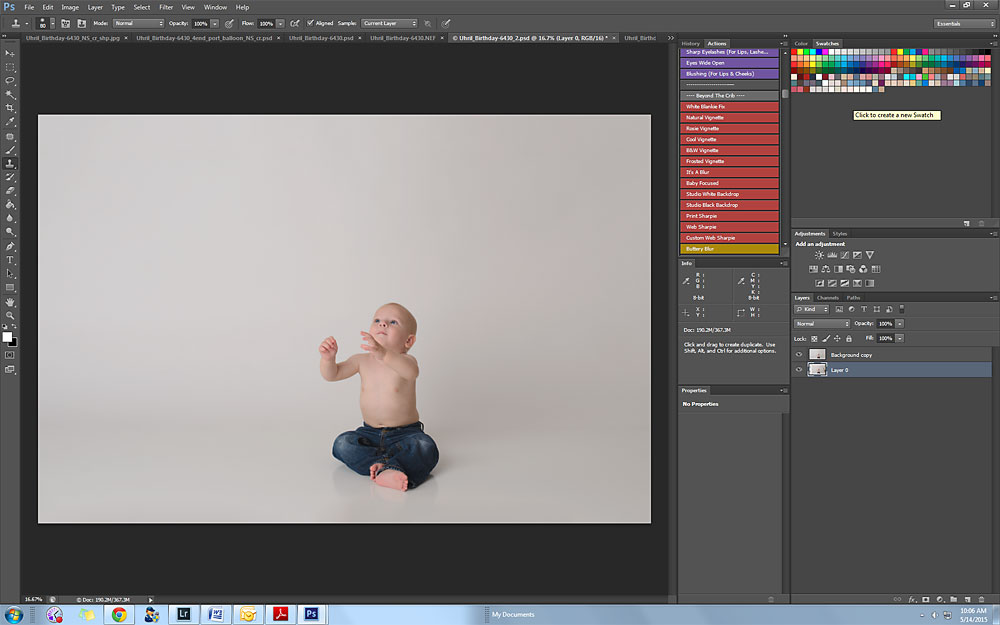
- To extend the backdrop, I use the “unconstrained” crop tool to build a base for my image.
- Flatten the image.
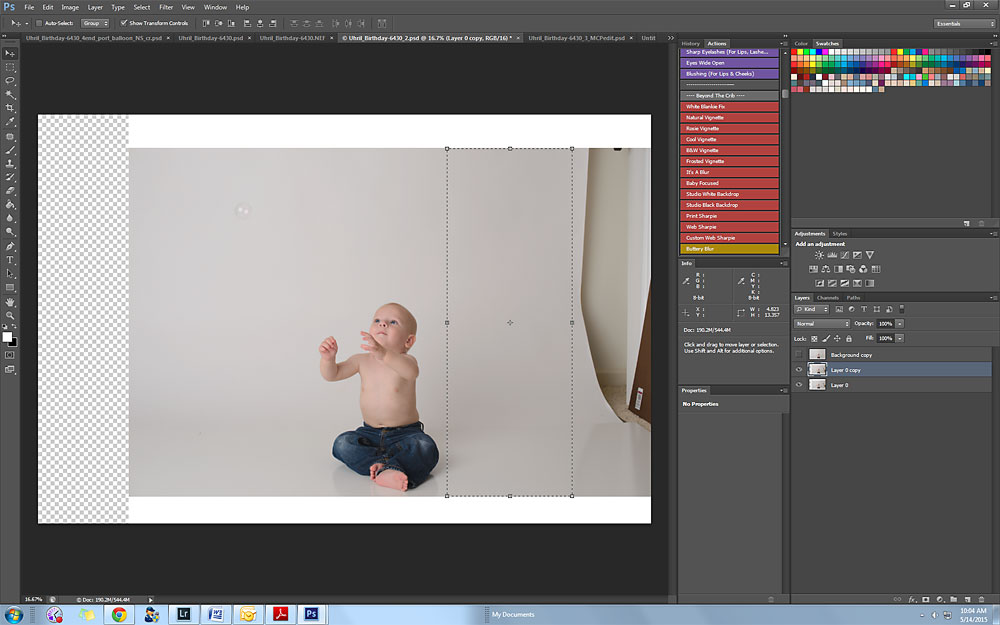
- Add Duplicate Layer – use the selection tool to select a clean piece of the backdrop. Use the move tool (show transform controls needs to be checked) to stretch the selection to the edge of the image. I repeated the around the image, except for the bottom. I wanted to preserve the baby’s reflection.
- To fix the bottom, I selected the white area > right click > fill > content aware. Doing it this way helped to extend the reflection.
Step 2 – Now that the image canvas a good size, it is ready to start editing.
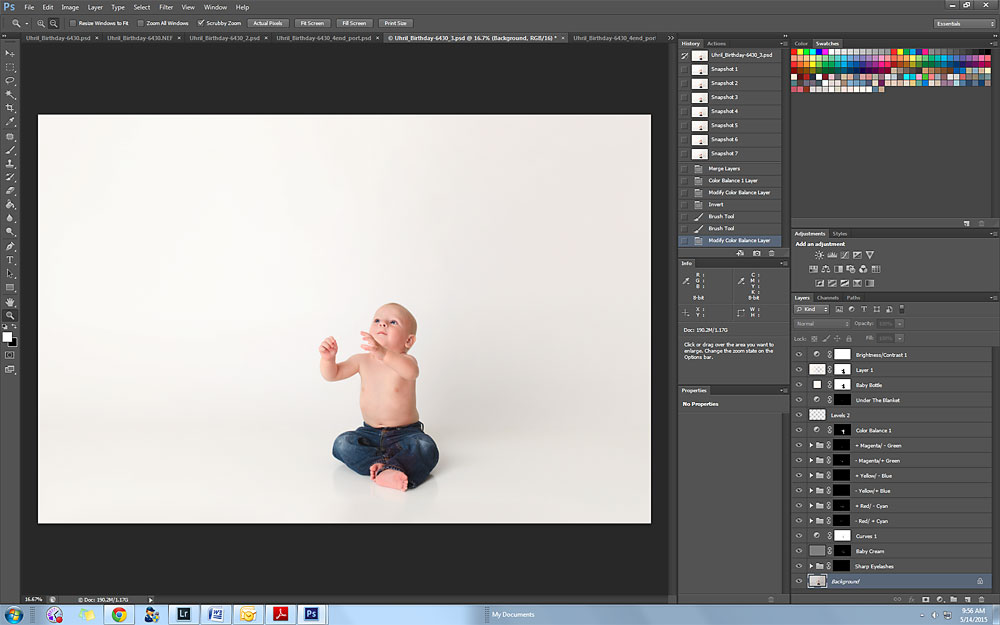
Exposure: Because the baby is sitting on white paper, fixing the exposure is easy using the white eye dropped tool with a curves layer. I click on the lightest part of the image (area closest to the light). This will blow out the background in parts. Because the background was not lit for pure white, I adjust the opacity in the curves layer until the background is no longer blown and I will brush the adjustment off any hot spots on the baby.
Next, making the image pop:
- Used MCP Newborn Necessities actions to enhance the image: Fixed skin tones and shadows using the Paint On Formula action, Under The Blanket action, and then tweaked with color balance and levels layers.
- To add a bit of tone to the backdrop, I used the Baby Bottle action and a light paint around the edges in the same color.
- To make the baby pop, I added a little brightness/contrast.
- My last edits before adding the balloon prop were the Baby Cream and Sharp Eyelashes actions to polish the baby.
Step 3 – Preparing the stock image
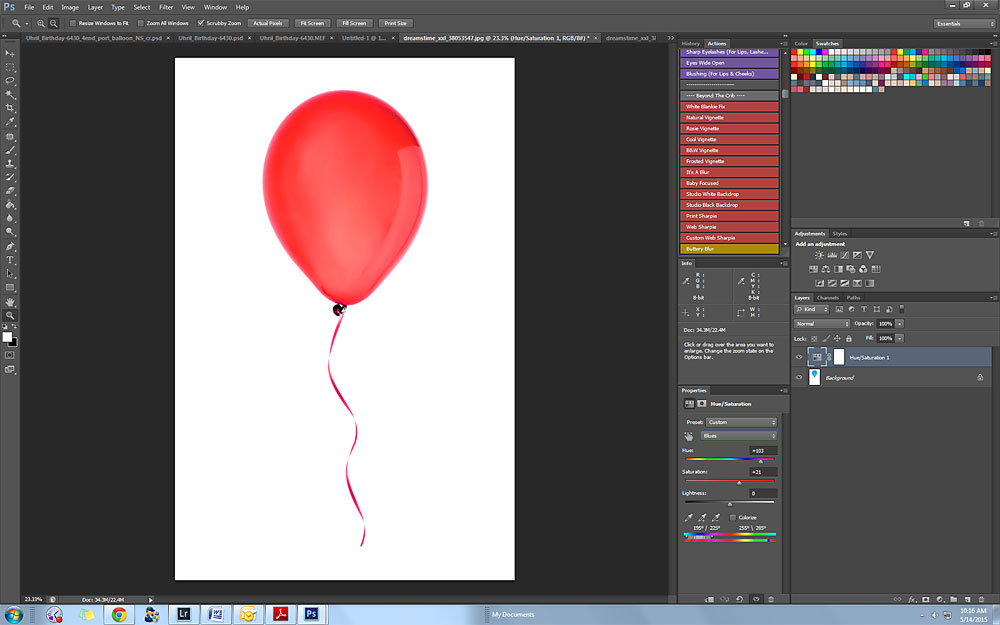
 I purchased this stock photo – but unfortunately it didn’t match! So back to editing.
- I added a hue/sat layer and played with the cyan and blue hues until I liked the color.
- After flattening my layers on the balloon, I used the selection tool to select the balloon image.
- Then I opened the main image again, and pasted the balloon layer on top.
Step 4 – Merging the two images
- To get rid of the white background on the balloon, I changed the blend mode of the layer from “normal” to “multiply”.
- Next I flipped the balloon using Edit > Transform > Flip Horizontal so it matched the direction of the light on the base image.
- To finish the image, the balloon needed to be scaled to the baby – again using the transform tool.
- Final image was cropped to highlight the baby.

About Michelle
I’m a mother to three beautiful children, a birth doula, and a photographer. Working as a birth doula for over twelve years, I have guided and assisted hundreds of new parents through their journey of welcoming a new baby into their family. This experience, along with my passion for capturing life in pictures, naturally led me into newborn photography and specializing in babies under two weeks old.
Her Website | Her Facebook Page


