Featured Products
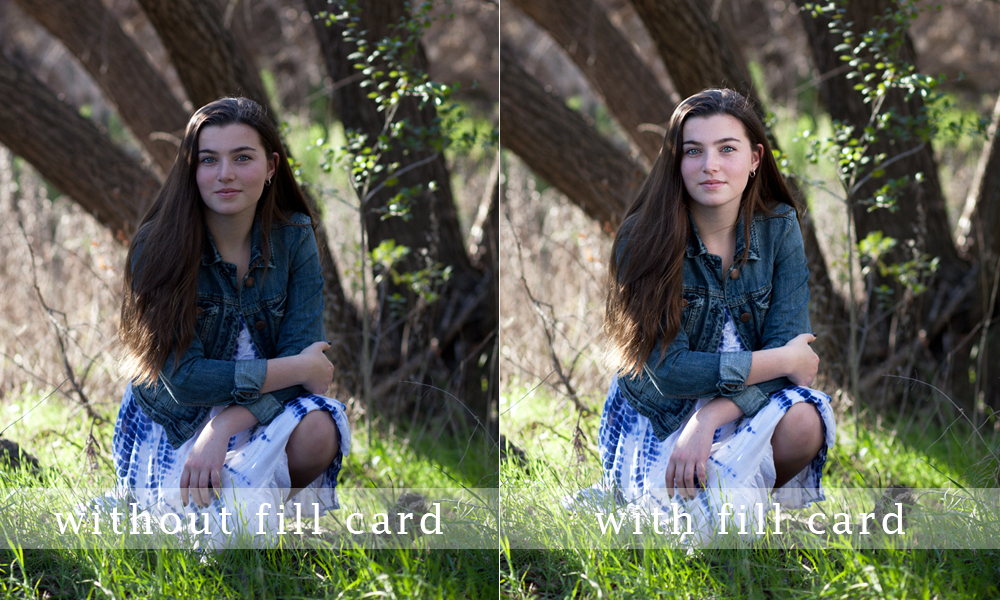
On Monday, we showed you how to use a simple white foam core board and this diagram to get better light on your subjects. Now, we will show you some editing added after using this cheap fill light.

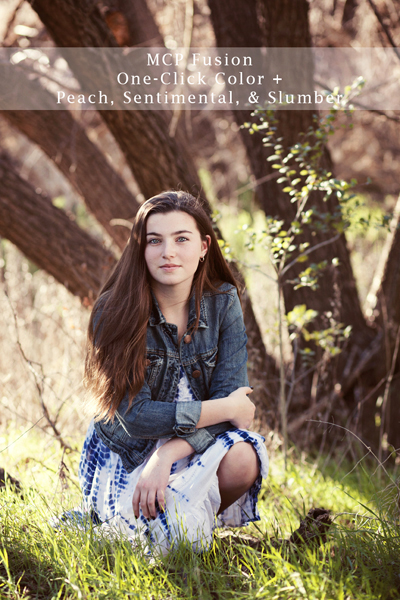
The first example is on the original post. Here’s two more images processed using MCP Photoshop Actions from their Fusion set.
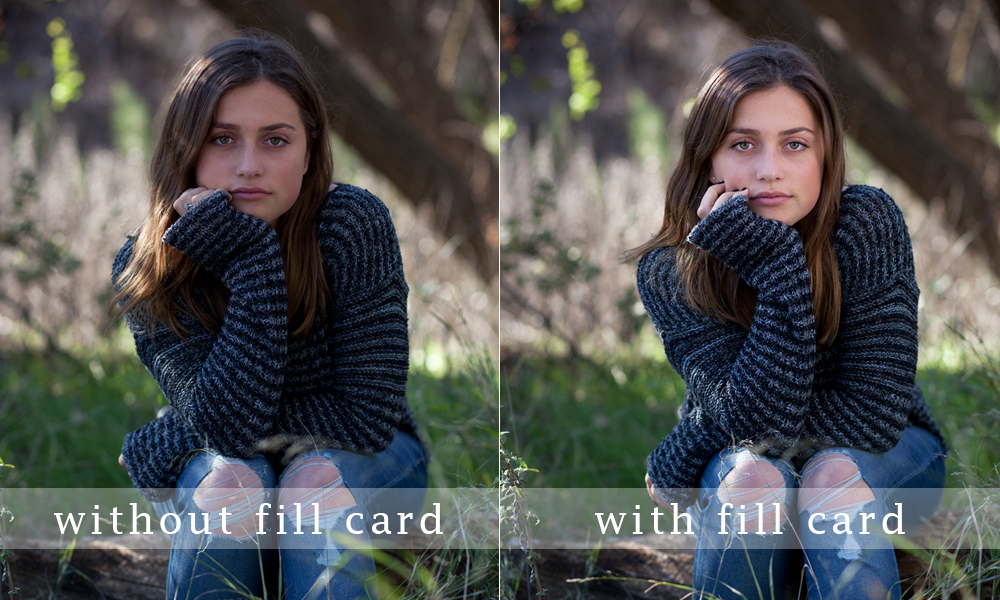
Here’s a few more examples:
You can see the difference the DIY reflector made.
The edit used One Click Color to add some dimension and contest. Then Peach, Sentimental and Slumber Party to tone the image.

Again for this image you can see how much difference the added light bounced back to the subject makes.

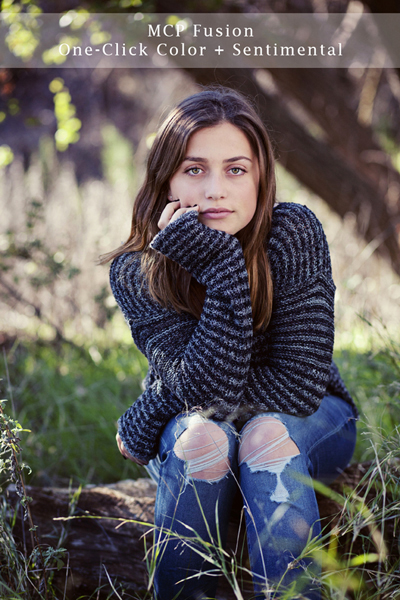
And the edit using One Click Color and Sentimental – just making it have that extra special touch.

Carolyn Devine is a Los Angeles based photographer whose work is inspired by the environment around her. Her love for nature is obvious in her work, whether it’s photographing families, fashion, or product. This natural style is what people are drawn to and what she is known for.
Find her on Facebook or at www.carolyndevine.com


