Featured Products
Capturing the Beauty of Aurora Borealis
Many people dream of seeing the northern lights in person, but what do you plan to do once you are before them? Are you just going to take a visual snapshot or do you want to capture the beauty before you for potentially centuries to come? Most people want to photograph the Aurora Borealis, but they quickly realize it isn’t an easy task. If you do plan on photographing the Aurora Borealis or as I like to call her, Lady Aurora, here are some tips:
Equipment needed
1. Camera with a manual mode– When photographing the northern lights, you cannot use auto mode, you will have to use manual mode as the situation is too dark for auto to respond correctly. Once you are on a manual, you will have to determine what exposure, aperture and ISO you plan to use. When it comes to white balance, most people I know use tungsten or auto. Tungsten can really make the blue and greens pop, but for me, it makes the rest of the landscape blue. I prefer using auto as the colors change constantly and I want to pick up all the colors Lady Aurora decides to bless us with. Now, this is where things become more technical. If you want sharp images, the quality of your camera and the quality of your lenses makes a huge difference. A full frame with a higher ISO capability will help you in these circumstances. I use a Canon 6D and while it is a lower end full frame, it has more than enough needed for the aurora. However, some of my students who have used the early rebels with kit lenses have had problems due to the very low ISO capabilities of the camera and the high f/stops of kit lenses.
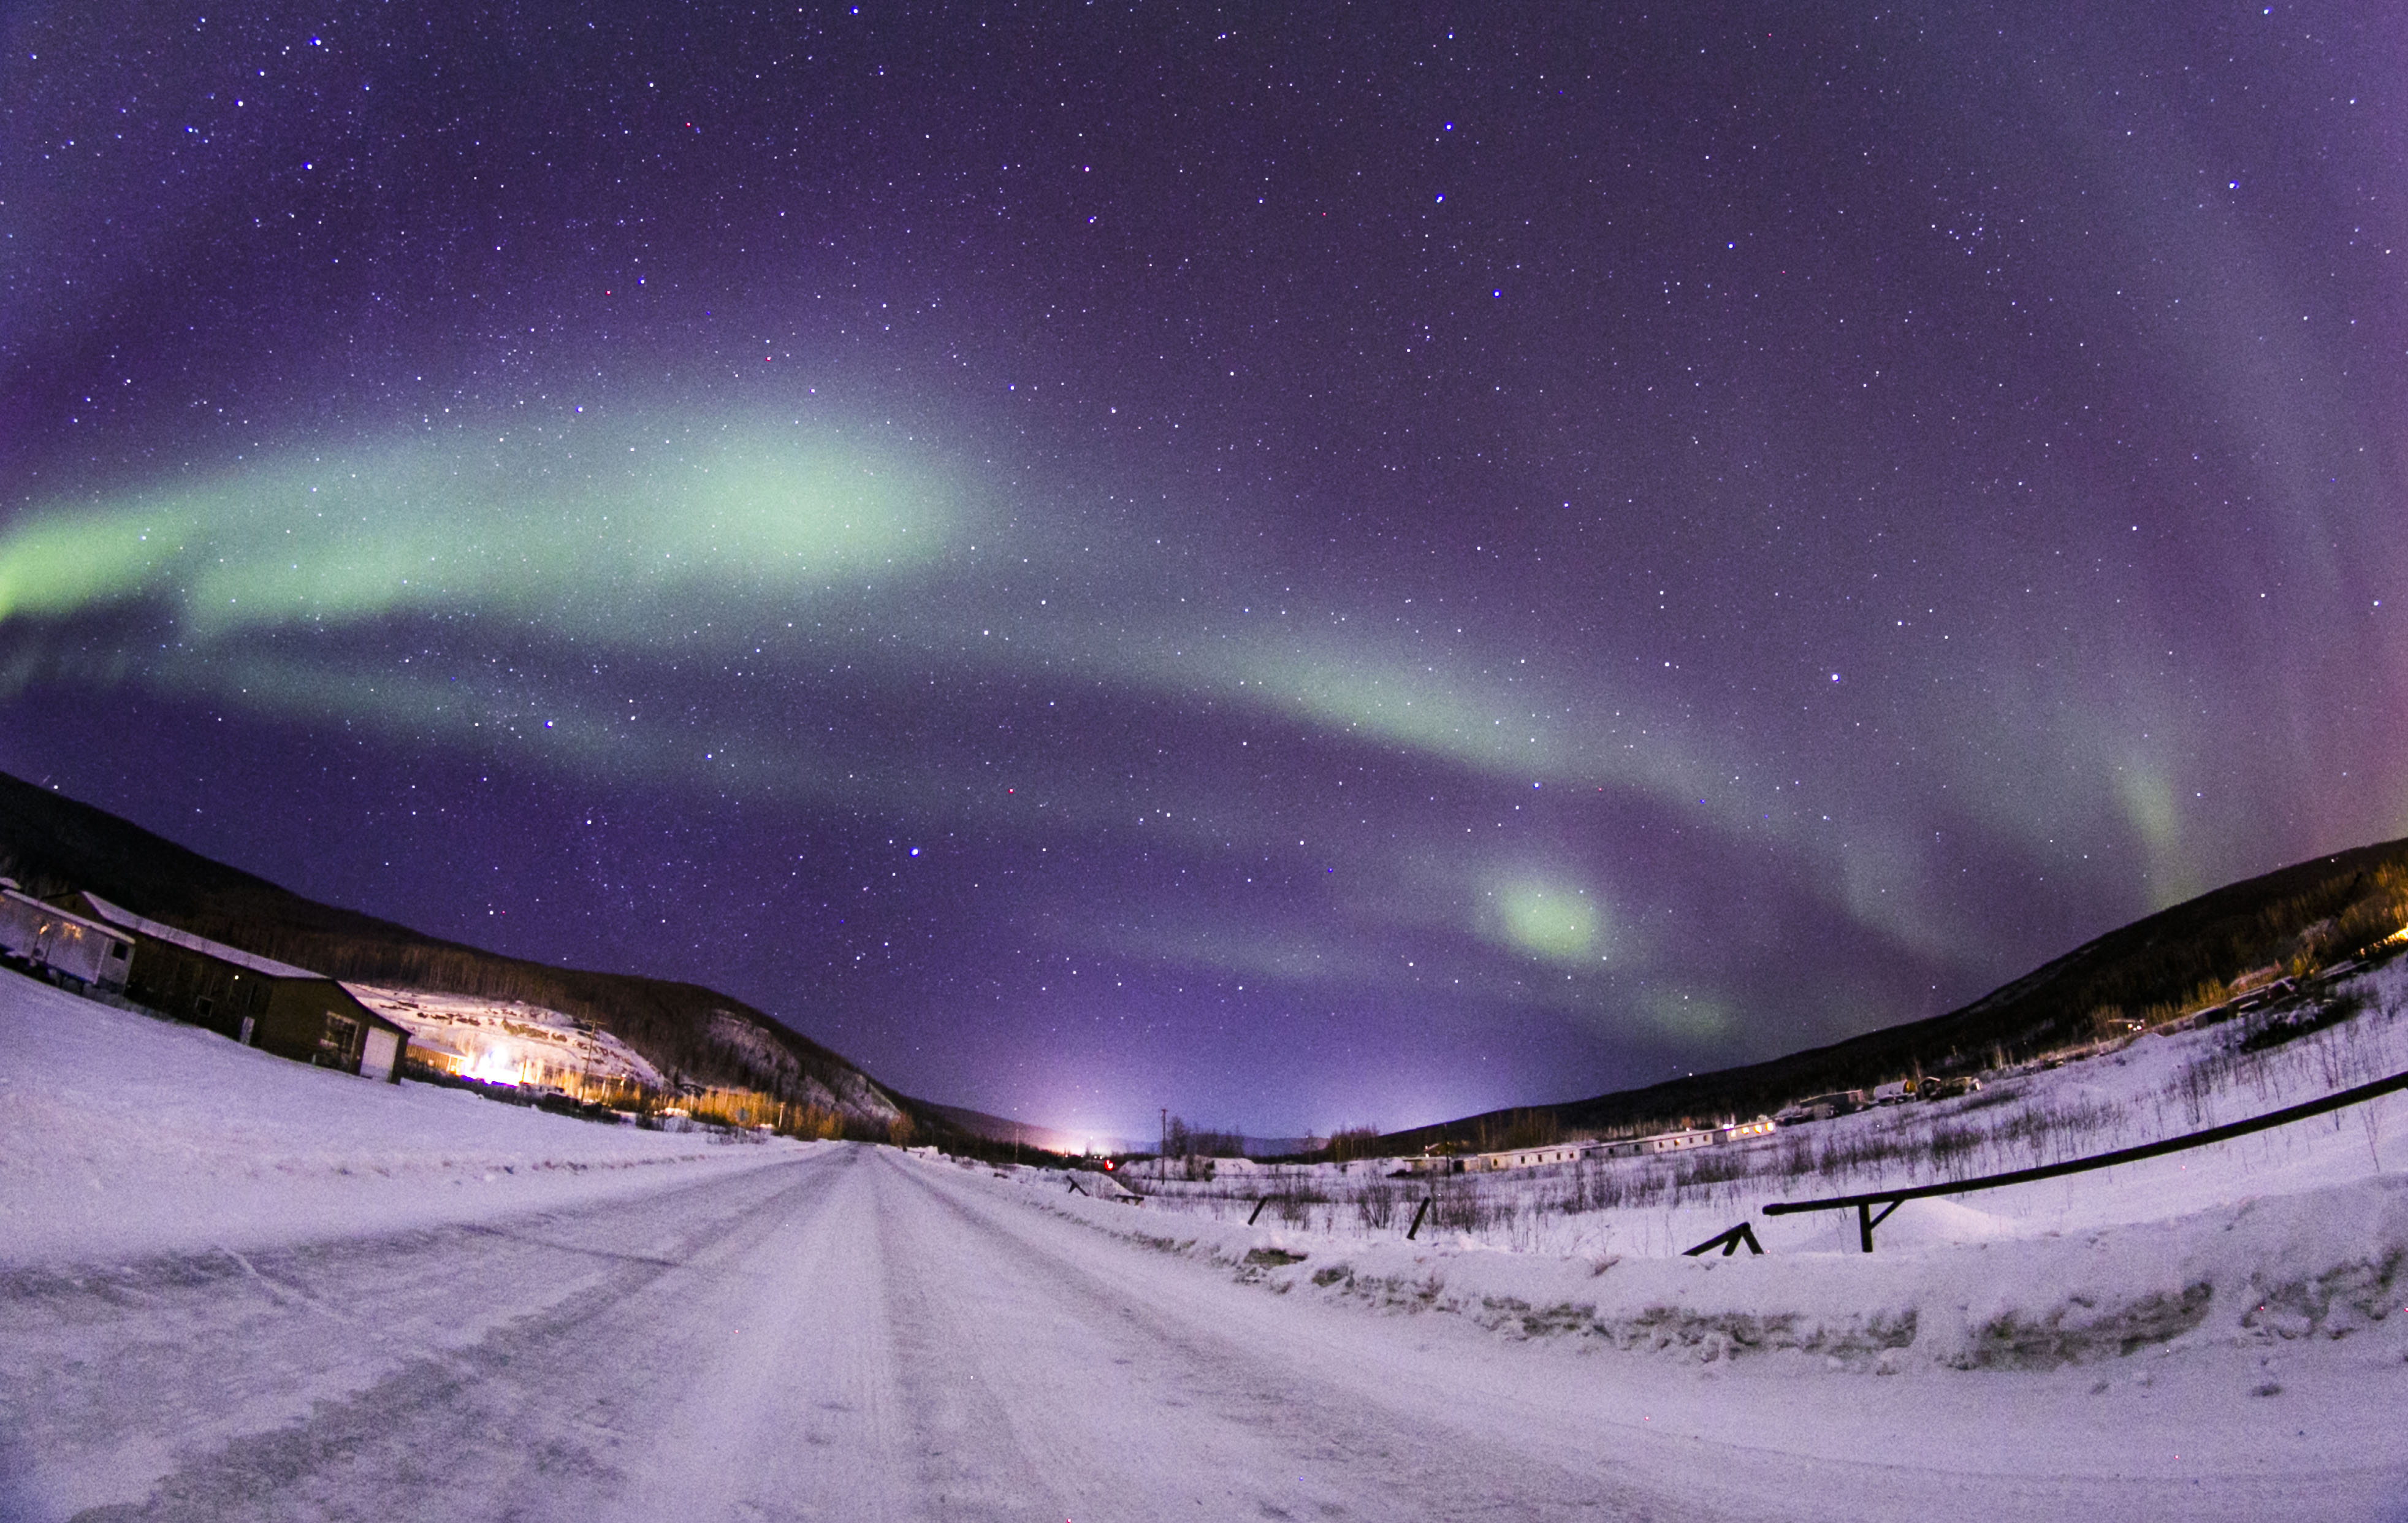
2. Bring a wide lens– The aurora can literally fill up the entire sky and you want people to see all of aurora, not just a small section. Also, including the landscape helps people realize how massive the aurora can truly be. A lot of photographers here in Fairbanks, AK love the Tokina 11-16mm f/2.8 lens. I personally use my Sigma Art 35mm f/1.4 and occasionally my 6mm fisheye when it is too massive to capture withmy 35mm and I want a different feel to my pictures.
3. Bring a tripod– This is a must and without a tripod, you will not have sharp images due to the long exposures needed. You will need to slow your shutter to potentially 1 second to 30 seconds, so you need your tripod to be very still. Your shutter speed will be determined on how bright the aurora is at the exact time, but I personally use 1-4 seconds on average. The aurora can be very bright where I am located though, areas south to Alaska needed longer exposures a lot of the time. I also suggest getting a strong, heavy duty tripod. Considering you will have long exposure times and potentially very strong winds with heavy equipment on unstable snow/ice, a strong tripod will be your best friend. It will prevent your equipment from potentially falling over in these harsh conditions.
4. Bring a remote– While this isn’t a necessity, you need to remember that most areas where the aurora appear are very cold and your hands will start to freeze. On nights where it is -50 degrees in North Pole, Alaska, I sometimes shoot from the warmth of my van and I occasionally get out to check on my sharpness. Sometimes you might wait three hours for a good show and no one wants to deal with pressing a shutter in those types of conditions.
5. Dress warm– Considering temperatures can be as low as -70 degrees, yes, I have personally seen -70 degrees, dressing warm is a necessity. Hopefully, you are visiting a place when it is warmer, like Alaska can have shows in September and the weather is still very nice then (nice as in 40 degrees), but in late December, it is miserably cold ( in the -50’s). Think of the conditions of where you are before heading out. It is better to dress too warm, than to not bring enough protection. Frostbite can happen in less than 5 minutes on some days here in Alaska, always be prepared for the worst. Also, even if the daily high looks warm, the aurora is typically out between 10 pm and 3 am, so plan for darkness and colder weather.
5. Hand warmers– Now, you might think, we just covered dressing warm! However, we have little chemical hand warmer packets that you can put in your shoes, pockets and even tape onto your camera battery when it is cold! In cold temperatures, your battery will drain quicker than normally and these can help keep your battery warm. This is also why I use a dual battery grip at all times and I keep back up warm warmers in my glove compartment.
6. Remove all filters from your lenses– This is one even seasoned photographers forget sometimes. You are laying in bed and you receive a text notification stating the aurora is out, so you jump out of bed at 2 am in the morning. Grab your camera, lenses and tripod before you head out of the door. However, you forgot to remove your filter before taking 100 pictures of all the glory before you. What does this mean for you? It means you will have warping in your aurora in concentric rings (looks like a lot of rings/bands in your aurora). Just remember, it can be very easy to leave a filter on when you are sleep deprived, but it will destroy your pictures. Filters are great most of the time, but they are destructive for the aurora, make a mental note of this if you use filters.
6. Headlight– Now, you might not want to buy a headlight,but you definitely need a light source to see what you are focusing on to and making sure you lens is on infinity or it’s sweet spot for aurora photography. Most lenses work on infinity, but some lenses are slightly over from infinity to focus correctly, so it is best to see exactly where your lenses needs to be for the sharpest picture.
7. Visit in an active month– Now, you cannot expect the aurora to be seen in the summer months when we have constant light in the arctic regions. Also, some months are more active than others. October and March are usually great months to visit the arctic regions, as they are the most active and the temperatures are still warm. However, you can see the aurora from September through April on average. This past March we had some amazing shows here in Fairbanks, Alaska and it was surprisingly warm. One way you can make sure you come up is to keep track of solar flares. After a strong solar flare, you can better believe there will be some activity. Some people will watch activity online or sign for email notifications, so they now when to travel in short notice. However, if you are like most people who cannot fly last minute, just schedule your vacation during the active months and hope for a show.
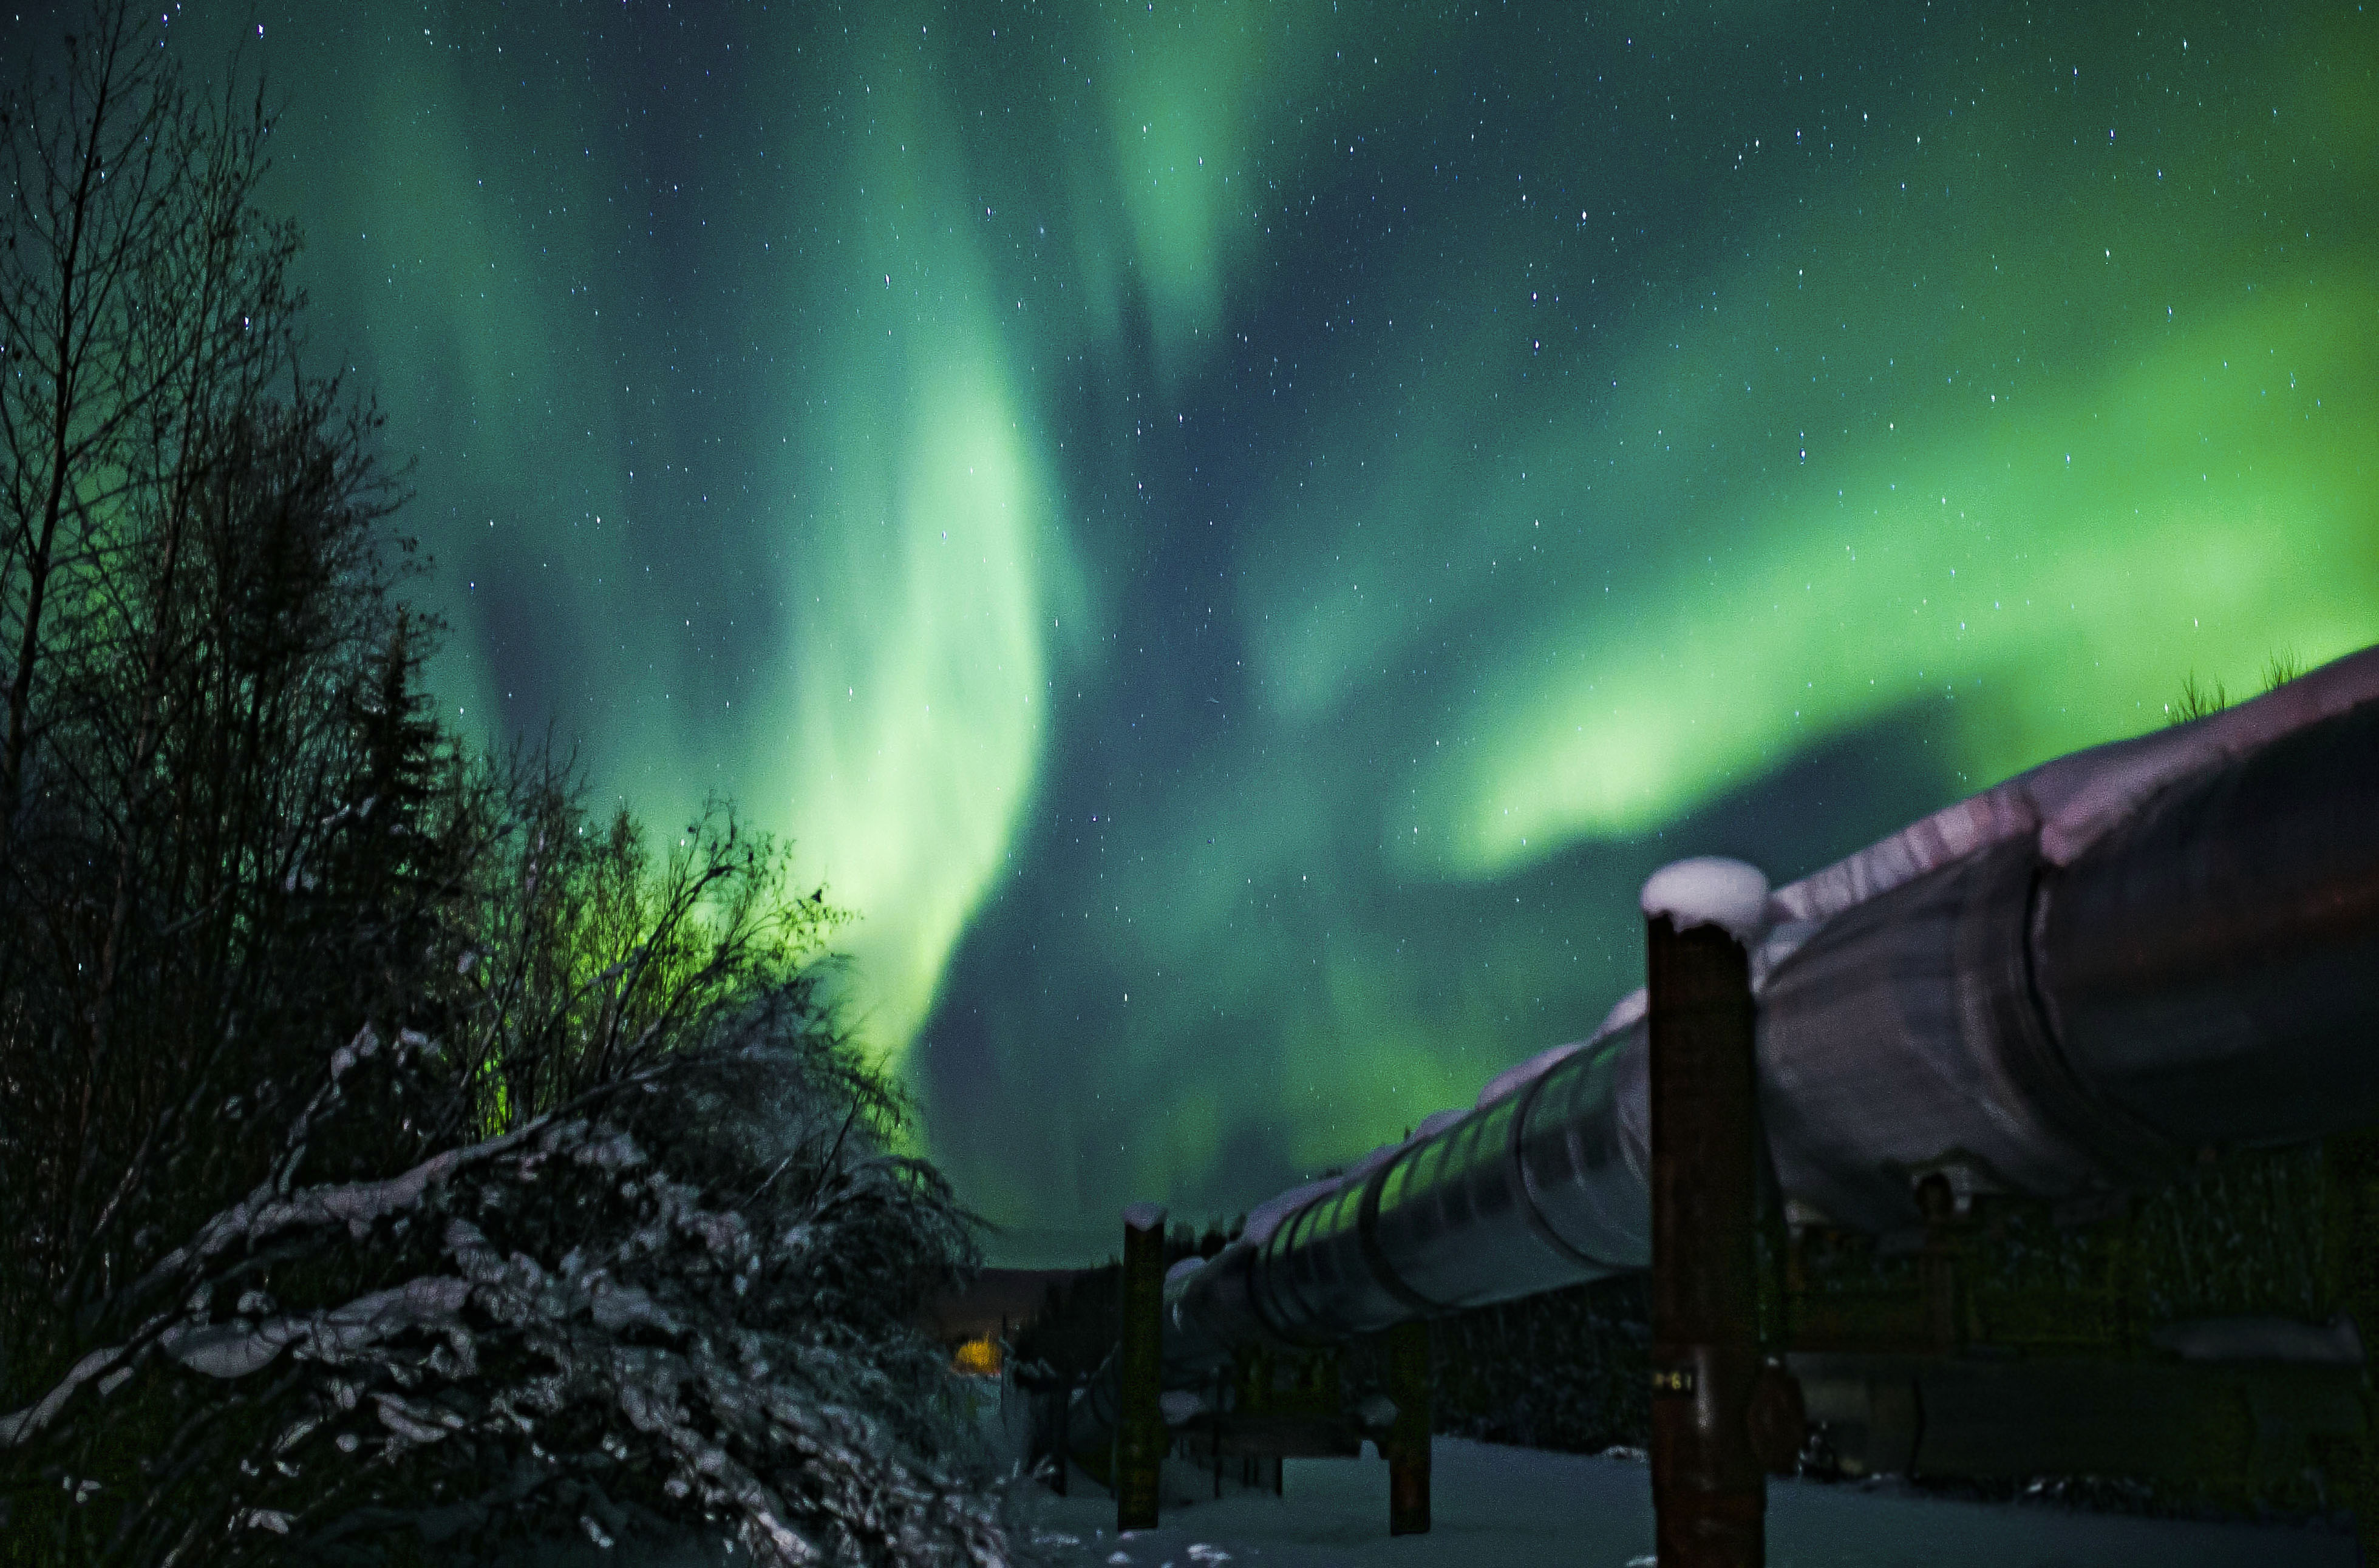
8. Get out of the city– The darker the sky, the better you will see the aurora. Get away from light pollution caused by populated areas and go out to the country! Here in Fairbanks, going out towards Fox is common for people and the Alaskan pipeline is landmark that people constantly drive out to to photograph. It really doesn’t get any more Alaskan than the pipeline and aurora, so it always looks nice to capture both in one shot. Think of creative ways to capture your aurora as well, use the landscape around you towards your advantage.
Now, that we talked about the basic things needed to get your photos, you need to know how to use your equipment correctly, so here we go:
How to use your Equipment
1. Put your camera on a tripod– remember, the more durable it is, the safer your equipment will be and the sharper your images.
2. Put your camera on manual mode– Make sure your aperture number is low, as in 1.4 versus 6.0 (more light with 1.4 coming in), put ISO up, but not extreme. I keep mine 1000 or lower on average. My shutter stays 4 max usually, but some night the aurora is very light and I need to make it a little longer. I put my WB on auto usually, but sometimes I need to change it depending on how dark it is outside. Sometimes the aurora is out and there is some visible horizon light. Lastly, sync your remote to your camera if you plan on using your remote.
3. Put your lens on manual focus– this is important, without this, your camera will not take a picture, as your lens will keep searching for something to focus on.
4. Move lens to infinity– this will put everything into focus.
5. Check your focus through your eyepiece or live view– if you forgot your headlight or a light source, the live view will help you a lot.
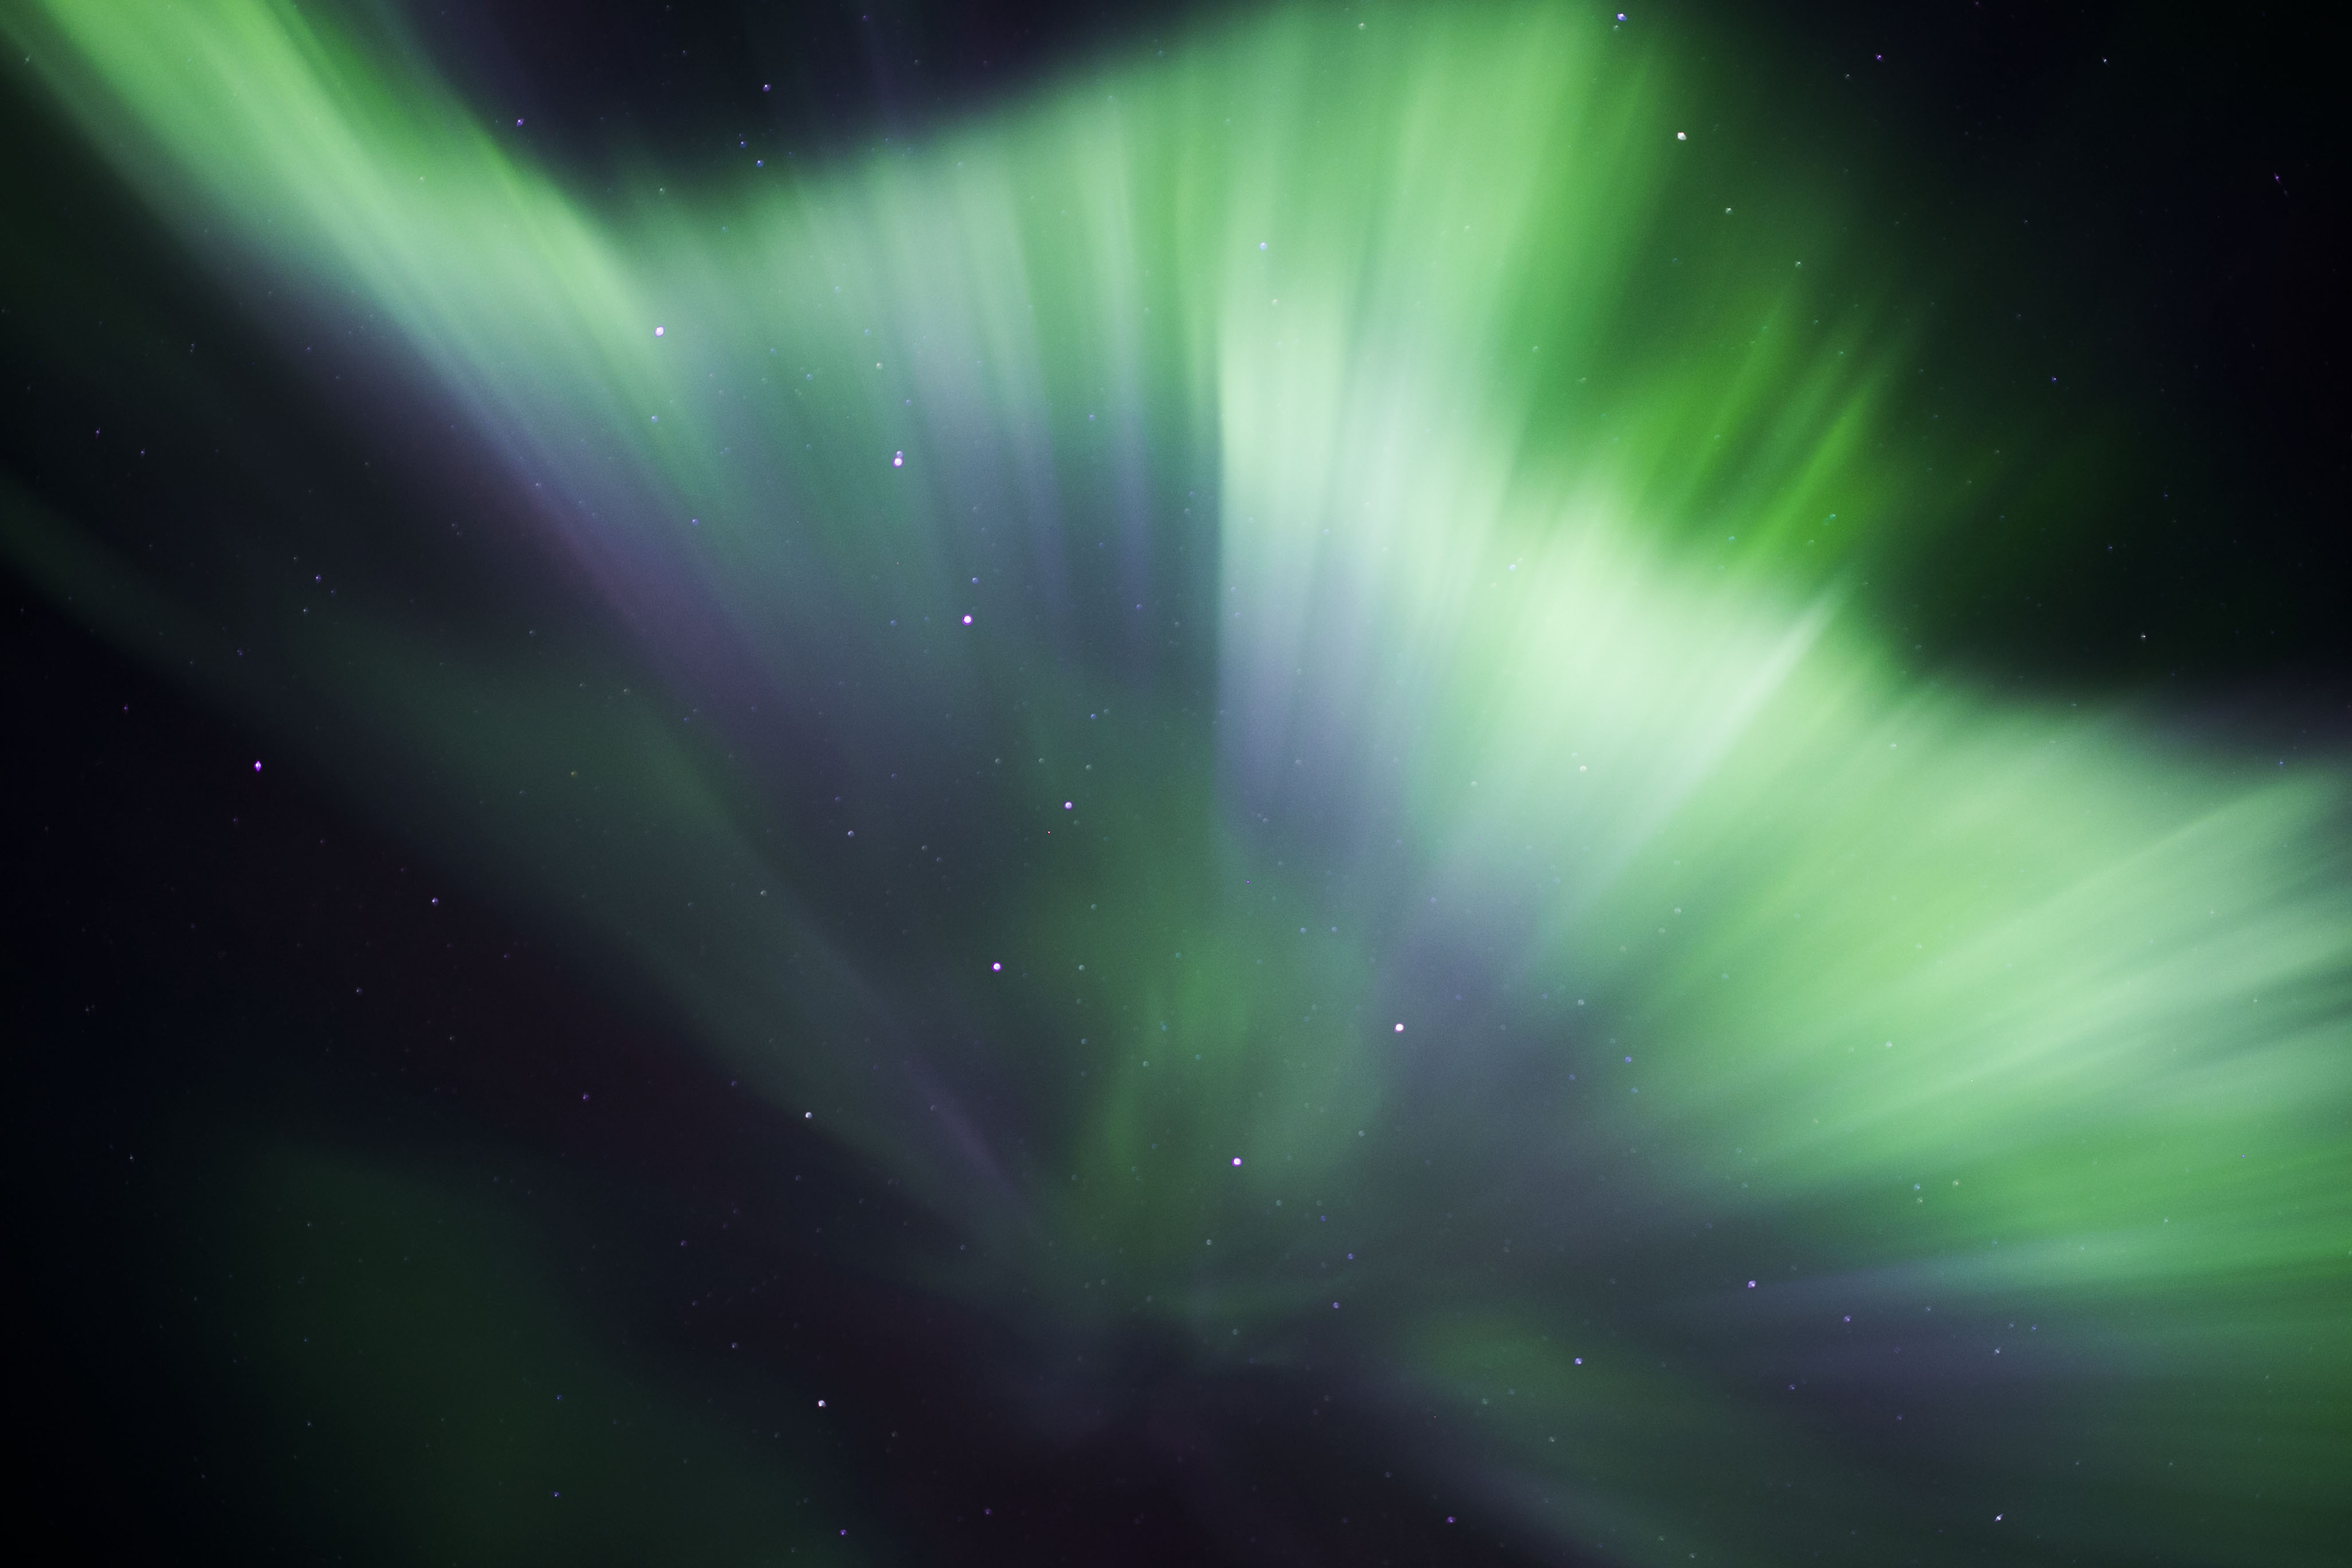
6. Be prepared at all times– In the arctic regions, there are various animals all around and you must pay attention to your surroundings, even if you are in awe of the aurora. Also, the aurora can change in a second, check all around you constantly. You might have a coronal aurora that is happening above your head, while you are looking at a simple band in front of you.

This post was written by Angela Miller Photography in North Pole, Alaska for MCP Actions.


