Featured Products
Nighttime always seems to add interest and excitement to photographs, particularly when photographing cities with interesting lights. One reason for this is that the darkness tends to hide what we don’t want to see, while the lights usually add emphasis to areas of importance. There are a few guidelines on how to take photos at night that can make the difference between achieving a successful image full of brilliant color and detail, and one that has blasted out highlights and blocked up shadows.
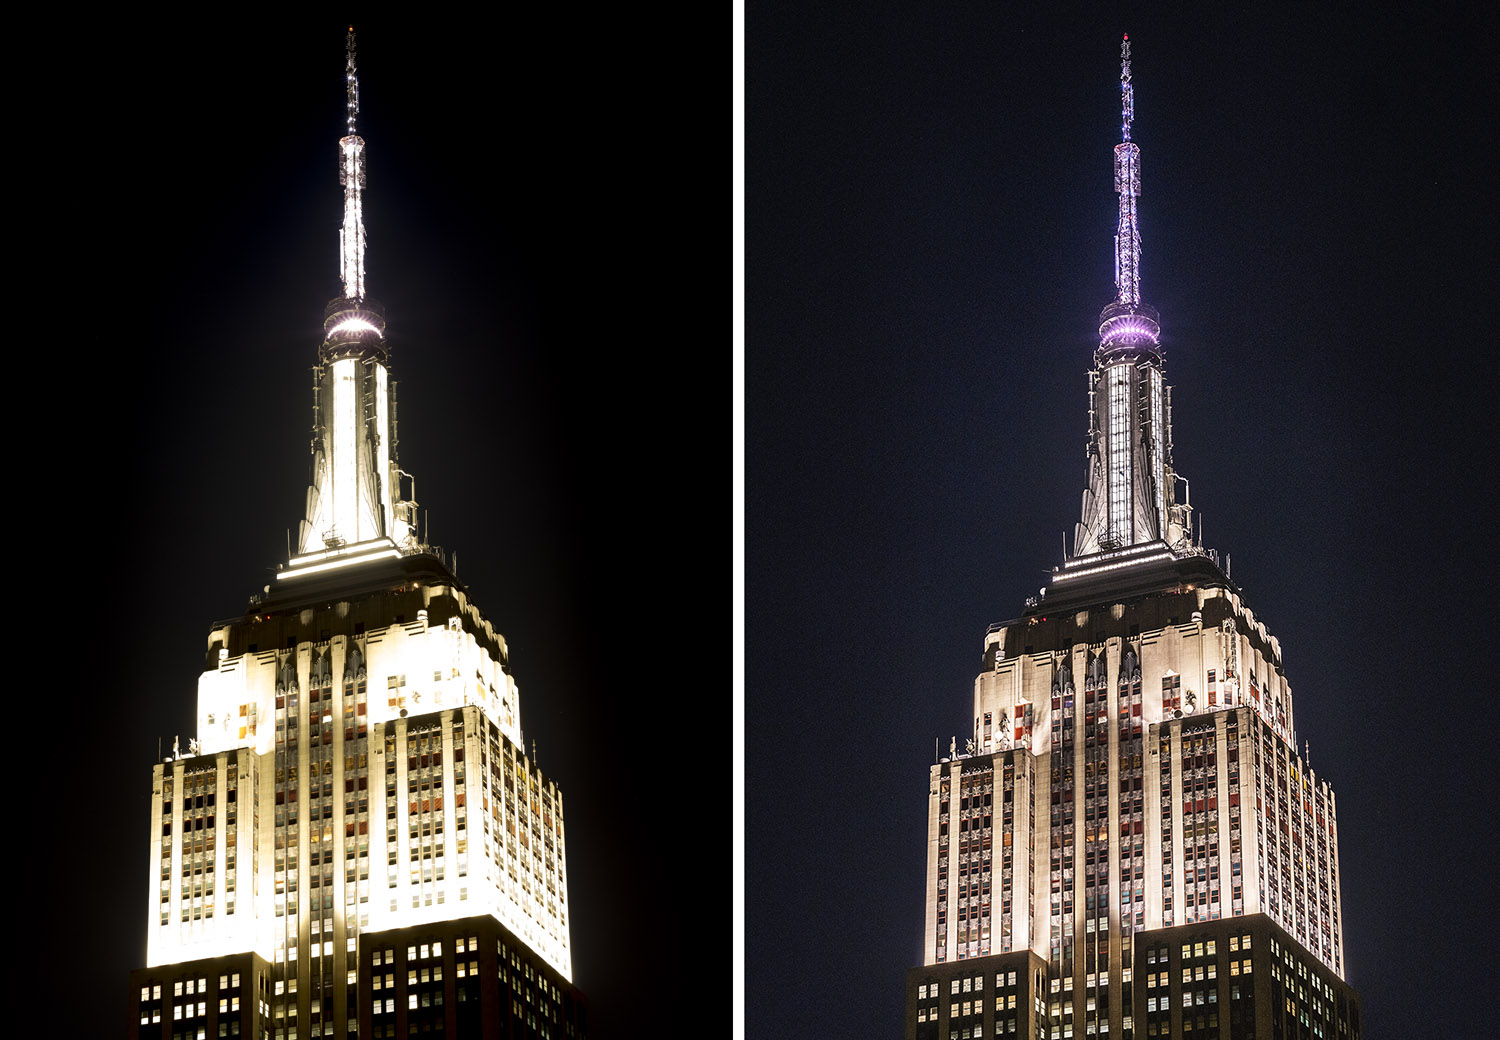
Look at the two sample photos below. The one on the left has its highlights completely blown out and the dark areas have no details. On the right is a completely balanced version of the same scene. Note how all highlights and shadows have full detail. Note also how much color and detail is added to the building, especially in the tower, creating an excellent example of how to take photos at night that truly bring out the best of your subject.
How to Take Photos at Night – Timing is everything
The real magic in achieving the optimum exposure for a correctly exposed night photograph is timing. We need to find what I call the moment of perfect balance of light. This is the moment when the artificial lights of a city and the natural atmospheric lighting of a scene are in perfect exposure balance. Perfect balance achieves the photo on the right. Too late, and you have the photo on the left. Bottom line is that you need to achieve an image with detail in the extreme highlights and extreme shadows. Lost detail can never be restored.
The magic time of perfect light balance is during civil twilight. Twilight is the time when the sun is below the horizon but still high enough to light up the sky. In general, this time falls approximately 30 minutes before sunrise and after sunset. I have found that the time for perfect light balance is a 15-minute interval between sunset and the end of civil twilight. In other words, approximately 15 minutes after sunset. Truth is this period can vary over 15 minutes. So, a photographer must be prepared to shoot over this entire 15-minute period to find the perfect moment.
When calculating your timing, keep in mind that actual civil twilight varies with latitude. Nearer the equator, it might only be 20 minutes, whereas in New York it is 28 minutes.
There was a time, many years ago, when I devised an arbitrary method of determining the moment of perfect exposure using a star-filter. I noticed that if I held the star filter up to my eye and could see the star effect in the city lights, it meant that the lighting was in perfect balance. No star effect meant it was too early, an exaggerated star effect meant it was too late.
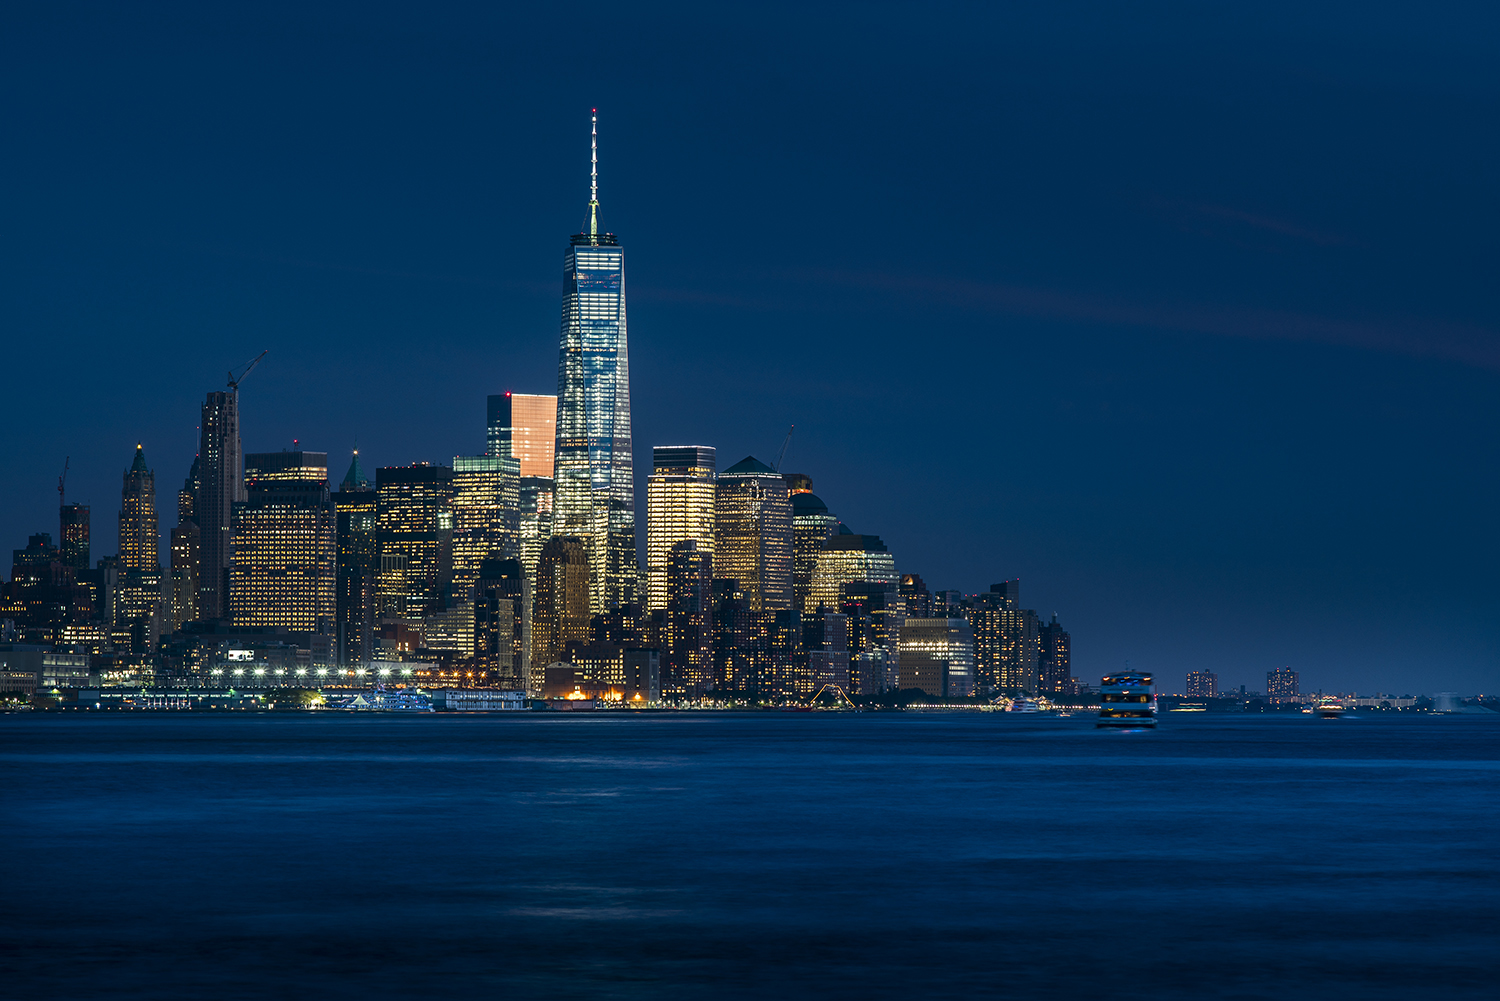
The photo above is an example of finding the moment of perfect light balance. It is a six second exposure. It was taken 17 minutes after official sunset. Dark and light areas all retain complete detail. Shutter speed in a scene like this is more important that aperture. The 6-second exposure caused the foreground river water to blur.
In many situations, you could use an automatic exposure, but to achieve a perfect exposure with full detail it is best to change to manual exposure and bracket the exposure by one stop aiming for at least three exposures, 1-stop apart. If you meter indicates an exposure of 1 second at f/5.6, then take this exposure plus one at 2 seconds and one at ½ second and selecting the one with most balanced detail later.
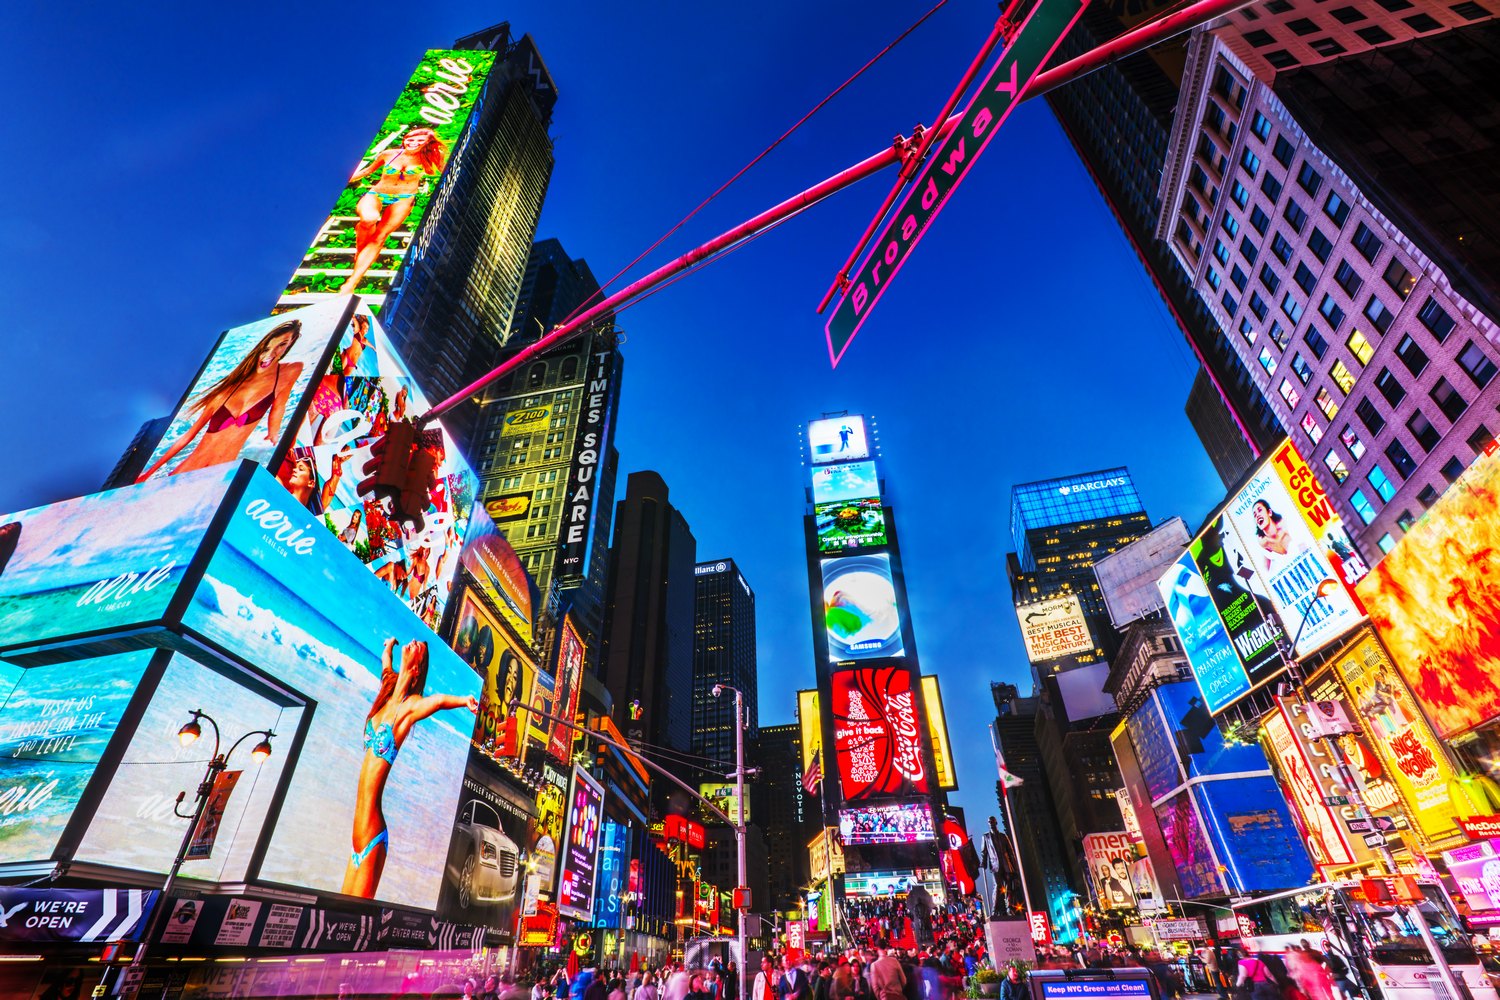
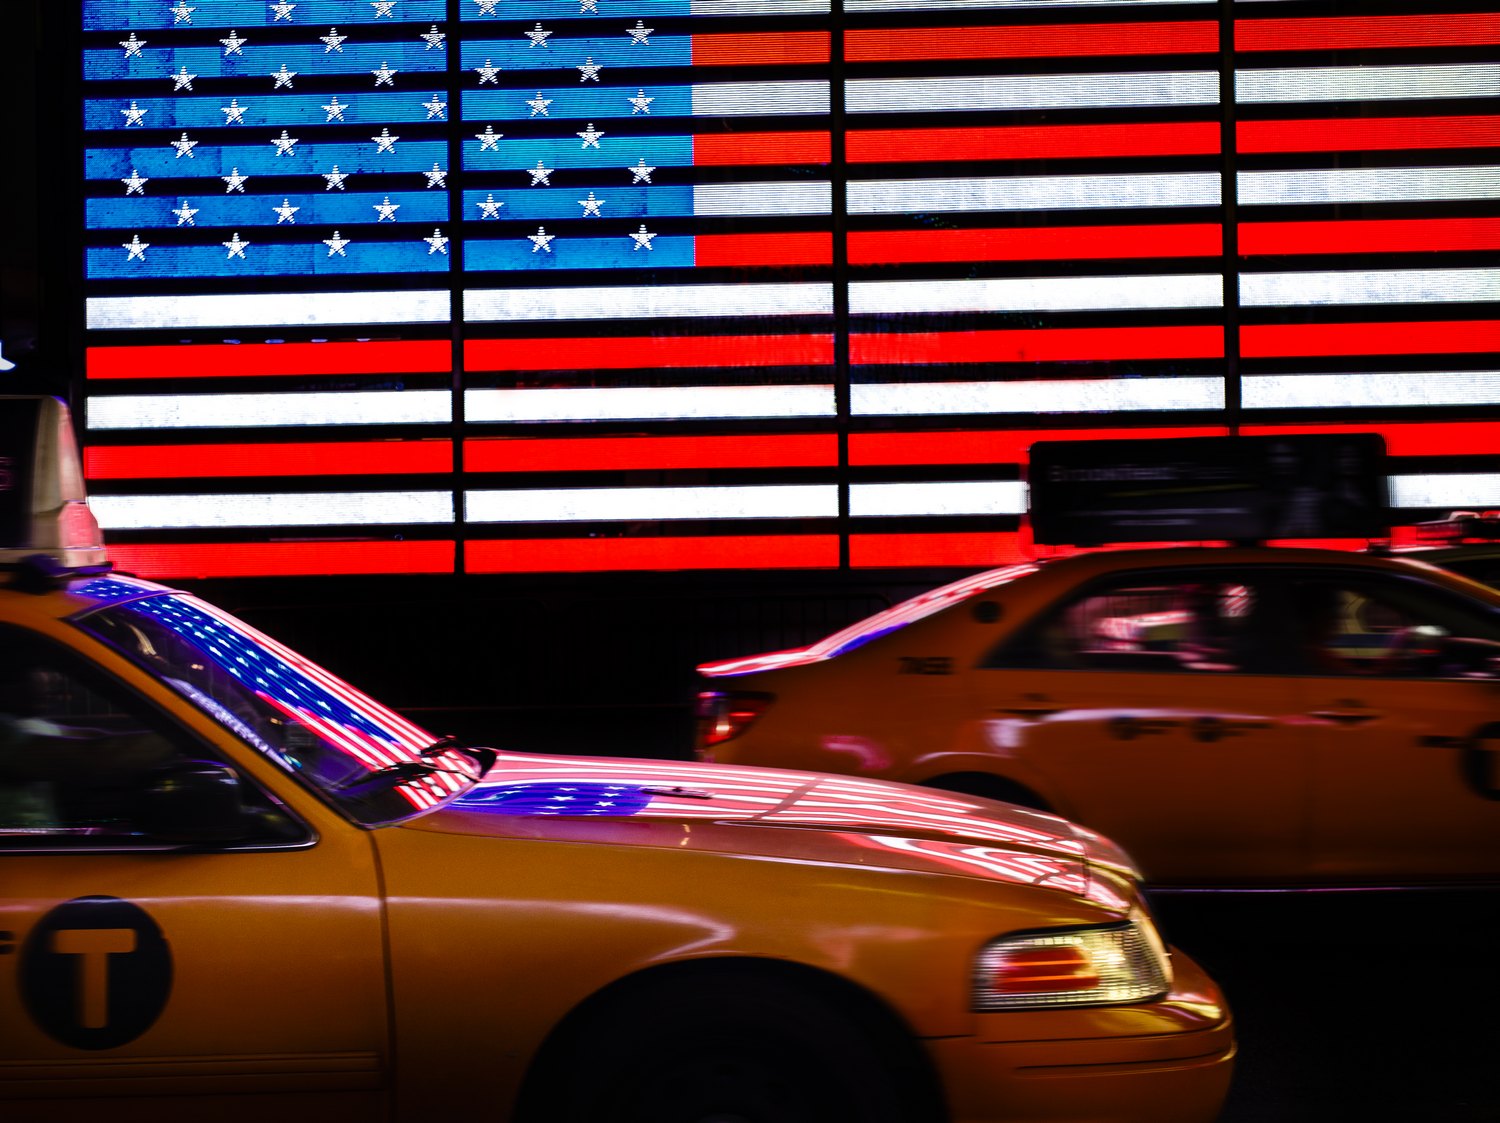
This photograph of Times Square was taken earlier in twilight because the artificial lights are so bright. Shooting any later would have lost detail in the highlights. This is an example of how the intensity of the lights can dictate the moment of perfect light balance. The brightly lit signs in this scene are typically blasted out to pure white if the photo is taken too late.
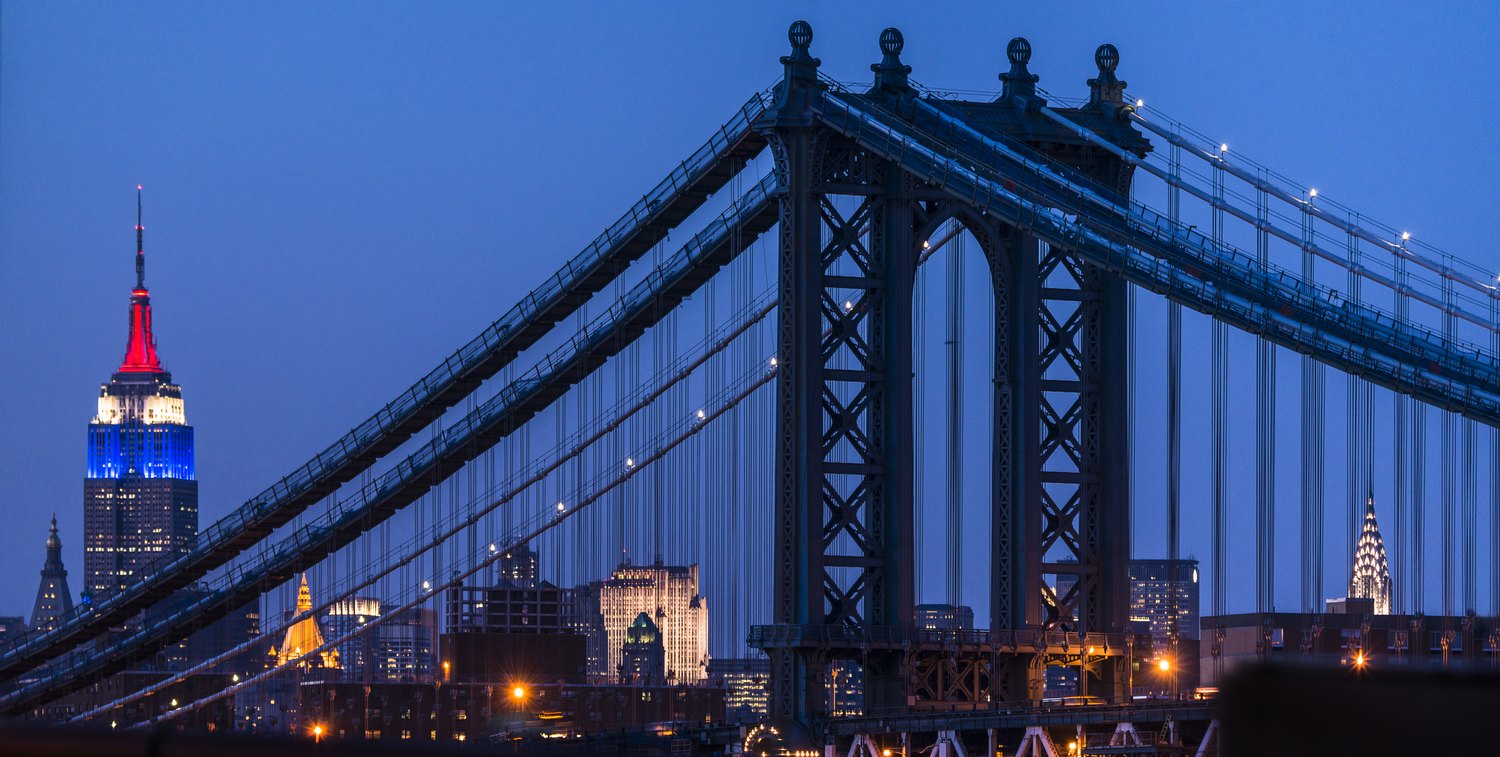
In this photo photographing during twilight instead of deep night time allowed the silhouette of the bridge to be clearly defined against the sky. Plus, all the building lights retain their full detail and color.
What equipment do you need?
For best results, use a steady tripod. This will allow you to use a low ISO and be selective about the aperture and shutter speed. Optimally, the ISO should be at its lowest setting, the aperture should be at its sweet spot, which means about 2 stops below maximum aperture. The shutter speed may not be important, unless you want to include some motion blur in moving water, automobile traffic lights, or clouds. In that case, the exposure would change to accommodate the degree of movement desired. I will be writing a future blog post on night time motion blur.
A cable release is important so as not to vibrate the camera by pressing the shutter. As an alternative, you could set the camera to a 2-second timer delay and use that to allow the camera to settle down.
Can you take night photos without a tripod? Well, yes…but….
While a tripod is the ideal way to maximize your results, it is not always possible to use one, so we need to find other creative solutions for how to take photos at night that shine. Sometimes the scene is bright enough to allow a sufficient shutter speed for a hand-held camera, but this may introduce other drawbacks, such as a high ISO. Modern digital cameras can be pushed to ISO lengths way beyond those possible in the days of film. Still, many of the high ISO claims, while possible, are not always practical in obtaining a good image. High ISO means high levels of noise. In general, I find that the best digital cameras today can go as high as 1600 ISO without a noise level that cannot be controlled later in post-processing. Higher than that can become problematic.
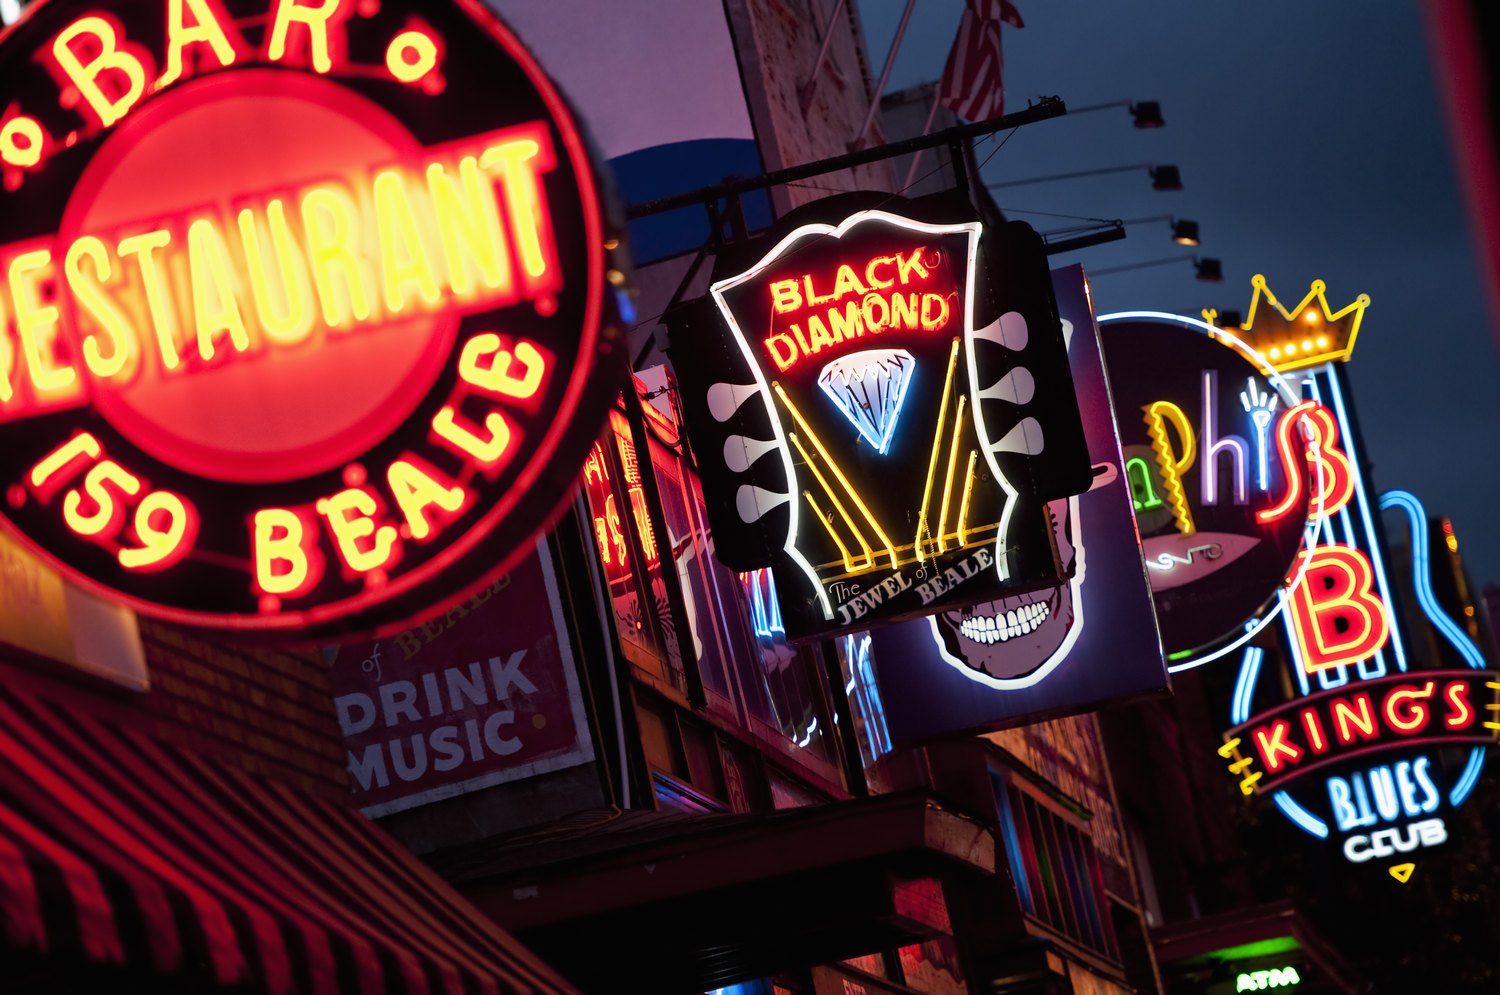
In the photo below the lights were bright enough to hand-hold the camera at a shutter speed of 1/125 an ISO of 400, and aperture of f/2.8.
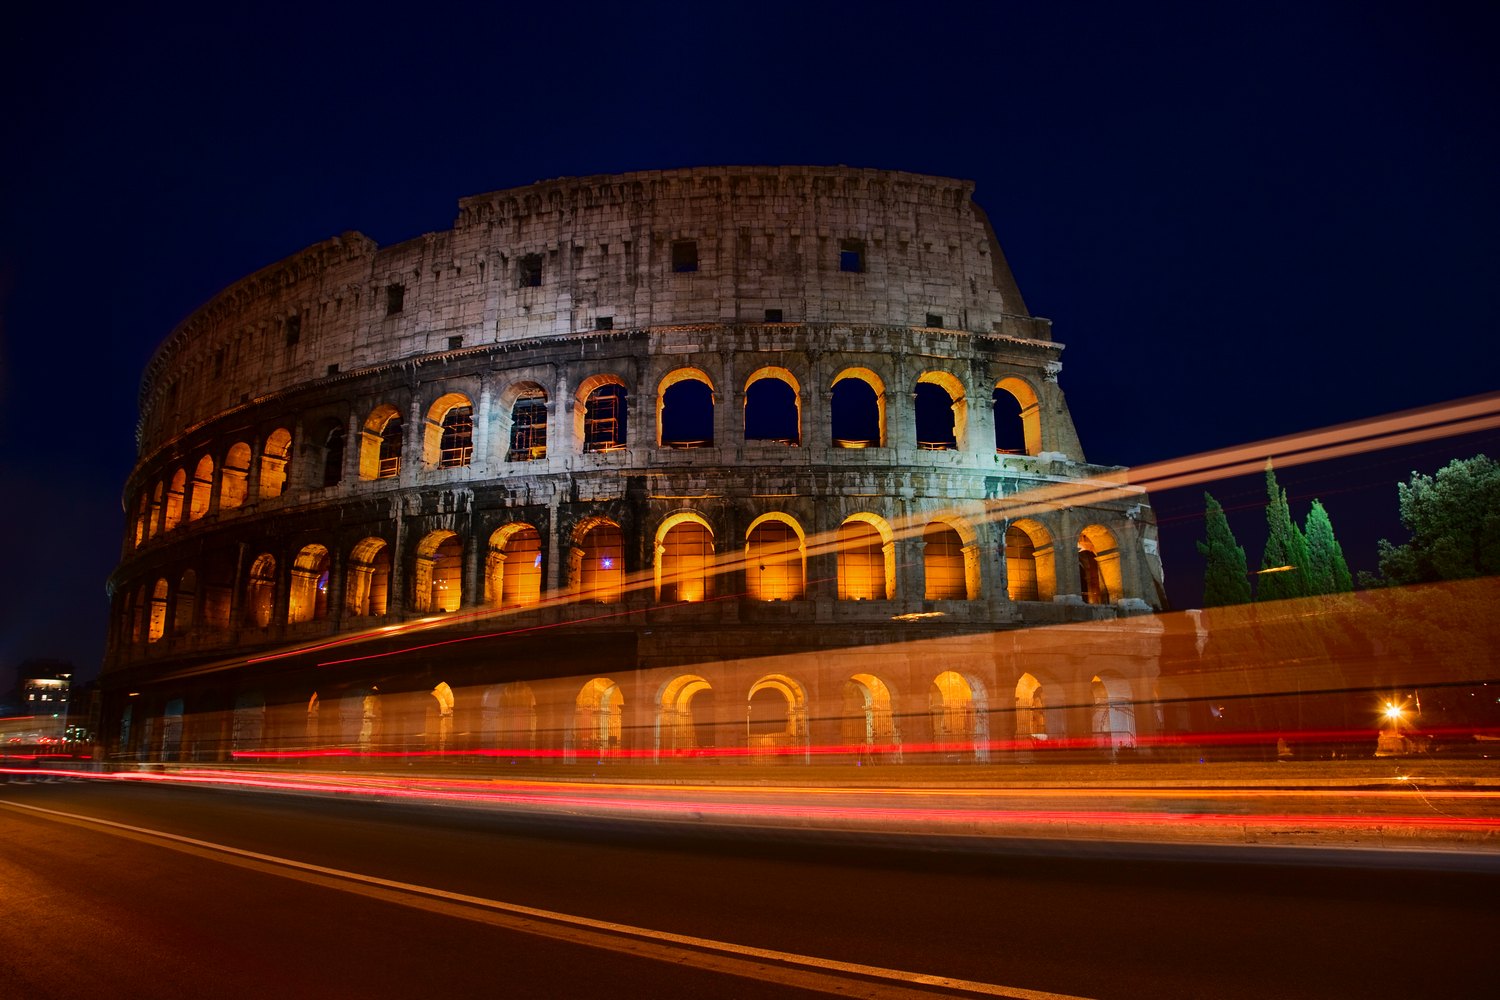
For the photo below, I was in Rome near the Coliseum at night without a tripod. I wanted to add some more color to the shot by including the lights of passing traffic as an element in the composition. I put my camera on the sidewalk, propped up the lens and used a 6-second exposure to capture this shot that blurred the traffic lights. In my next blog post on how to take photos at night, I will be going into the full process on how to take this type of image.
