Featured Products
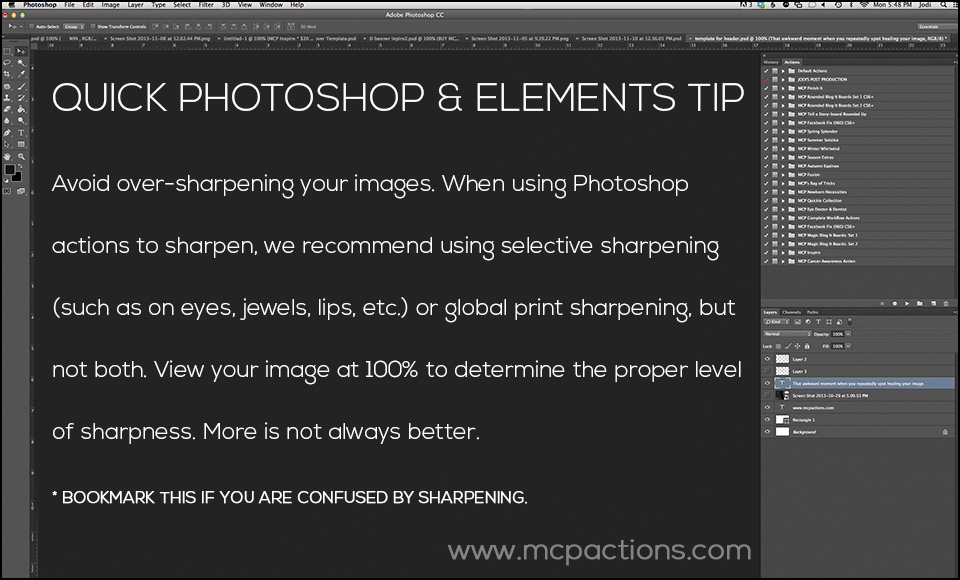
It’s easy as a newer photographer to pile on extra color, haze, and especially extra sharpening. When it comes to editing, it’s hard to know when to stop. Often areas like hair look crispy and unnatural when sharpened too much, and even eyes and gemstones can suffer if you are heavy handed.
Our best advice on how to sharpen for print:
- View your images at 100% when you sharpen them.
- More is not always better.
- Choose global or local print sharpening, but NOT both. Either use a selective Photoshop action/Lightroom preset like Gem Polish from Inspire / Exact-O-Sharp in Fusion / Enlighten Sharpening Brush) OR use a global, all-over sharpening like Razor Sharp from Four Seasons / Perfect Print Sharp from Inspire / Develop Preset Sharpening in Enlighten.
Want more quick tips on how to sharpen your images? Let us know!
For more troubleshooting tips, click HERE.

Posted in Photo Editing Tips


