Featured Products
Software can be one of the most complex aspects to digital photography. The learning curve can be steeper than learning many cameras. What makes it all even more intimidating are the multiple ways to accomplish the same task as well as all the bells and whistles that may or may not be needed. For many, this can get downright overwhelming. In this article, I will do a basic step-by-step on how I use the basics of Lightroom. Now, keep in mind that there are dozens of different variations of how to import, export, use color labels, etc. Over the years as shutter speeds have increased along with file sizes, I have learned to streamline my process. Just this past weekend I shot 8,000 images in 36 hours, and that was just one of many many trips per year. I don’t have time to play around with lots of bells and whistles if I want to actually get some editing done. So what follows are my individual steps in using the import/export, color labels, and watermarks of Lightroom.
HOW TO IMPORT INTO LIGHTROOM
- Click FILE, then IMPORT PHOTOS AND VIDEO.
- On left hand side, find the source you want to import from.
- Any photos that are grayed out indicate they were previously imported
- Check all photos you want imported and click IMPORT.
TIP: I make sure once they are imported that the “sorting” is done by file name since my file names are chronological. If you leave it on its default “added order,” it can put images from the same sequence in different areas of the filmstrip, complicating your comparing like photos.
HOW TO MAKE A COLLECTION
Collections are used to group photos together, i.e. Africa 2007, Africa 2009, Wedding, Anniversary #1, etc. Once photos are imported, there are only two options to access them at a later date: 1) viewing all photos and finding them, which could be tedious if you have thousands of photos, or 2) using collections. Therefore, it is extremely important to start out as soon as possible with collections and when spare time is found, put old photos in LR into a collection.
- Either: 1) select the specific photos you want to go into a collection using the CTRL and LMB (Left mouse button), or 2) if all currently viewed photos are going in the same collection, click on EDIT at the top, then SELECT ALL.
- On the left menu bar, scroll down to COLLECTIONS and click the + symbol to the right of it.
- Select CREATE COLLECTION.
- Name the collection and make sure INCLUDE SELECTED PHOTOS is checked. Click CREATE.
HOW TO EXPORT
- Select all photos you want to export, either individually selecting with CTRL and LMB, or by selecting all through the edit menu, or using LMB and SHIFT for a consecutive batch.
- Click FILE, then EXPORT.
- Under EXPORT LOCATION, choose where you want the files to go.
- Under FILE SETTINGS select desired format for saving. TIP: for internet use where a lower resolution image is desired, check the LIMIT FILE SIZE TO and enter 1000 for 1mb file and 1500 for 1.5mb file.
- Under METADATA, select the option for what metadata you would like public with the picture file if it was uploaded to the internet or sent to someone else.
- Under WATERMARKING, select your preference.
- Click EXPORT.
EXPORT FORMATS
Depending on the image, I export multiple times in different folders I have created:
-Originals: where all untouched raw images are stored.
-Edited: where any export goes regardless of format.
-Web (located IN the Edited folder): reduced size JPEGs with watermark.
So the folders look like this…
D: Primary
-Africa 2009
-Originals
-Edited
-Web
I then export as follows:
First export = is “Original” (to the Edited folder). This allows me to have an edited raw copy that the LR layers will show if I use it in LR on another computer or lose my catalogue.
Second export = is “TIFF” (in the Edited folder) only if the image is super high quality that I am going to print professionally or in a large size. If the image will never be a pro-print, I skip this export as it takes up massive storage. I.e., a sunset with a whale I plan on printing at 36” gets a TIFF export while a casual shot of my wife and I at dinner would not.
Third export = is a NON-watermarked 100% Quality JPEG (to the Edited folder). This is for generic use, like for Xmas cards, giving to someone to use for advertising or a news article, creating a calendar, etc.
Fourth export = is a watermarked reduced size JPEG (to the Web folder). This is for online use to show copyright protection and have a reduced resolution image that limits its effective use if it is stolen.
It sounds like a lot of work, but once you do it a few times it smooths out and gets faster.
WATERMARKS AND COPYRIGHTS
I do a non-official (but wish it was) differentiation between a “Copyright” and a “Watermark.” I define a Copyright as a non-translucent image of the author’s name found in a corner that does not interfere with the aesthetics of the image. I define a “Watermark” as a translucent image that is subtle and over key elements of the image to impair someone easily stealing the image, cropping out your copyright, and then claiming the image as their own. The watermark can be a symbol, author’s name, company name, etc. and placed over details that would be extremely time consuming to photoshop out. I personally take extra time to place each watermark in a custom location for each image, to keep the watermark from impairing the aesthetics of the image, while still remaining just visible enough to add a deterrent to stealing. After exporting all my watermarked images from LR (remember I define this as a copyright), I then open each image in photoshop and custom lay a pre-made double watermark and then save the image as is, a flattened JPEG file that overwrites the original Web folder file. Now there is a copyright down in the corner showing clearly the author of the photograph as well as a watermark over the image protecting it from easy theft.
Over 70% of copyright infringement is happening through Facebook, with Flickr, PBase, and other hosting sites being the secondary sources of infringement. As such, when using your images online I ALWAYS RECOMMEND REDUCED SIZE JPEGs WITH BOTH A COPYRIGHT AND WATERMARK!!! It takes more time, but provides maximum protection. Check out my examples below.
TIP: USE OF COLOR LABELS
If selecting watermarks for different areas of the image, i.e. Image #1, #3, #5 will have a watermark on the right, images #2, #4 on the left, I use the color labels. All images I want a watermark on the left, I select all those images and then click on RED (far left color). All images I want a watermark on the right, I select all those images and then click YELLOW (next color to the right). When exporting, I select all the red images first, then in the export menu add a “Left” watermark (that I’ve created in the Export menu under WATERMARKING: EDIT WATERMARKS), and repeat the process for all the yellow images placing a “Right” watermark upon their export. In my case, my wife and I have the need for four different watermarks. Therefore, all my left ones get red, then my right get yellow, then her left gets green and right gets blue.
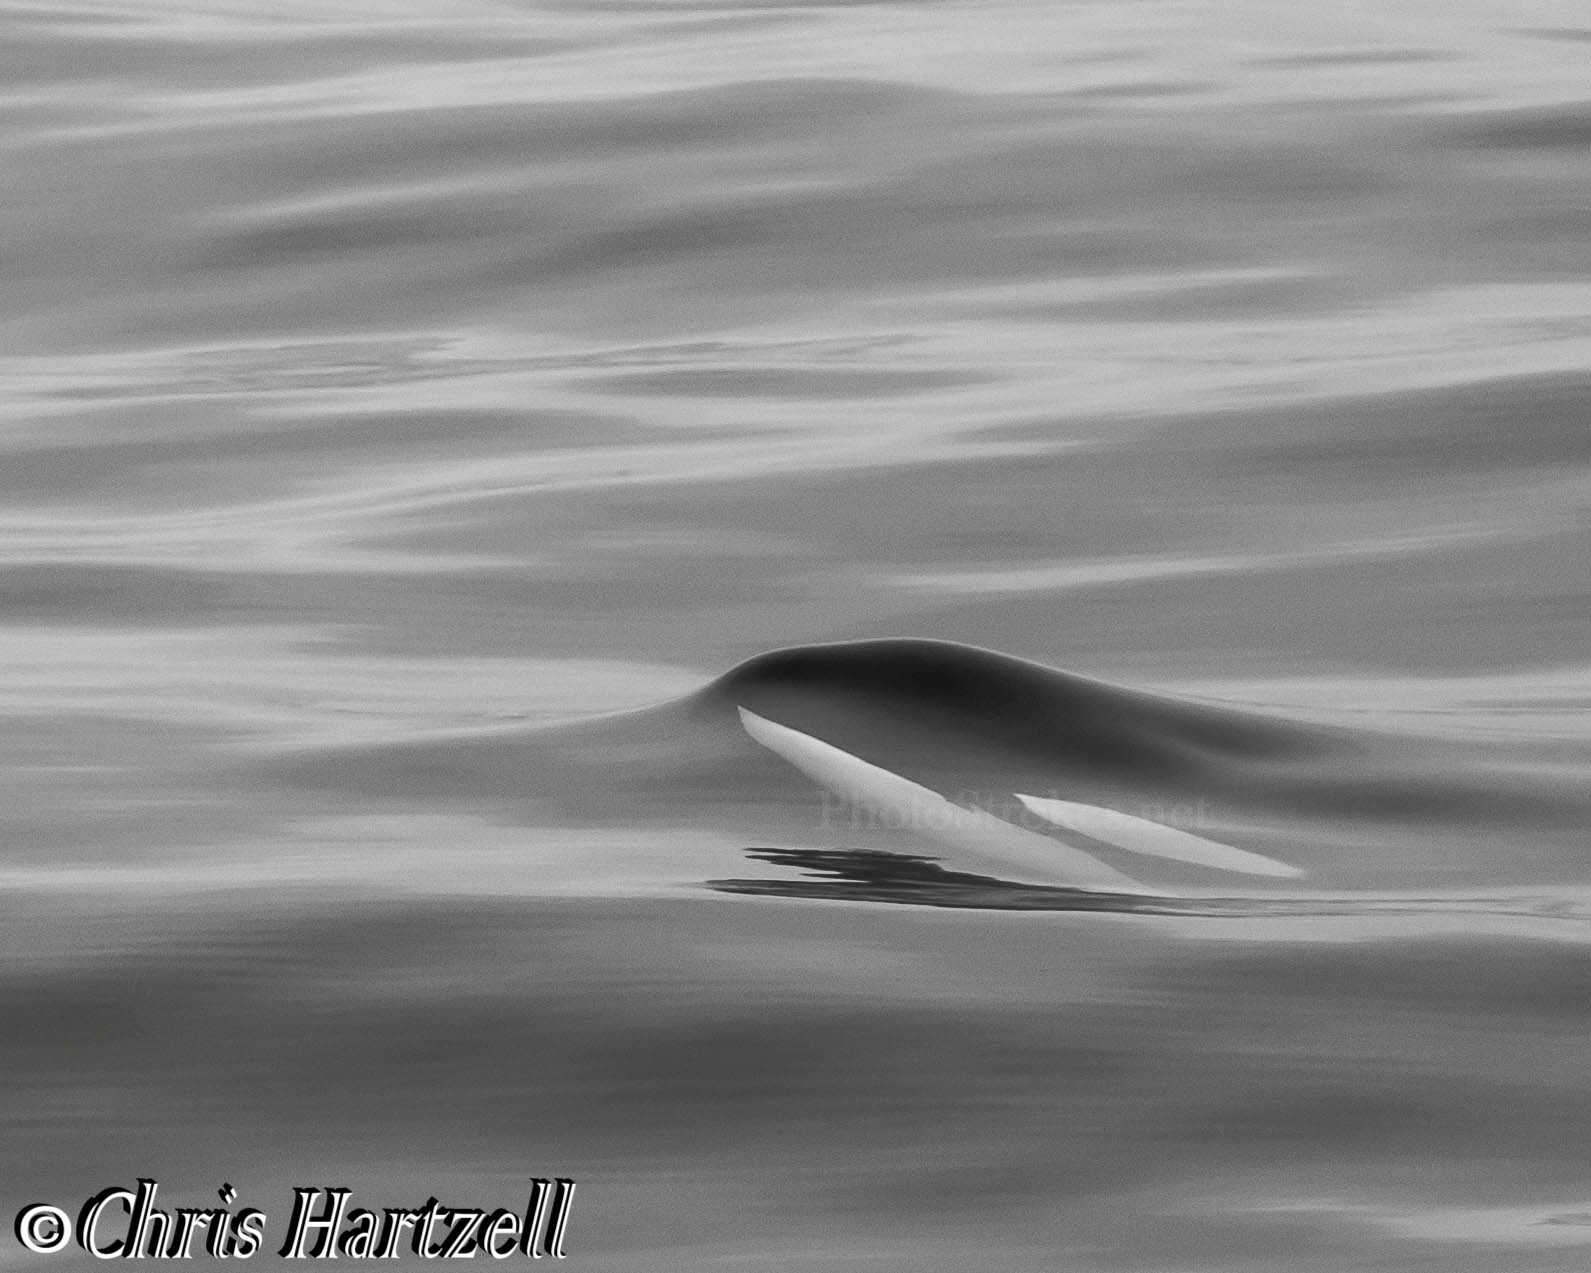
Here my copyright is on the left and a white translucent watermark over the whale.
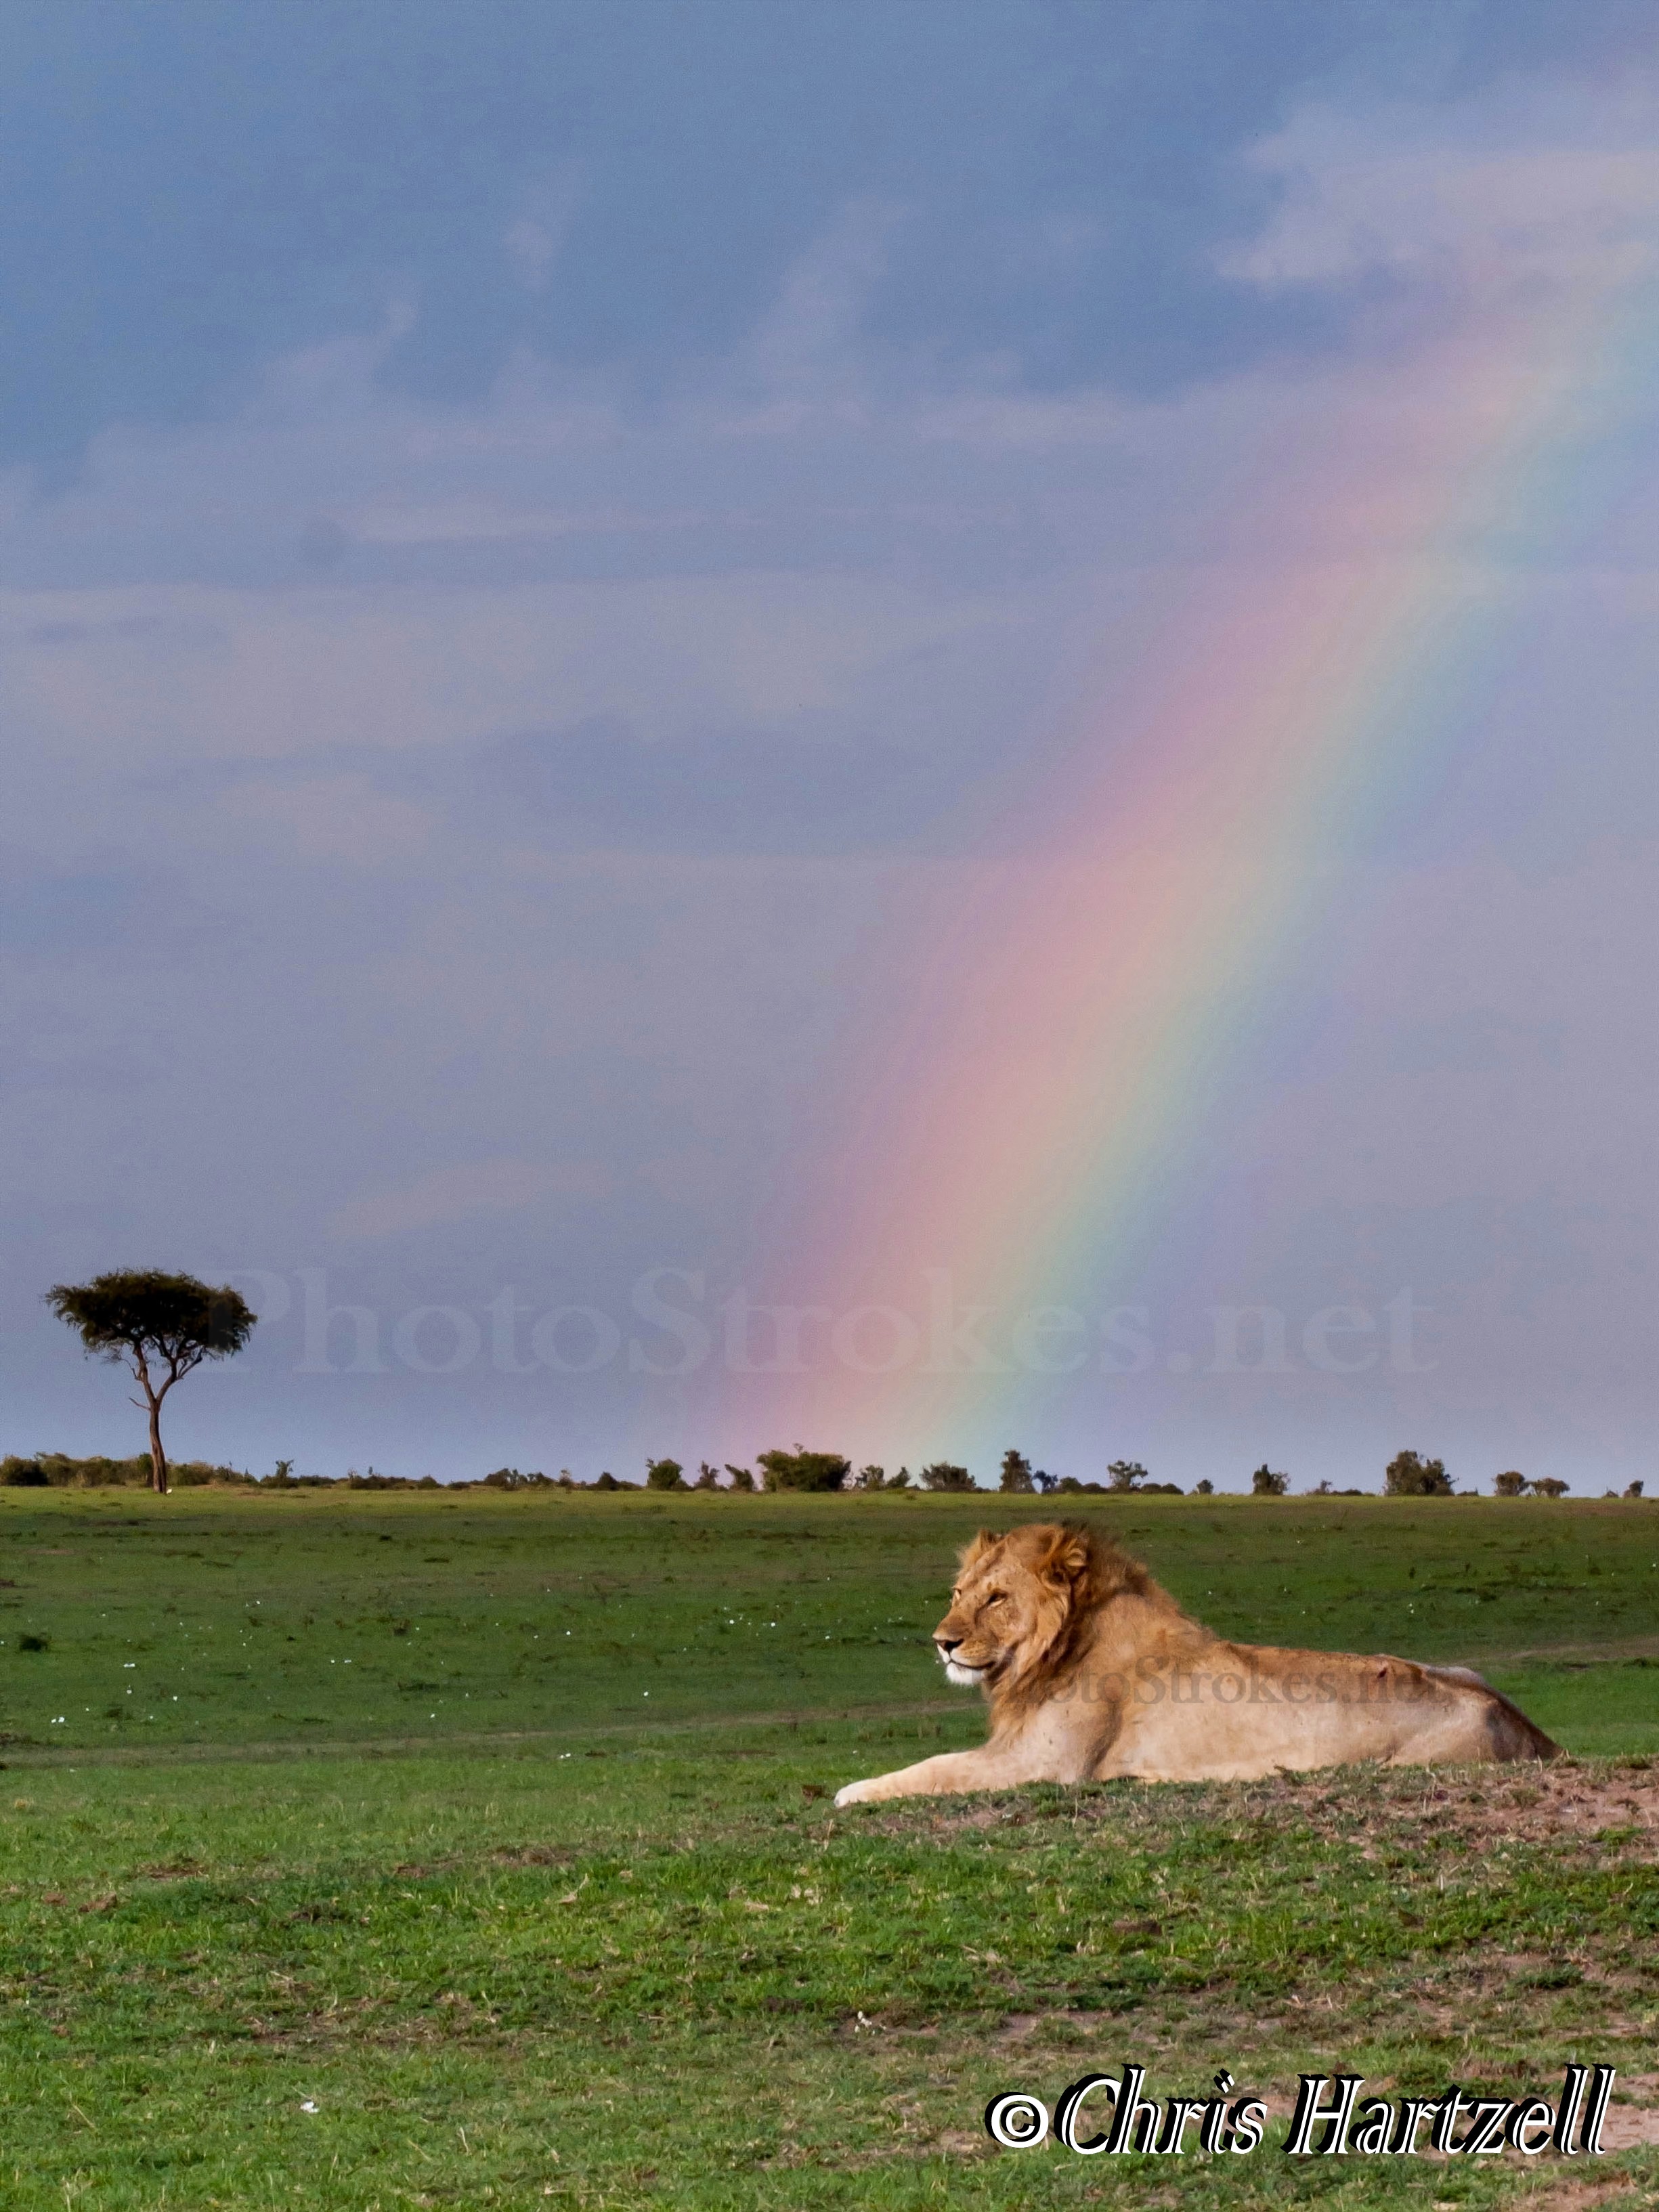
My copyright on the right, a white translucent watermark over the rainbow and black translucent watermark over the lion.
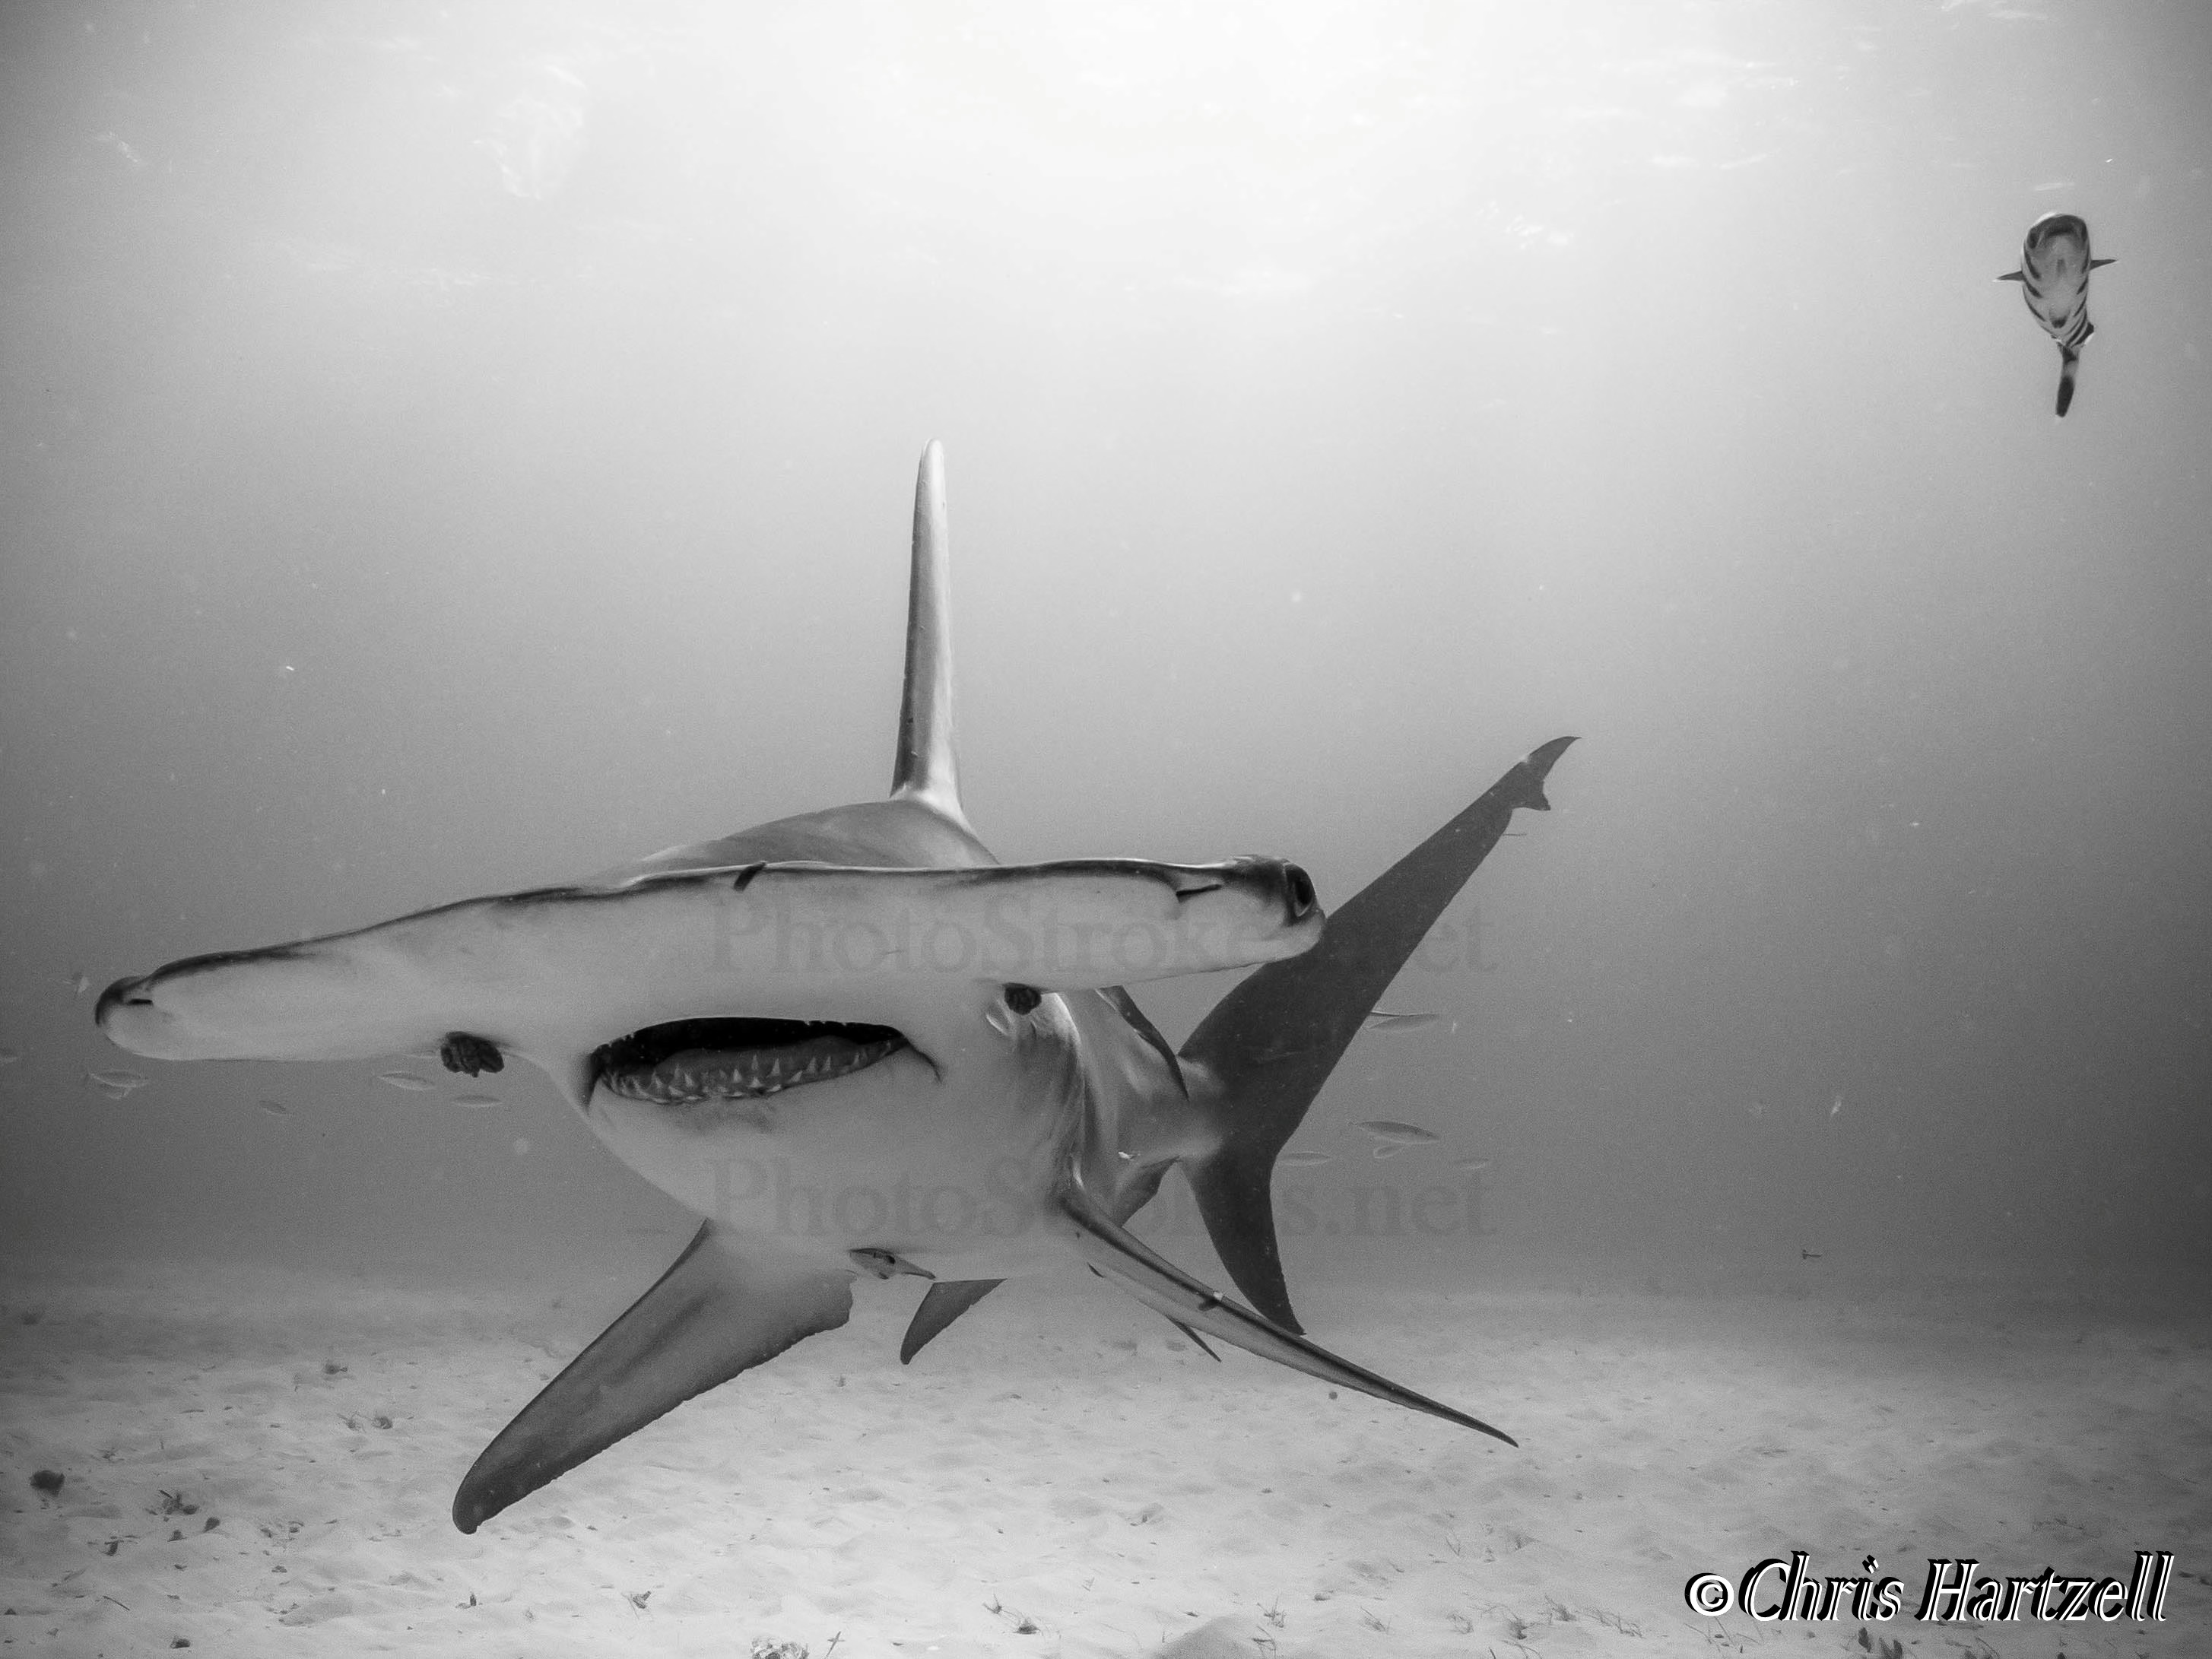
Copyright on the right again, double black translucent watermarks over the shark.
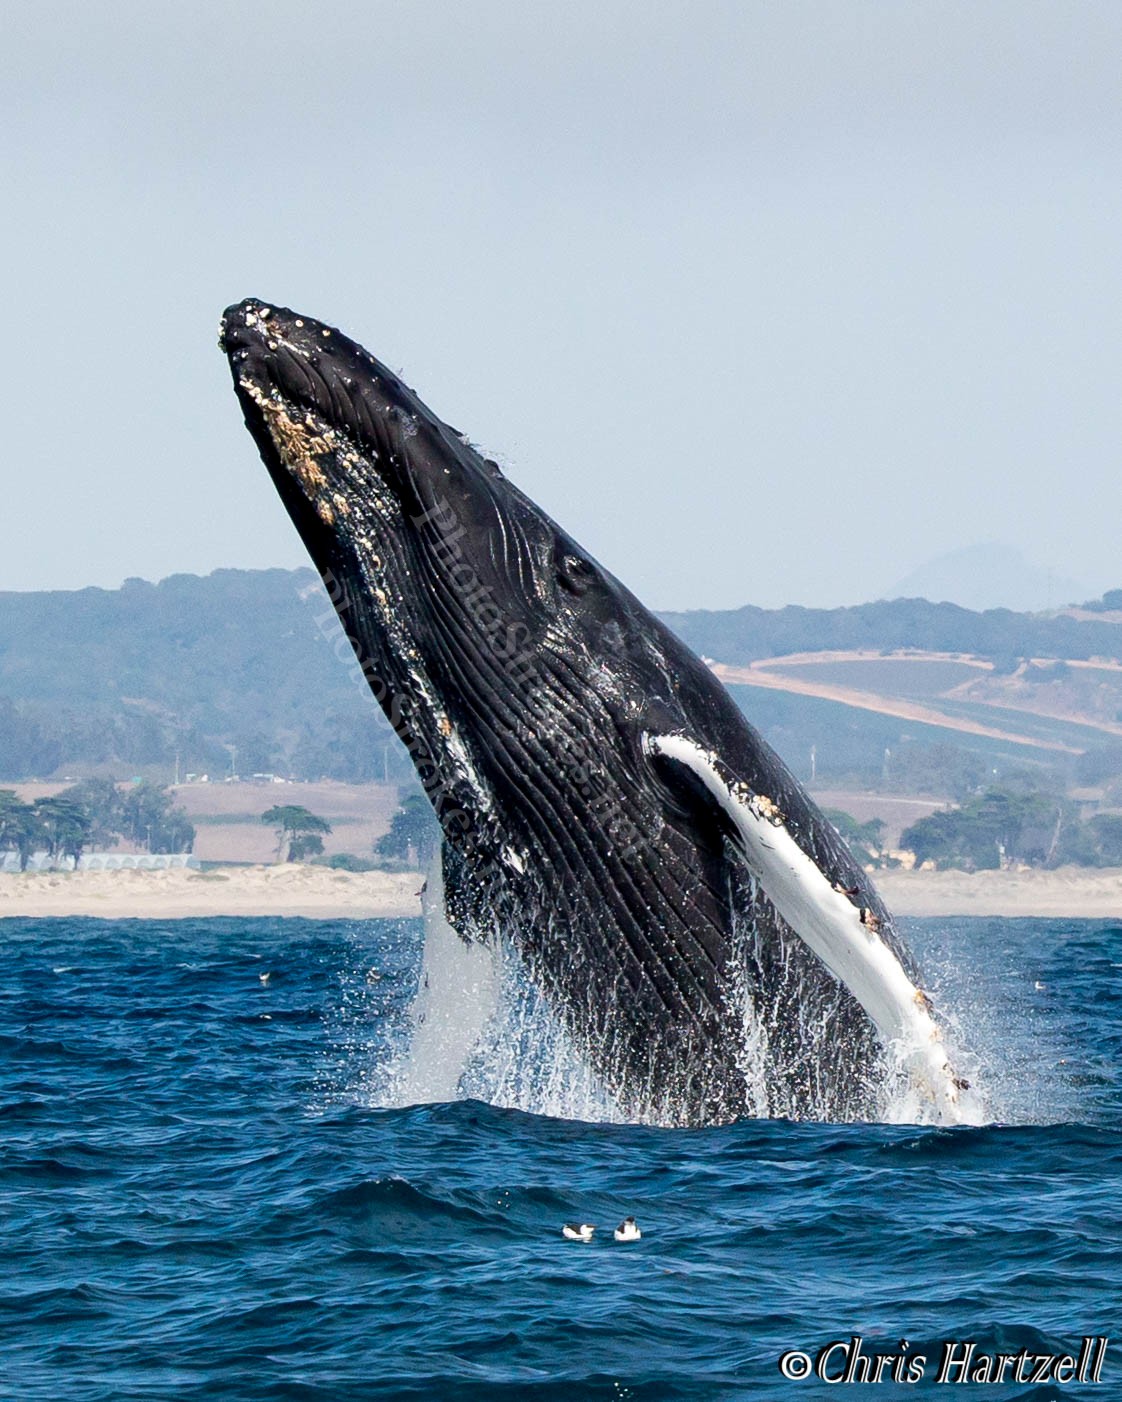
Copyright on the right, double white translucent watermarks angled over the whale.
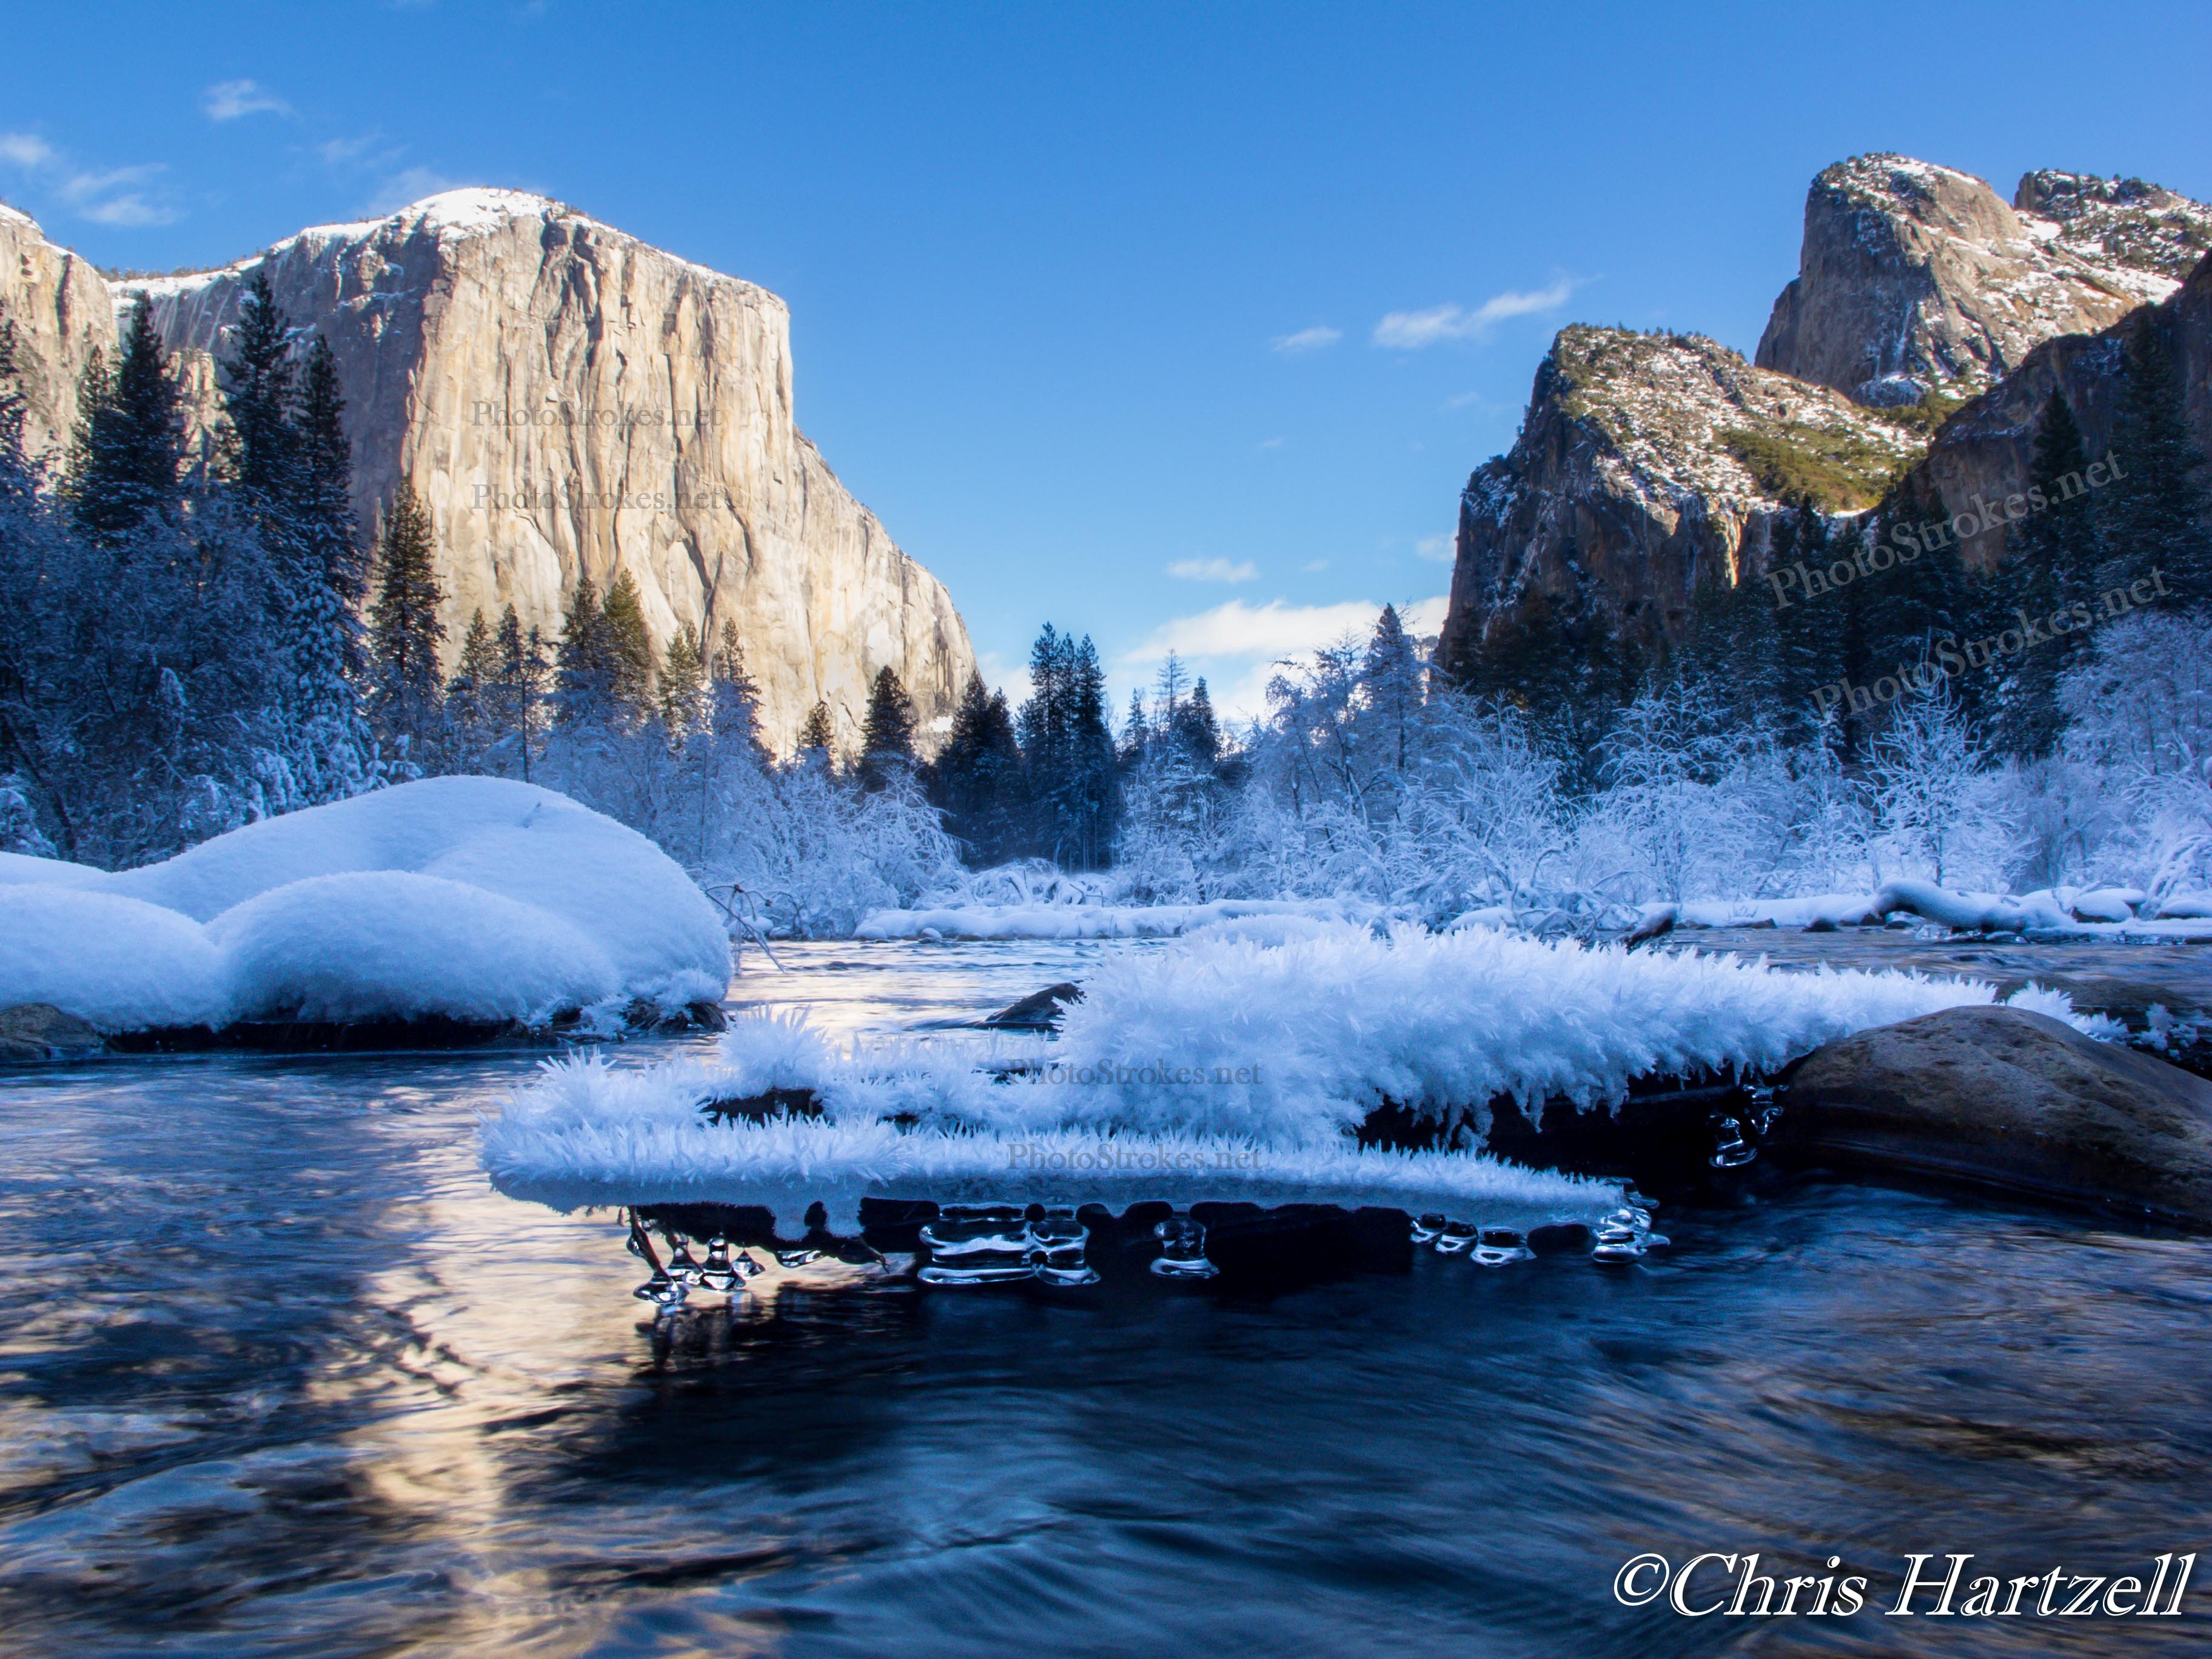
Copyright on the right again, white translucent watermark over the right side, black watermark over the ice in the foreground, black watermark over El Capitan on the left. There are many great parts to this photo that if cropped, could be great stand alone images (i.e. crop just the ice and it can make a great image while cutting out the watermarks in other locations). Multiple watermarks are placed over the parts of the image that could be stolen and cropped.
Chris Hartzell is a Fire Captain, naturalist, and environmental conservationist with over 3o years photographing and his work can be found internationally in calendars, advertisements, magazines, books, and educational exhibits. He and his wife Ame are international wildlife photographers having traveled to more than 25 countries and do field workshops, wildlife tours, educational presentations, photo contest judging, and teach photography classes. You can see more about them and their work at his site, PhotoStrokes.net
Be sure to also check out my other related posts:
– How to choose which images to keep vs. delete
– The truth about saving in JPEG
And I have some helpful comments on how to save files down in the comment section of this article: The guide to file formats.

