Featured Products
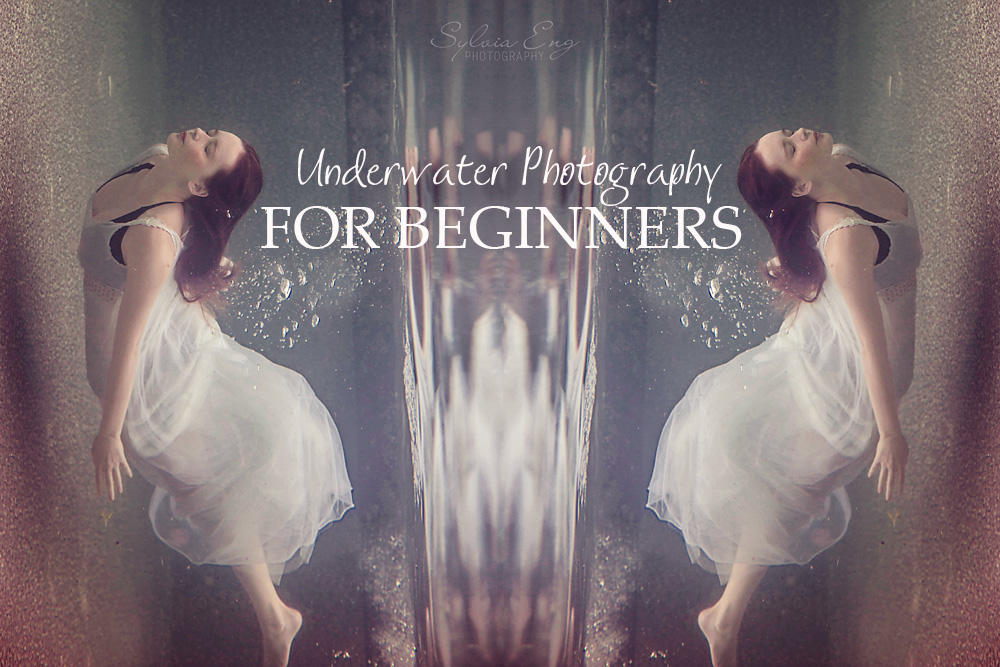
Let’s start this blog post with a disclaimer: I am incredibly new to the art of underwater photography. Full disclosure, I pretty much just started two months ago. Sometimes it helps to talk to someone who is at the start when you are also at the start, cause it’s amazing how quickly we can forget our struggles when something has become second nature, so that is why I am writing this article, not because I am an expert, but because I am learning too and all this new knowledge is very top of mind for me.
The Gear
I used aDiCAPac (bag style) underwater case. I selected this case because it was affordable and had relatively good reviews. It is designed to fit most DSLR cameras. It is somewhat loose on my 6D but comes with foam inserts you can adjust to ensure your camera stays in place inside the bag. It is nerve wracking to submerge your camera baby in a pool in what appears to be pretty much just a ziplock bag… but when compared to the price tag on the hard fitted case, I was willing to start with this option. I found it completely impossible to use a zoom lens inside the case, although it has the ability, so I only use my 50mm prime lens. You will find that subjects more than 10 feet from you are not really worth photographing any ways because the amount of water between you and your subject make the image really muddy and blue, so in my opinion, a zoom lens is a bit of a moot point and just one more complication you can safely avoid. So far I have only used natural light, and I find that I don’t care for the look of dappling that comes when the sun is hitting the water directly, so I tend to gravitate to early evening and overcast days, personally. You can also fit a small flash into the case, but I have not experimented with that option. In a way this set up is really fun because it really forces you to strip down all your gear and get back the basics, be really simple, look for the light, focus on the fundamentals without any outside aides. I am looking forward to playing with light from our pool or also those light-up floating balls you can buy to decorate the pool or glow sticks too, the options are endless and can you tell how excited I am!
And as you can see, a snorkel mask comes in handy too so you can get under the water.

Settings
One of the major cons to using the bag style case is that once it is nice and zipped in you have to pretty much take it out of the case to change the settings. Not that big of a deal but now you have a wet case, wet hands and you are floating in a pool. It’s not ideal. I would highly recommend choosing your settings before you get into the water. I started where all newbies start, on auto. I quickly discovered that this setting was not great at all. You are in constant movement, your subject is in constant movement, and your camera has no idea what the heck you are trying to focus on. In addition you can see pretty much nothing, between the glare off the plastic bag and the whole being underwater bit you end up just trying to lock focus constantly and missing key moments from your model. My preferred setting was “action mode” (sometimes indicated with a running man icon). This mode constantly seeks out the moving object to focus on and gives you rapid fast continuous shooting. This is a form of auto, so you won’t have the option of selecting your aperture or ISO, but because of how fluctuant light is underwater and how little dexterity you have, this is actually an asset and not a draw back.
Models
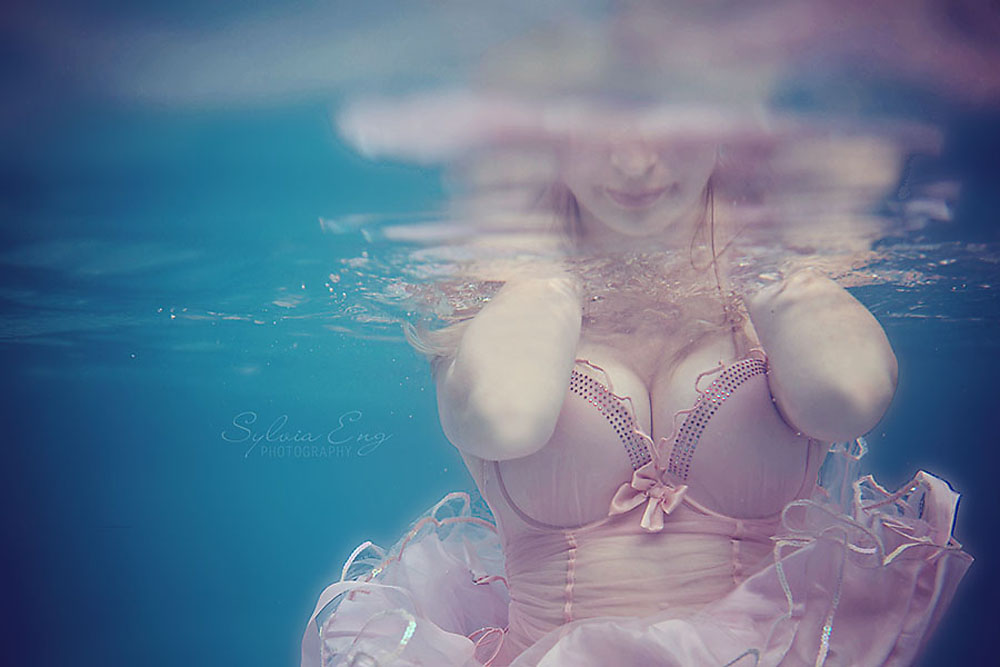
In preparation for shooting clients I have put myself on the other side of the camera. A big part of my photography style comes from my experiences as a professional model, and I could never ask a subject to do something I have not already done myself, because I always provide a lot of coaching through any shoot. I really loved the look of clothing and draping in the pool but it did make things extra hard to pose with. I would not recommend any thing “draggy” unless your model feels extremely comfortable underwater. I would also advise your models to try to avoid the colors blue, aqua or green because that is the color of the pool liner and your model would just blend into the background too much. I know this may also sound silly but I somehow over looked the fact that the pink undies I was wearing in my test shot went COMPLETELY transparent underwater, and also my skirt never stayed in the down position, so yep, I got some pretty pornographic shots (I know DUH! why did I not see that one coming).
The water tends to wash out a person’s features, it acts like a diffuser. So it is incredibly helpful if you apply waterproof mascara and eyeliner to your models and darken their lips with a lip stain or other long last color. This will give your final images a much more polished high fashion look.
I love the look of free flowing hair but it is all a bit unpredictable and unmanageable underwater, that is totally fine, but if you want to maximize the amount of photos with your model’s face showing try to pull at least their bangs back into a little ponytail. Also just note that their natural texture will be the only thing you can hope for underwater, so don’t bother with your straightener or curler that day.
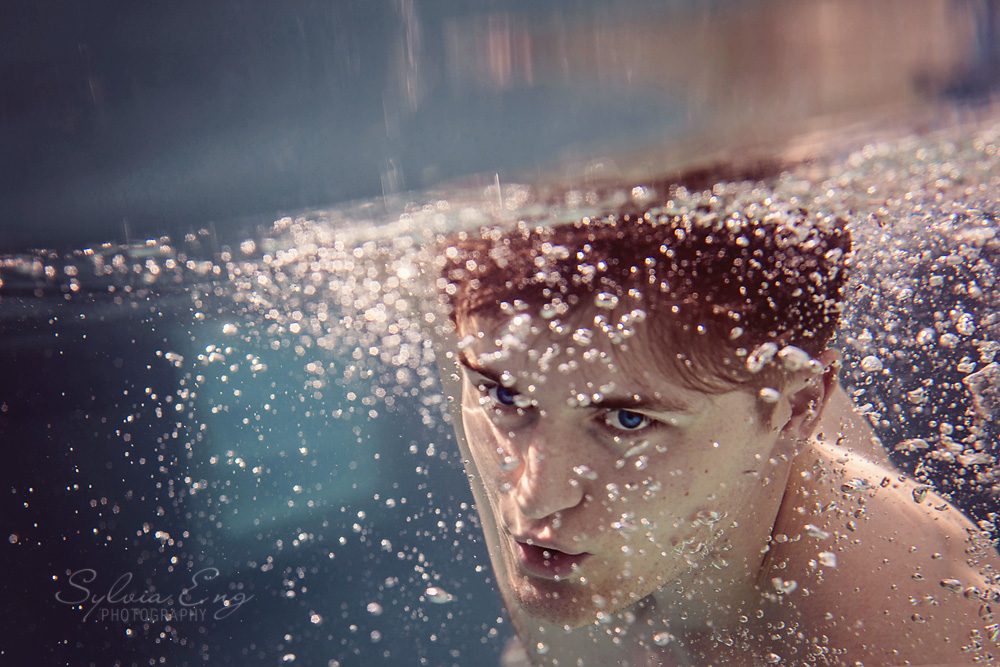
In terms of posing help your clients by reminding them to always point their toes and keep their hands relaxed. I tend to get about 90% of the shots with the model having awkward hand and foot positions, because you just move totally different underwater, your limbs go all squirrely (for a lack of a more technical term!). Also coach them to keep bubbles to a minimum if possible by holding their breath rather than exhaling, and swimming low and then floating upwards in a desired pose. Facial expressions are extremely difficult to master when the model has to contend with all these other elements. I have found letting hair cover the face, keeping the models’ face out of the water and as a last resort composite shots have helped immensely.
Editing
I chose to use my Canon 6D underwater rather than a point and shoot camera that is designed to be underwater because I really wanted the ability to manipulate the RAW images in Lightroom and I also wanted to have the superior ISO capabilities that the 6D is famous for. Here is a screenshot of my typical manual adjustments in Lightroom for every underwater image. Your major challenge is white balance. I shoot it on auto white balance and then manipulate it in Lightroom.

As you can see the clarity, contrast, color balance, white and black sliders all have pretty drastic movement to them. I also increase the sharpening quite a bit, moving the slider to about 50%.
After those adjustments I move the image into Photoshop. At this stage I will do some composites, selecting body parts from each image that have the elegance that I am seeking. I often use a selective color layer to darken all the blue and cyan colors in the image. This has the effect of creating strong contrast between the subject and the pool.
I use the MCP Fusion Photoshop action set, to complete the look: I like the look of the warmer actions, such as Summer Camp mixed with Peachy or Sweet Shop and then I open up the One Click Color folder and max out the contrast slider to 100%. This type of mix seems to warm up and sharpen these images that have a tendency to be very cool and hazy by default.
Composition
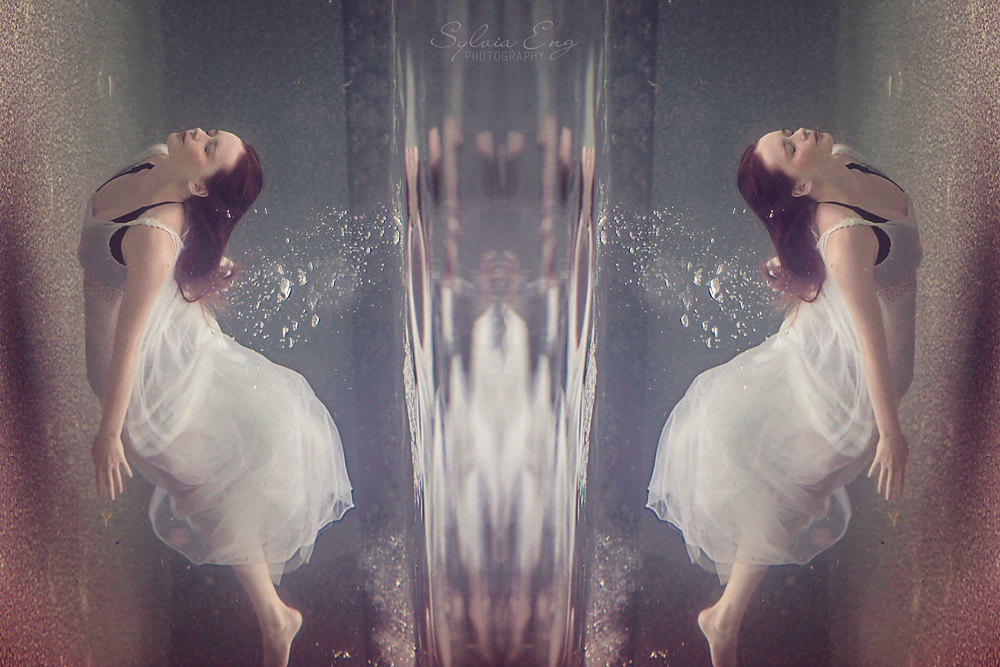
Editing the underwater images has been my favorite part of this type of photography. It is such a different look, you can really toss all the rules out the window and get away with it! Turn a subject upside down, make the surface the side, create a mirror reflection, layer, try double exposures, try mono colors or try black and white. Every crazy thing seems to look amazing on these surreal images, and keeps your viewer pulled in, trying to make sense of how you created this magic.
I found it incredibly hard to get accurate composition in camera, because you are floating, the camera bag floats, your model floats and it is really difficult to see through the view finder because I have a snorkel mask and the bag separating me and the eye piece, so every single thing seems to be in flux. Underwater photography for me has been a journey in finding happy accidents and the opportunity to create some digital magic and be extra creative. I am totally head over heels in love with it. This self-proclaimed water baby, has found her niche and I am so incredibly inspired.
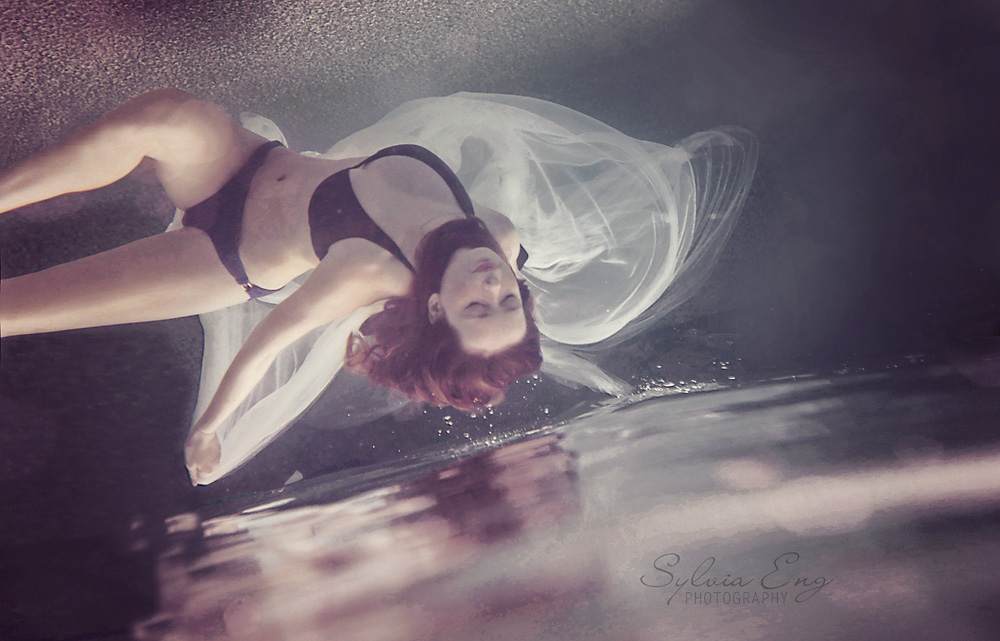
A big thank you to Carly Benjamin of Carly Bee Photography for assisting and shooting the image where I am the model, and also for being such an amazing friend and partner.
Sylvia Eng is a family and wedding photographer at squeaker & yoyo PHOTOGRAPHY, as well as a digital artist working in the greater Toronto area. She specializes in family portraiture with a focus on kiddos with special needs. Find her on facebook here.


