Featured Products
Head Swapping Photoshop Tutorial for Photographers
To head swap, or not to head swap…. that is the question. This is a question that a lot of photographers are on the fence about. I personally do not do it too often. I like the look of a candid photo, and not a perfect photo that was not there in reality. There are, however, times that I think it has saved me. I think that it’s an important thing to know how to do a head swap in Photoshop, even if you don’t think that you will use it too often. Jodi did a similar tutorial last year on head (eye) swapping to get rid of glare on glasses in Photoshop.
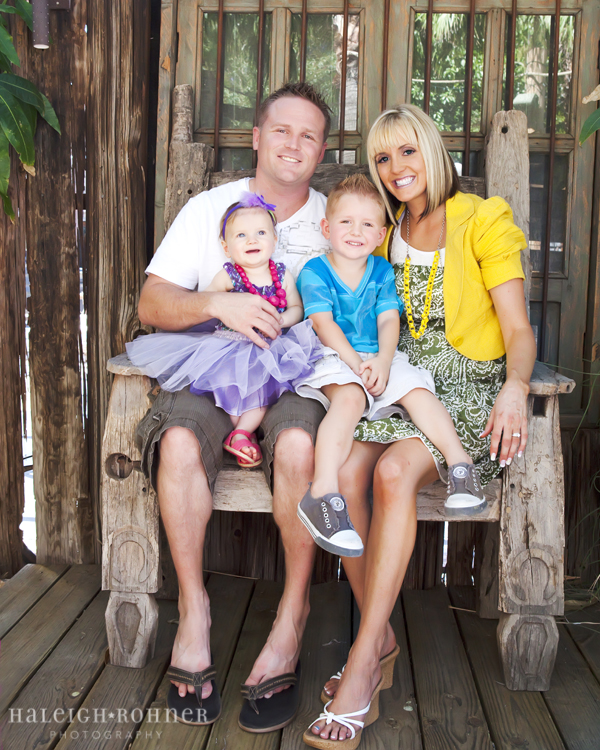
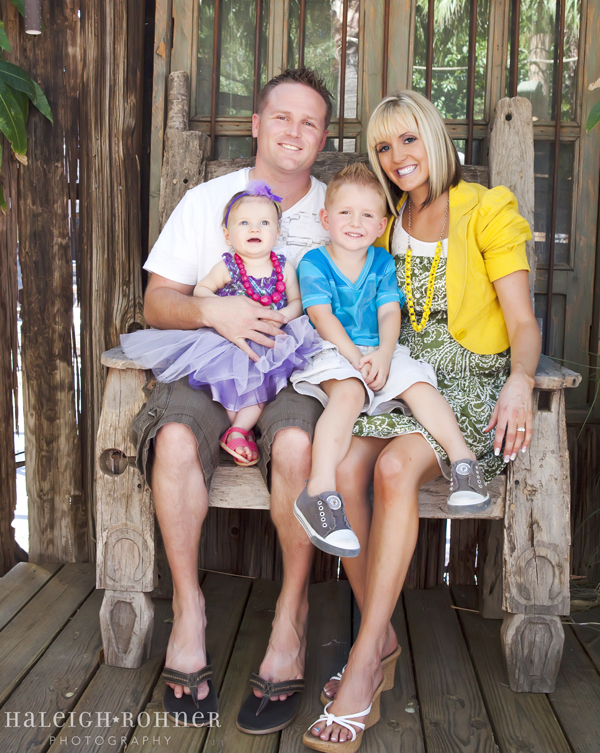
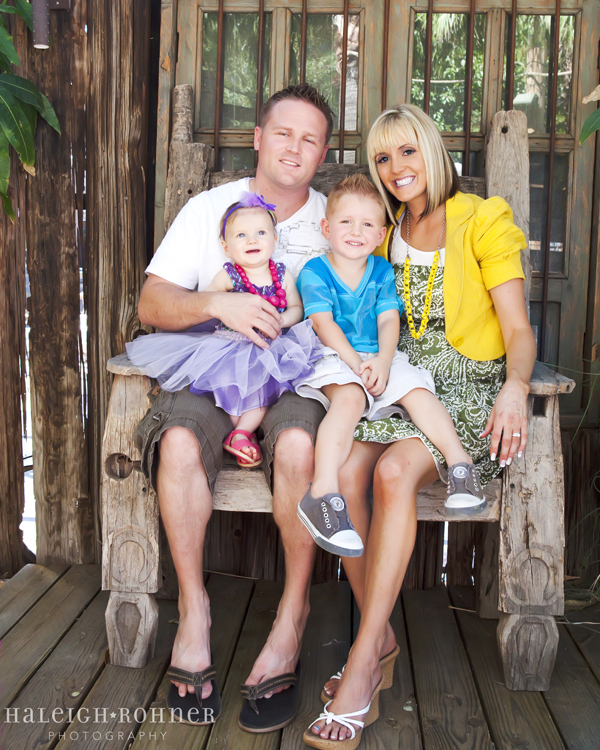
Below are two photos. In the first one the little girl is distracted by someone behind me, and in the second, it looks like Dad decided to take a nap. How many photographers can relate to that one? tee-hee! So, I decided to swap the dad’s head in shot number one and put it in shot number two… that way the family is all looking their best. Below, you will see the way that I swapped dad’s head from one image and put it into the finished product. Typically, I do other adjustments after the head swap, but in this case, I did them before, so that you didn’t have to look at my SOOC images.
From here, what I did was pretty simple. I took the rectangular marquee tool, (you could use the elliptical marquee tool too!) and I took a rough sample by framing around the dad’s head that I liked and I copied (Ctrl+C OR Command +C) it and pasted (Ctrl+V OR Command + V) it into a new layer on the image where he was taking a nap. See below what happens. The image will be pasted into the middle of that layer. It kinda looks like Dad is hanging out on daughter’s lap. From there, you use the Free Transform tool and drag and drop Dad’s head into proper position. You can even change the angle of his head by rotating the square. In the second image below, you can see how I tried to line up all of the bars in the background as best as I could. Sometimes you can’t get them to line up exactly… due to camera shake, etc. Just get it as close as possible. Then, go back with the eraser tool at 100% opacity and flow and erase the square from around Dad’s head.
Note from Jodi: “I prefer add a layer mask and use black to erase until it is perfect. This is personal preference. But I like masking because it is non-destructive.”
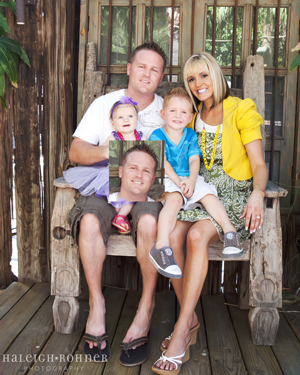

Now see the image below. Would you have ever known that dad decided to take a nap in this shot? So, keep this in mind next time you shoot a family with young kiddos, or sleepy Daddys, and you just might be able to salvage an image you didn’t think that you’d get to use.
 Haleigh Rohner is a photographer in Gilbert, Arizona. She specializes in families, seniors and children. She also enjoys mentoring beginning photographers and teaching them the ropes on how to establish their own photography business. Check out more of her work on her site or Facebook Page.
No Comments
Leave a Comment
You must be logged in to post a comment.




Thank you so much for the tutorial! Very helpful.
Ha, one of my readers actually asked me to post a tutorial on how to do a head swap just a few days ago. *tee hee* I’m cheating and linking up your post here instead. Thanks! This is awesome.
Nice job, but it’s even easier to swap just the face rather than the whole head in many cases. That way, you don’t have to worry about masking out / erasing the surroundings.
I always find it interesting how a process is done so differently from person to person. I use the quick selection tool, select only the head, feather the selection then copy and past and most the time i don’t have to do any masking or erasing at all. It looks like this way works great too though!
If you have Elements, there is a tool that does this for you, and it actually does a pretty good job too. I had to use it once when a family wanted a shot of all of them and the dog. They didn’t want to bring out the dog till the end, and of course the kids were done by then, so I didn’t have a good shot of all 5, even after taking about 20 shots. I found one with the dog and dad and son looking good, and then added in mom and daughter’s faces from other shots. After asking 4 or 5 people to spot the “changed heads” and no one could, I figured the family would never know. Not my preferred way of doing things, but necessary sometimes.
What is the tool in Elements? I have Elements 9. Thanks!
I suppose you could do the same thing for his feet in this pic too. LoL ;P Gotta love those tiny little quirks in a photo to make editing interesting. 🙂
The feet would drive me crazy to look at every day.
I just signed up for a free month of Photoshop and would liketo swap heads in a family picture. After watching the tutorials,I STILL don’t know how to access the very first screen where I bring my two photos into. If possible, please help! Thanks, Jay
To open two photos, you go under FILE – OPEN.