Featured Products
If you’re new to photography and you’ve just bought your first DSLR it can seem like a daunting task learning what all the buttons and dials do. Even if you have lots of experience shooting on your phone or with a compact camera, working with a DSLR is a whole different ball game and it takes a bit more work to get the results you want. But hopefully, I’ll be able to give you a few pointers to get you on your way to capture professional-looking photos.
The Important Camera Settings
Aperture
Aperture affects the depth of field which is the amount of your scene that’s in focus between the nearest and the furthest point in your scene. The way aperture works is by changing the size of a hole in your camera that allows light through onto the sensor, and a smaller hole allows less light in while a bigger hole allows more light in. This is similar to how the human eye works, for example, you’ve probably noticed that when you move into a dark or light room your pupils will either enlarge or contract, and this is how the aperture on your camera works.
Wide aperture
Wider apertures are lower f numbers, have faster shutter speeds, and create a shorter depth of field so only a small area in your photo will be sharp whilst the rest will be thrown out of focus. Wide apertures are commonly used for portraits and close-ups, for example, f/1.4 is considered a very wide aperture that will throw the background out of focus.
Narrow aperture
Narrow apertures use higher f numbers and create a larger depth of field so more of the scene will be sharp, but this decreases the shutter speed. The higher the f number the narrower the aperture, so for landscapes an aperture of f/16 is good to keep the whole scene in focus.
Shutter Speed

Shutter speed is an important setting that will change depending on the conditions and subjects. Basically, shutter speed is the amount of time the shutters are open to allow light through onto the sensor, so a faster shutter speed means the shutters are open for a shorter time which allows less light in, while a longer shutter speed means the shutters are open longer which allows more light in.
Fast shutter speeds
A shutter speed of 1/1000 (1000th of a second) would be considered a fast shutter speed and is often used in sports photography to capture fast-moving subjects without blurring.
Slow shutter speeds
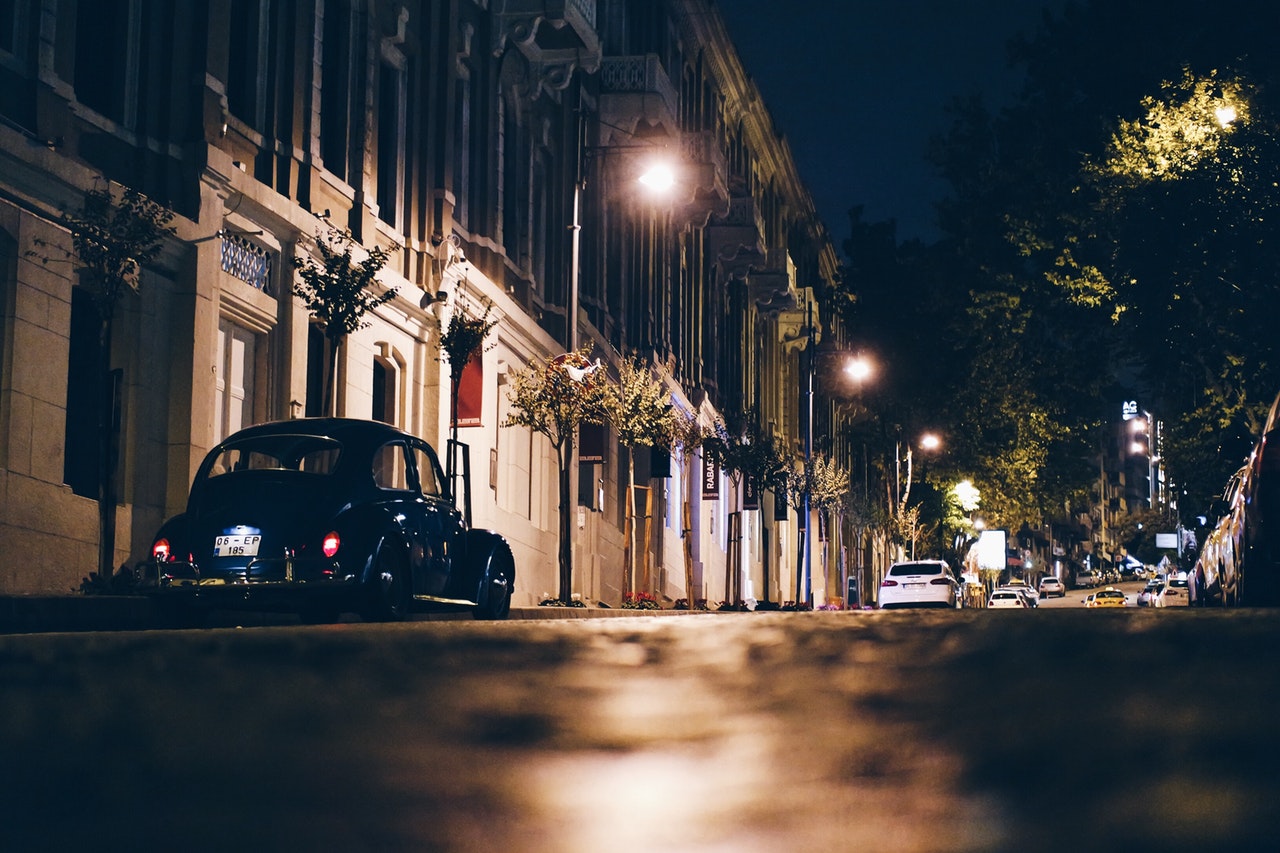
A slower shutter speed for example 1s (1 second) or longer is often used for night photography or for blurring moving subjects like a river. But you’ll need a tripod when using a slower shutter speed because holding the camera would result in handshake blur.
ISO
ISO is how sensitive your camera is to light and this sensitivity increases as you increase the ISO value. If you’ve set your aperture but the shutter speed is too slow, the next step is to play with the ISO.
The most commonly used ISO values range from ISO 100 to ISO 6400 and the higher the ISO value, the faster the shutter speed will be. Also, this results in a brighter photo, so if you double the ISO number your photo will also double in brightness.
Increasing the ISO is useful for low light conditions, night photography, and for capturing fast-moving subjects. The only downside to it is with higher ISO settings your photo will show more noise (distortion), which can look ugly, so it’s important to not use a higher ISO setting than is needed.

Exposure
The exposure is controlled by a combination of the shutter speed, ISO, and aperture and is basically how bright or dark a photo is. So changing any one of these settings will affect the overall exposure and brightness/darkness of your photo.
There’s a feature on all DSLRs called exposure compensation which is useful to increase the brightness or darkness of your photo if the camera doesn’t quite get it right. Depending on what mode you’re shooting in the camera will adjust the aperture or shutter speed to allow for this change. Exposure compensation has a range of values you can change, for example, +1 EV will increase the brightness of your photo while -1 EV will darken it.
3 Important Camera Modes
The three main camera modes photographers use are shutter priority, aperture priority, and manual mode. If you’re just interested in pointing and shooting then the auto mode is another option that automatically chooses the best settings for you, but this isn’t really used by professional photographers because you lose a lot of creative freedom.
Aperture Priority: In this mode, you can set the aperture and the camera will choose the best shutter speed for you.
Shutter Priority: In this mode, you can set the shutter speed manually and the camera will set the aperture for you.
Manual Mode: In this mode, you can set everything as you wish including the shutter speed and aperture.
White Balance
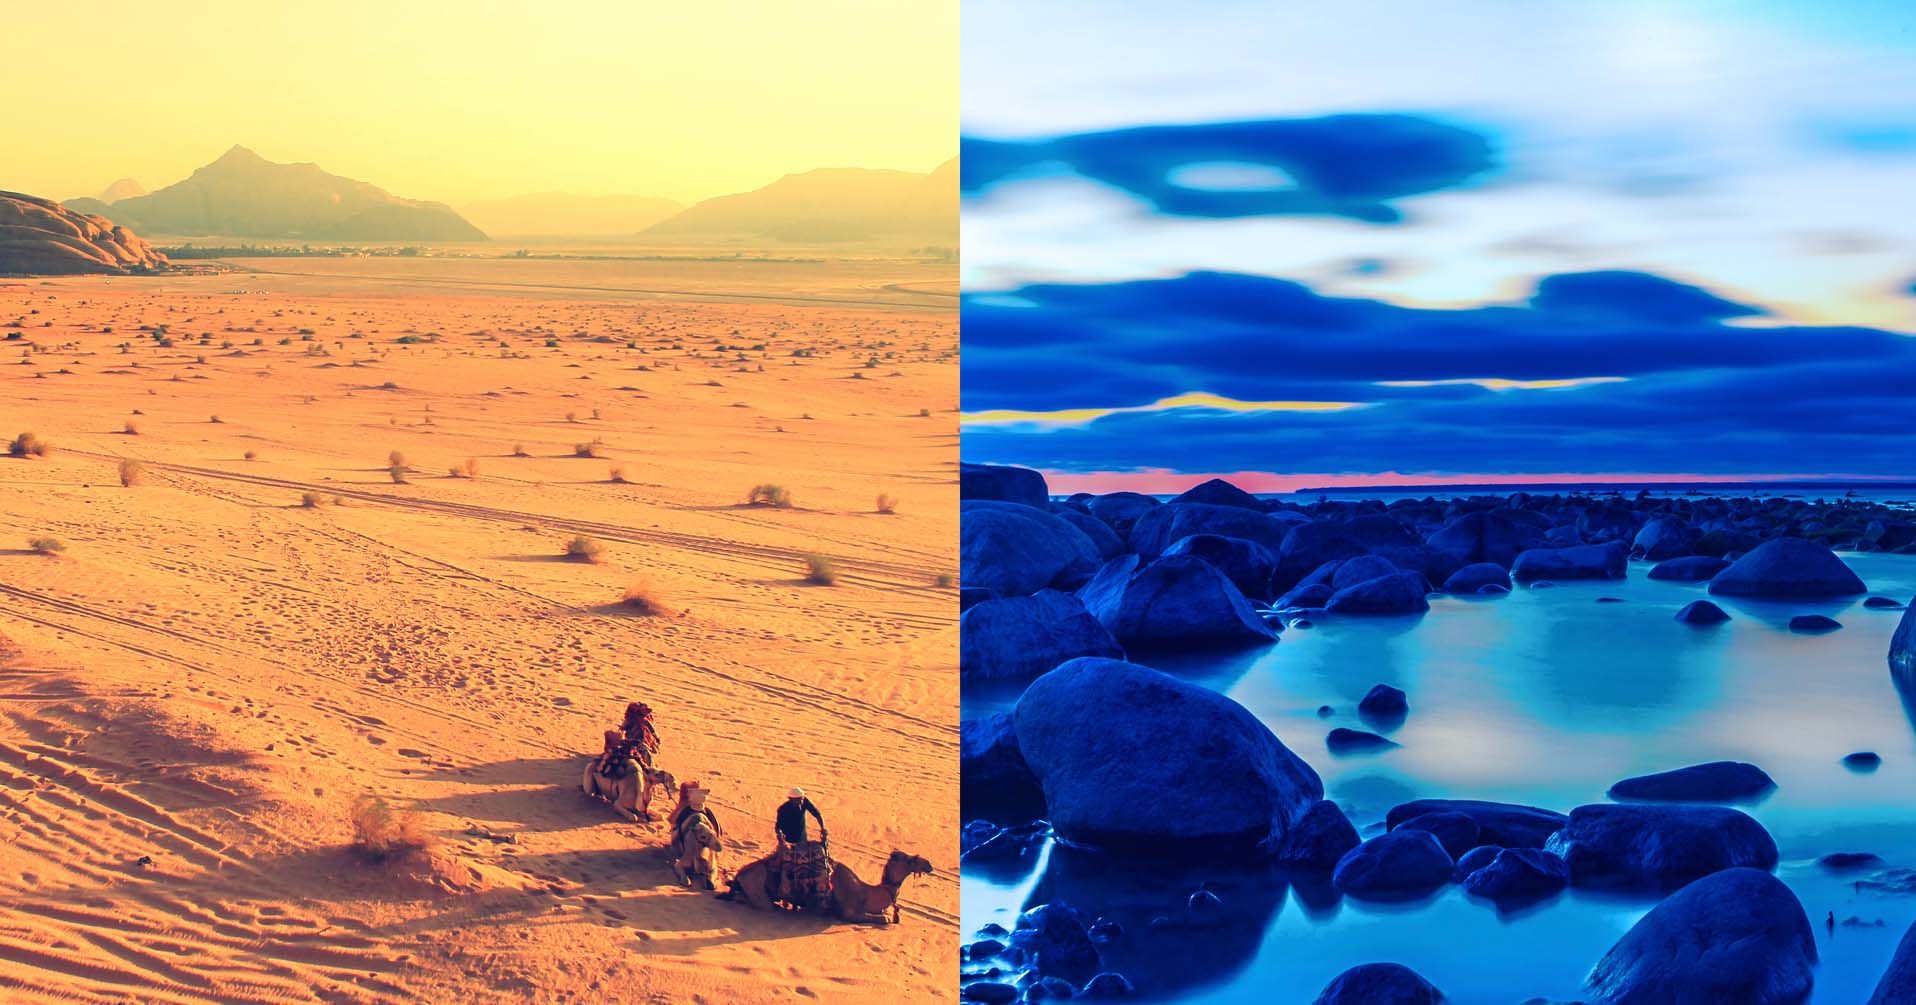
White balance affects the temperature of your photo, and so photos can appear a warmer color (orange), a colder color (blue), or neutral and this depends on what temperature your photos are.
There’s a range of options available to set the white balance, and a few of these are auto, fluorescent, tungsten, cloudy, shade, and daylight. Auto will obviously choose the temperature for you, but the camera doesn’t always get this right in every situation so setting a more specific option may be needed.

A Few Composition Techniques
Composing your photos is where your creativity really comes into play and is a skill that you’ll need to constantly work on, and even if you get to a professional level you’ll find you’re still trying out new techniques. There are no set-in-stone requirements to follow but there are a few techniques you can try out to help get you started.
The Rule of Thirds
The rule of thirds is a well-known technique that most professional photographers will have heard of at some point and is an easy way to improve your photos and create a more balanced-looking photo. It involves splitting the scene up into thirds with two vertical and two horizontal lines equally spaced and then you place subjects of interest along these lines and on intersections. But these are lines you’ll need to imagine unless your camera has the option to display them on the screen.
Leading Lines

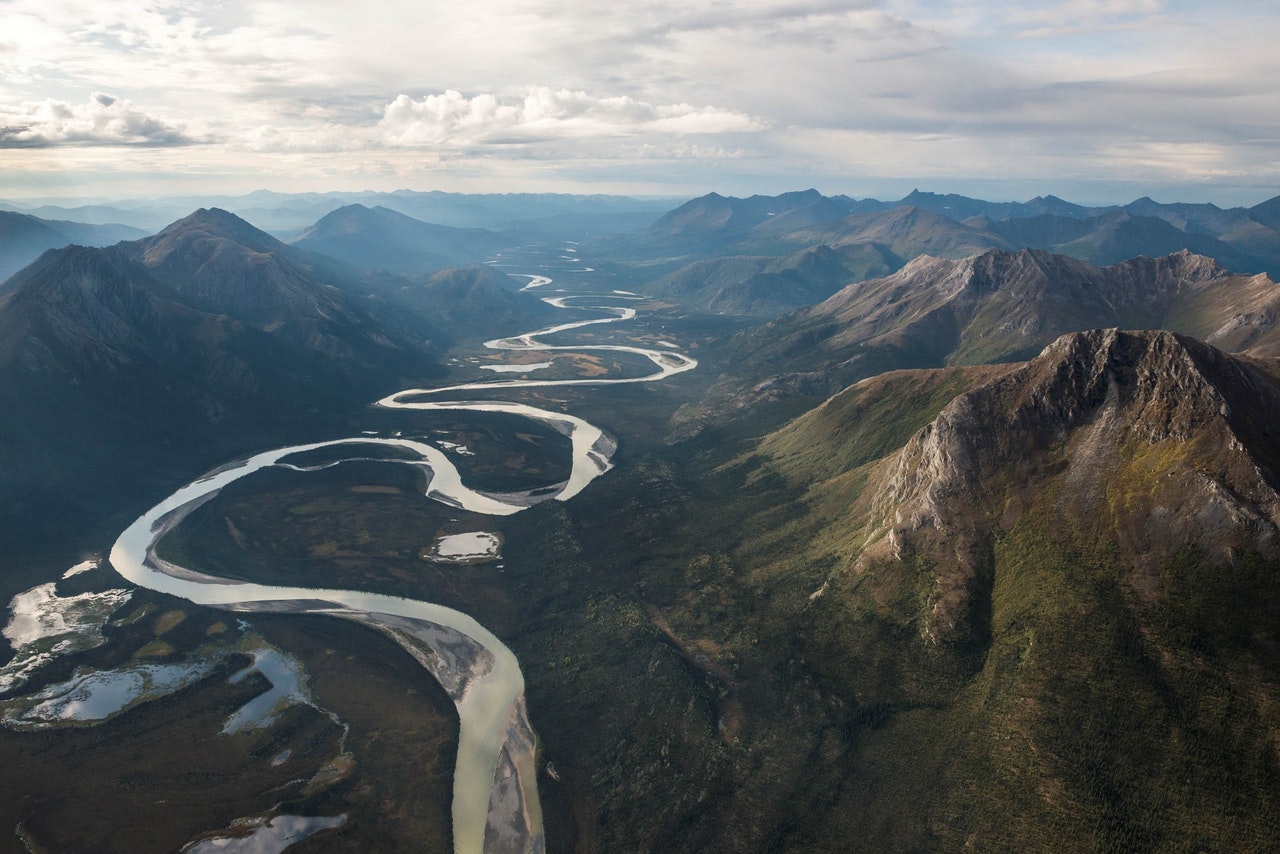
Leading lines are a good way to keep the viewers’ attention for longer and create a more eye-catching photo. They do this by leading the viewer’s eye through points of interest and to the main subject in the image, and often they’re used as the main subject as well. The lines usually start in the foreground and can be straight such as a road or bridge or curved lines such as a river, but any other shapes will work.
Visual Weight
The visual weight of a subject is the ability they have to attract the viewer’s eye, and subjects with more weight will attract the viewer’s attention first. The focal point in your image usually carries the most weight and maybe the biggest object in your photo or a face or text, for example, also the positioning of objects and contrast can affect the weight of certain elements.
Balance

Balance in a photo can influence the emotions the viewer feels, either creating a feeling of satisfaction in a balanced photo, or unease in an unbalanced photo. Balancing your photos isn’t essential and often photographers purposely unbalance them, but it’s still important to know how to create a balanced photo. To do this easily you could center your subject or place subjects with similar weights on both sides of the photo. And to unbalance your photo you could place the subject on one side of the image with very little or no subjects in other areas.
Some Useful Tips
How to Prevent Blurred Photos
Blurred photos are a common and very annoying problem that photographers of every skill level face, but there are a few things you can do to combat this and make sure all your photos are blur-free and sharp.
Camera Shake
Camera shake is caused by holding the camera wrong or slow shutter speeds. You shouldn’t be holding a DSLR like you would a compact camera by placing one hand on each side of the camera. Instead, place your right hand on the right-hand side of the camera body within reach of the shutter button and then place your left hand on the underside of the lens to help support the lens and this should keep the camera steady. Camera shake can’t be completely eradicated though because our hands naturally shake to a degree, so the next points will explain how to combat this.
Slow Shutter Speeds
Another reason you might be getting blurred photos is that you’re using a slow shutter speed. Shutter speed should as a rough guide be equal to or more than your lens focal length. For example, if you’re using a focal length of 50mm then you’ll need a shutter speed of at least 1/50th second.
Tripod
If all else fails you can mount your camera on a tripod, and this will allow you to use slow shutter speeds without handshake blur. One thing to note when using a tripod is you can create some camera shake when you press the shutter button down, so a couple of ways you can get around this is by using a remote shutter release so you can activate the shutter remotely, or an alternative is to set a timer.


