Featured Products
Part 5: Avoid the “Flashy Look” ~ Learn To Use Fill Flash
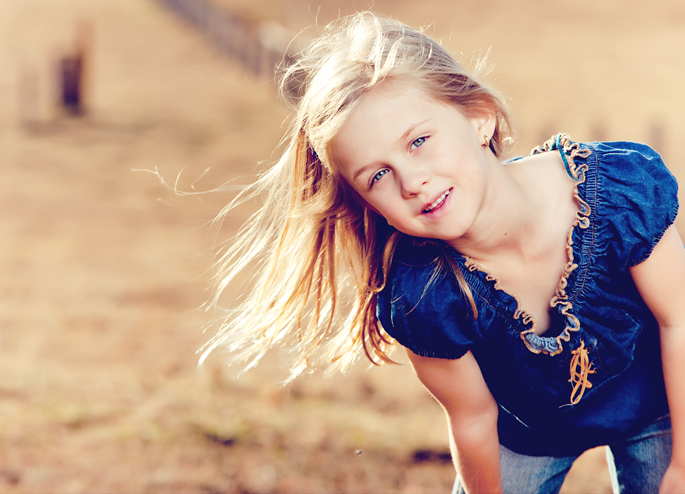
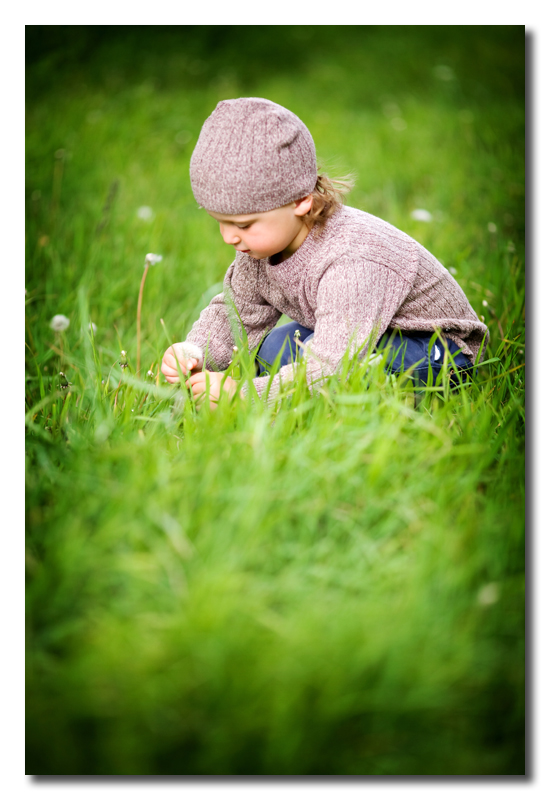
I was photographing a small girl, in a field. Gorgeous backlight, 4.45 pm light. Her face is dark due to her back to the sun. I want to fill her face with light, but also keep the background exactly as I see it!
A lot of purist will use light meters, I used to use them too, but the time it took me to fiddle around with them , was the same as it took me to take a shot in camera, and the tweak it to suit. So this is what I do.
I will have a speed light on a light stand , with an umbrella to shoot the flash into ( I mainly use silver reflective umbrellas outdoors as I am always wanting more power but a softer light )
This little girl had amazing light in her hair at dusk, but her face (when shot with natural light) was dark. I used a speed light with an umbrella camera right to fire flash at her. My shutter speed was 30 to let in a lot of ambient light which I was loving at the time.
I hate flashy images, how can I avoid that?
By having your background exposed for natural light (lower shutter speed), not darker than the subject (higher shutter speed).
Using your flash as fill just means allowing the background to look as it does to the naked eye (adjusting your shutter speed) and choosing an aperture, or adjusting your flash power to suit the strength of flash that is hitting your subject.
Avoid EVER using your flash on camera (cousins weddings accepted if you are a guest.
Avoiding firing a flash without some sort of diffuser, keeping your light soft and direct.
All these methods will help you get less ‘flashy” images.
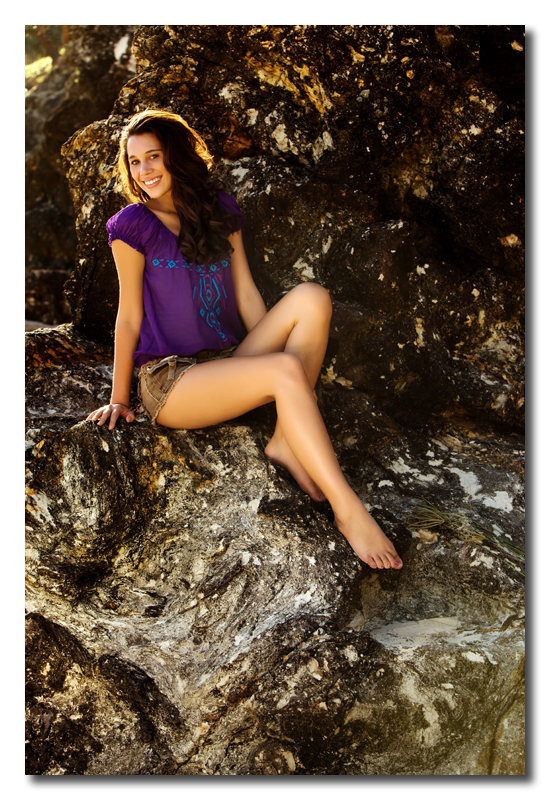
I really want to use 2.8 on a family shoot with flash
Then choose a very late afternoon shoot, as 2.8 in full sun will allow too much light into your image and you will not be getting the rich effect you desire by using flash.
I find many exclusive natural light photographers get very caught up in shooting wide to give their image more interest.
If your sole requirement is to shoot at 2.8, and you want to use flash you will find that the image will not be “rich” enough (Dark background) unless you shoot on dusk. 2.8-3.5 simply lets in too much background light to shoot flash during high sun or early afternoon shoot, especially if your aim is for those rich backgrounds of off camera flash.
IF you are shooting 2.8 and simply want to use flash as fill, that’s fine. Using flash this way, simply means filling in the shadows. Your interest is not to make the image richer or the background darker.
Be prepared to dial the flash down low as it might be too bright at 1/1 full power, or move the flash unit and stand back from your subject so the light is weaker.
Look at the image you just shot in your lcd, set the shutter speed to 200 (if shooting in daylight) and play with the power settings on your flash unit until you get the amount of light you require to hit your subject as you like (this would be a good time to us a light meter if you have one, but if not then simply using your lcd is fine * watch histograms for blow outs*)
This method of using flash as fill will not make the image darker, it will simply give you shadow fill like using a reflector.
Mostly when outdoors I am wanting a nice rich background, so if it is daylight ( washed out background of natural light) , I am going to put my camera on aperture 22-32 to really create a dark rich image, I will then have my flash set to 1/1 power, and place it quite close to my subject. If there is not enough light on my subject’s skin, at that aperture, I will decrease my aperture until I get the desired effect. Keeping my shutter speed at 200 blocking all the ambient light I can.
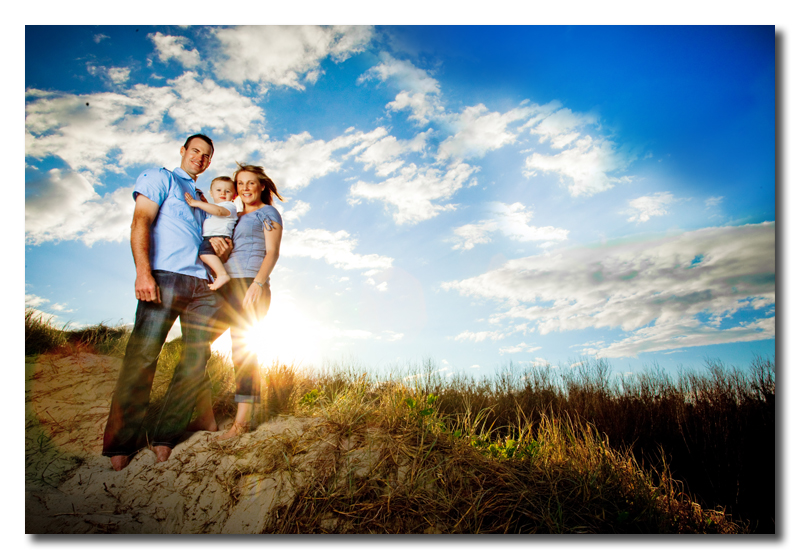
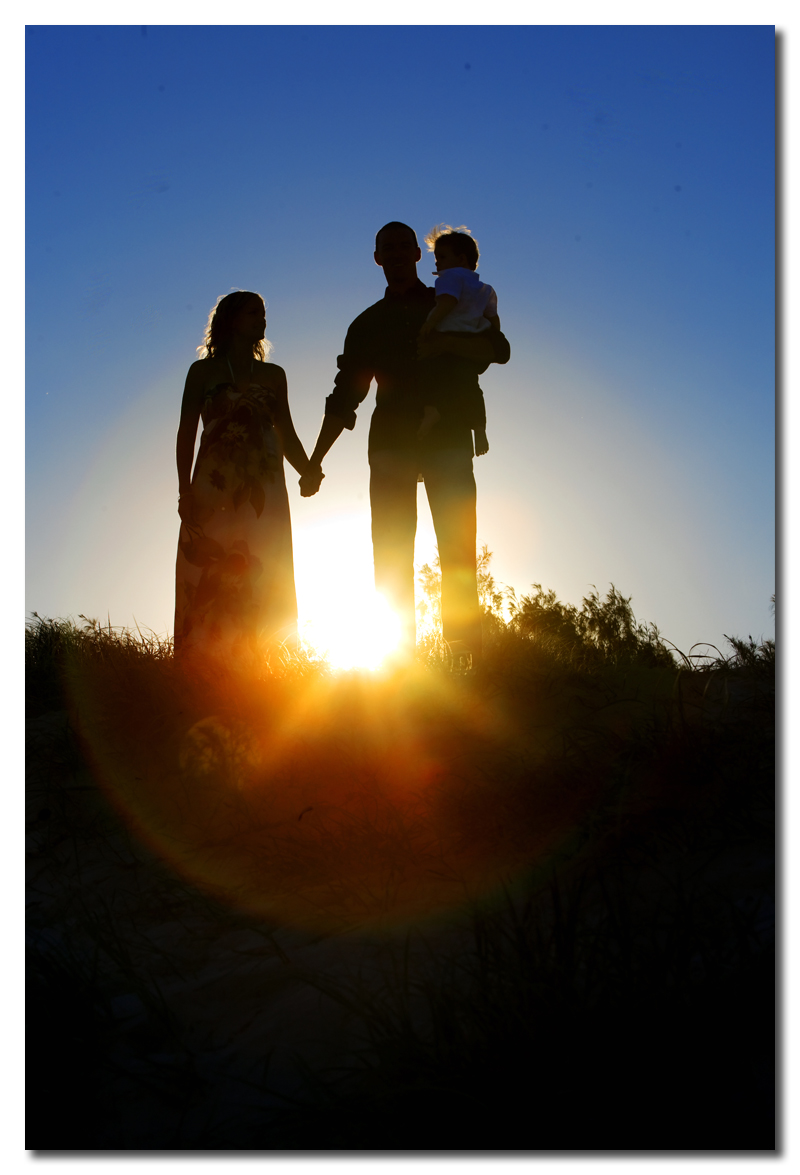
Same hill, same time of day, one shot with natural light and the other flash. Flash shot aperture 20, flash power 1/1, iso 200, speed light and umbrella VERY close to subjects, just out of frame camera left.
When don’t I use flash?
When the god given light is amazing! Sometimes you just don’t need to mess with nature. If I am shooting in gorgeous natural light, I am blown if I can be bothered to drag my flash gear out to try and enhance it. I will use it to its full potential. This shot is natural light, no fill, no reflector, just good light in a great time of day.
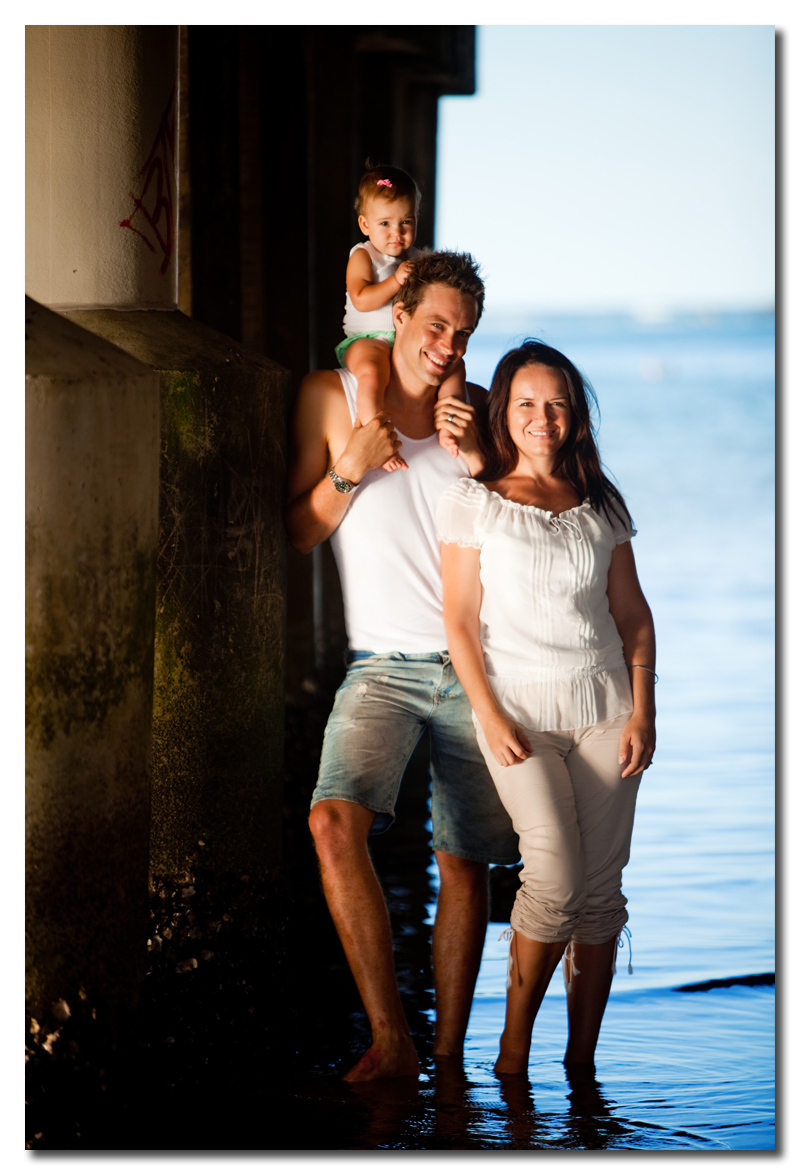
I don’t use flash on a shoot with just toddlers, Way too hard to get them placed in the right spot!
To learn more about Wild Spirit Photography, visit our site and our blog. Check the MCP Blog daily through October 5th, for more “flashy” posts. And don’t miss out on October 6th for a contest to win a 2 hour Skype photography mentor session with me.
No Comments
Leave a Comment
You must be logged in to post a comment.


Can you teach us more about off camera flash? I have a speedlite, is that what you are talking about moving off camera – or am I to buy something else?
So grateful for this series. Definitely not “getting it”, but at least I’m understanding some of these flash concepts, where normally when people talk about the mechanics of using off camera flash it sails clear over my head. Would it be possible to include a link to the previous articles in the series at the bottom of each of these posts? Will make referring back easier.
Yolanda, are you offering 🙂 It is a great idea, but I just have not had the time to add that too. Possibly someone will want to make a list of all the posts in the series in the end for reference… Thanks! Jodi
Thanks so much for posting all of this information! I haven’t had time to absorb and apply all that I’m learning from your posts yet, but it’s going to be very helpful when I do. So glad I found your blog!
The RadioPopper PX and the new Pocket Wizard TT systems will allow you to shoot in TTL mode where you can set your lens to 2.8 and the camera/flash (with some comp adjustments) will get you that rich background look you want. I know, something extra to buy but you have to trigger your flash anyway, might as well get the right tool for the job.
I loved your flash photography tutorials so far. Even googling didn’t point me to similar info. Just a suggestion, is it possible to add basic exif info of the images you post in your posts?Thanks,Dharmesh
this is very helpful! Thank you!
Awesome post! thanks a lot for sharing..
The results you get from using flash are simply amazing. I never knew that images could look that beautiful when using flash! Flash is my “f” word and I am terrified to use it! Thanks for all of this wonderful info. It’s definitely something I want to look more into and learn more about thanks to this wonderful series.
Could you show a set-up of what your umbrella and stand looks like when shooting a subject?
WOW! This is out of my thought! Brilliant work.