Featured Products
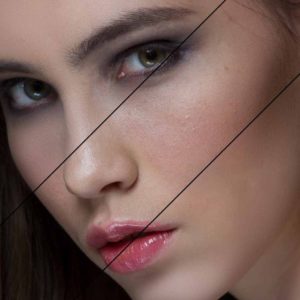
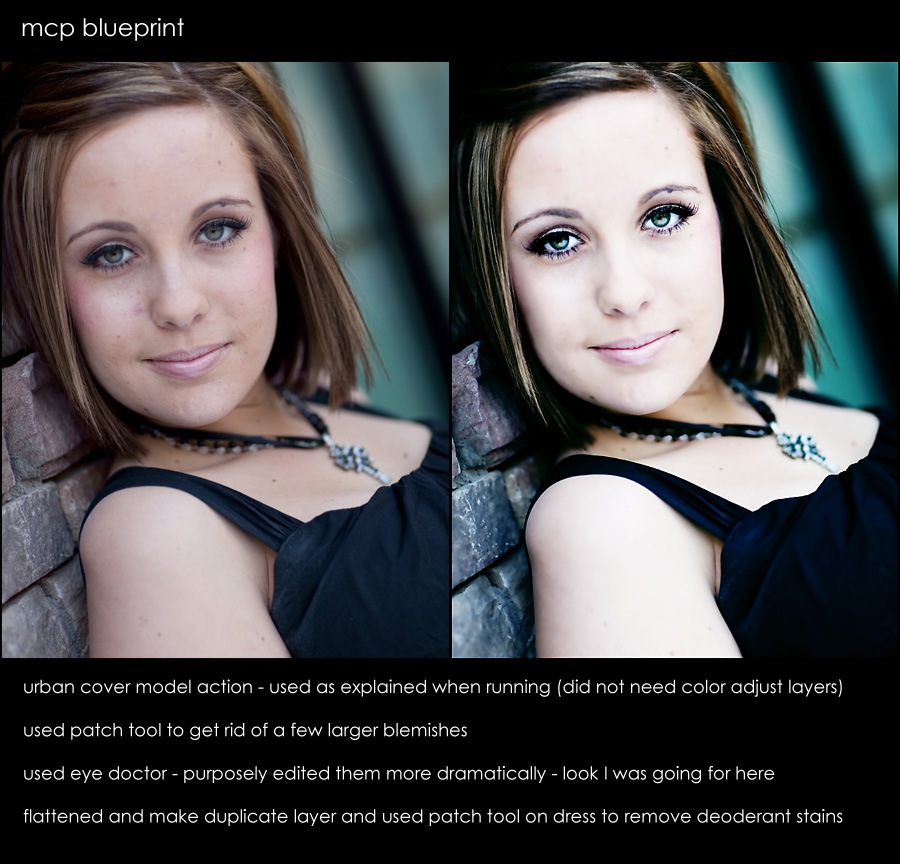
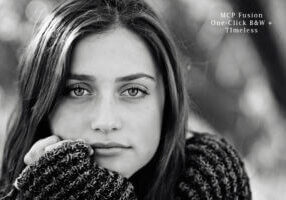
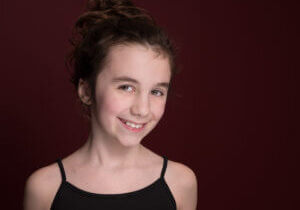
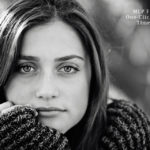
Today’s blueprints will show you 2 similar photos of the same model taken in the same light. I edited them very differently so you could get an idea of how you can get completely different looks under the same conditions.
For the 1st Blueprint of this graduating high school senior, I took a natural enhanced approach. I wanted to help smooth her skin a bit and reduce her acne. I kept her skin tone fairly natural and lightly brightened and sharpened the eyes as well. See the exact details below.
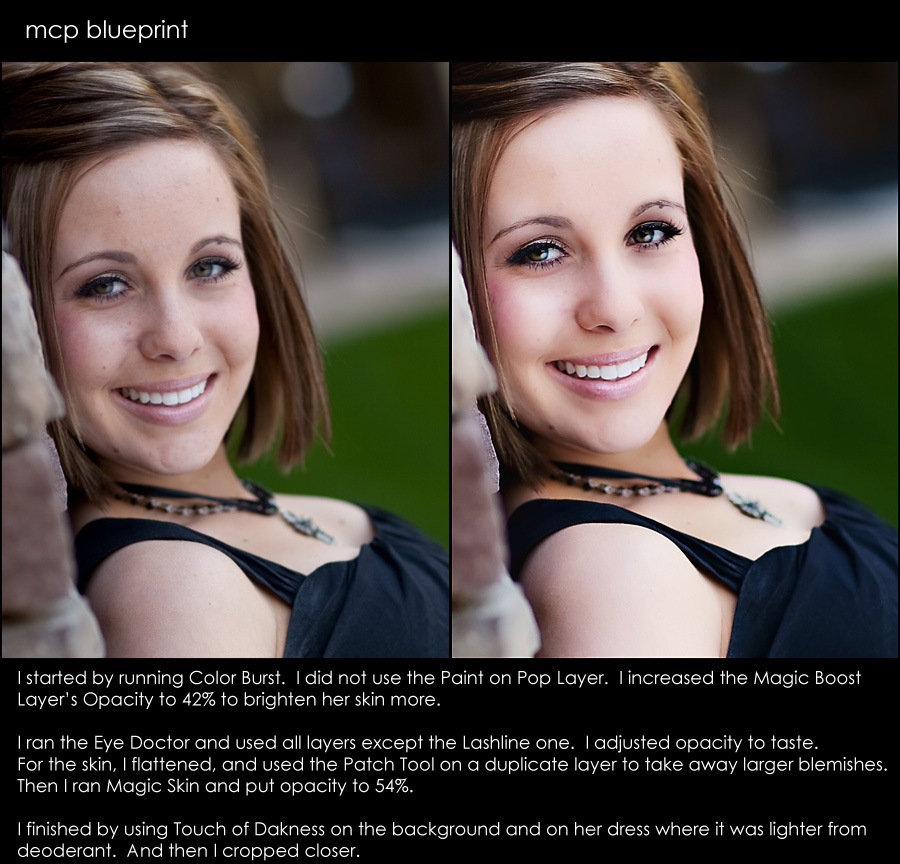
For the 2nd Blueprint I decided to go to an extreme. I am sure some of you may not prefer this because of the lack of detail in the skin and the overall ghostly brightness, but that was the point – to make this one fake and almost magazine model like.
So I am curious to hear your opinions. I assume most will prefer one over the other – but I would love to hear what you like and why.
No Comments
Leave a Comment
You must be logged in to post a comment.













LOVE it. Great job. The bag of tricks is on my wish list! I will be getting it very soon! This edit just confirmed that.
What a beautiful little girl, and the edit is super! These actions, look like MUST HAVE tools.
Ohhh… I can’t stand it! It’s glorious! NEED ME SOME BAG OF TRICKS! must type in all caps because I NEED it that much!
Wow! That’s amazing!
I love the edit…it focuses on the little girl and makes her pop out of the scene…very nice!This is just being very pickey, but I may have not done the skirt so bright although I didn’t see it at 30%.Wow…the new set of actions looks like a real time saver and fun to use.I waaaaaaant it! :)How are they different from your other sets and are some of them used in place of the old ones or dothey just compliment each other? Please explain the differences? Thanks! xo
Wow, what a great edit!!! It sure makes all the colors just pop! Great shot too by the way, Kara! I have some “girl by a pond shots” that I need to try this on!
Terry, they are quite different in almost every way. The only part that is a little similar are a few of the exposure things. But the rest are all specialty actions unique to this set.
Great edit. I wouldn’t change a thing. The colors are rich, and the little girl really stands out. Great job!
This is A-MAZING!!! I just orderd the “Bag of Tricks” and “Magic Skin” soooo excited 🙂
Thanks, Jodi. I am putting it on my wish list. xo
I always love to see the blueprints. Lately I’ve really been working the tools you taught me in class and the actions. I love them. I only wish you had a crop action. That is where I struggle.
This is fabulous! I bought the actions last night, and now I am even more excited to play with them on some of my old pictures!
I really like the edit – wow!I have a question: [Ran Magical Color Finder Brush and painted on background using 100% brush – and on her skirt and umbrella with 30% brush. Increased the opacity of the layer to 85%.]Can you please explain just a little about what Color Finder Brush does – I don’t quite get it. Thanks.
What an amazing transformation!
gorgeous edit, love the final image! i just purchased BOT the other day, very impressed with this set jodie!! thanks for including the very helpful video 🙂
also tho, on the edit am i seeing a spot that was missed? right around the wood handle on umbrella, above her hand & foot?
Aimee – I thought about cloning that but left it as it was there in the original – and was a reflection of light (not quite a rainbow but contrasted in the original too).
oh ok! i didn’t notice until looking at it for about the 4th time. since i just purchased BOT, i was ‘studying’ your steps extra hard 😉
beautiful
Beautiful girl and I love what the edits did for her skin and the vividness of her accessories, but in terms of the update, the water really “stole the show” for me. The glassiness of the water’s surface, the enhanced colors of water and trees in reflection–wow! I’m a first-time visitor to your site and I can’t wait to come back for more photoshop tips. ~K
Are you kidding me???? This is a tremendous tool for photographers.Love this sooo much. Great before and after!!!
the color transformation is great, thank you for posting.