Featured Products
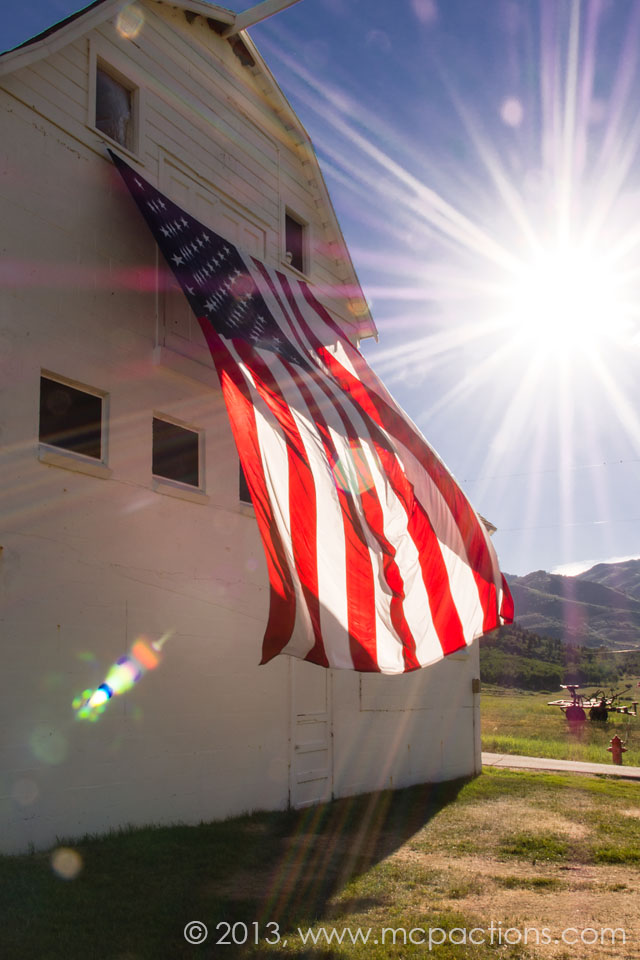
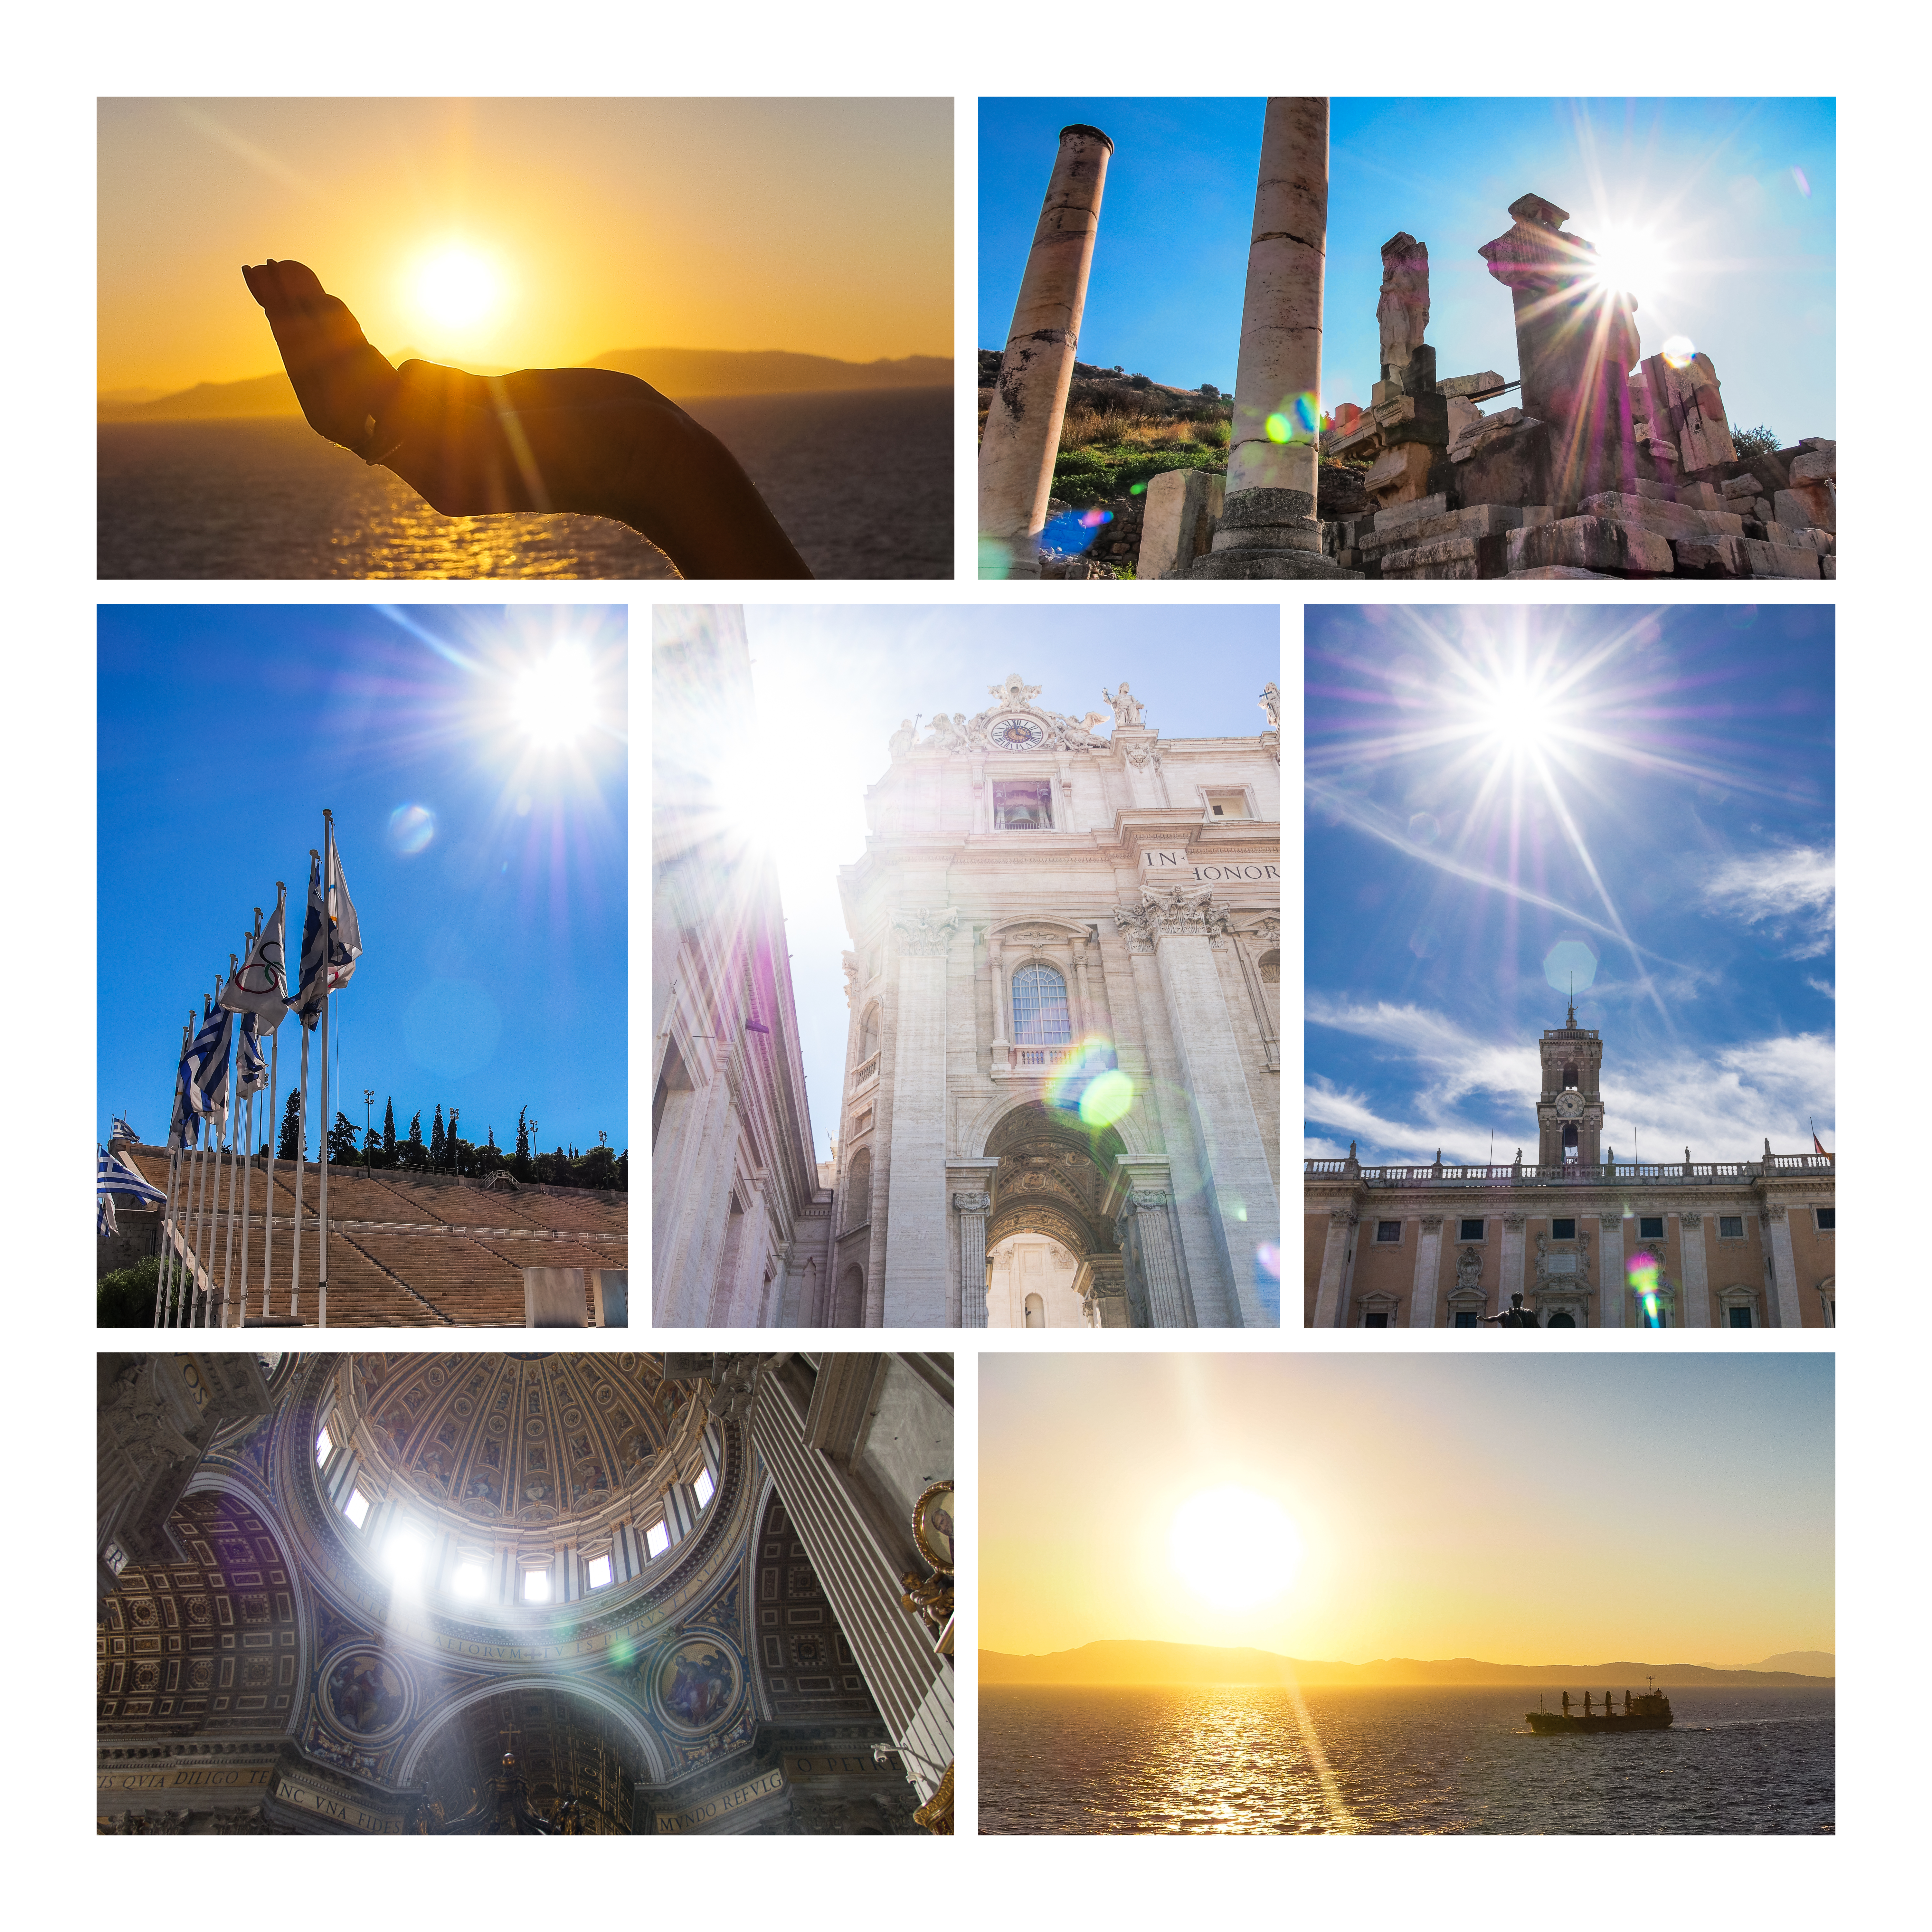
10 Secret Ingredients to Get Powerful Sunflare
When I started in my photographic journey more than a decade ago, I was warned “use a lens hood to avoid lens flare at all costs.” Most photographers thought of flare and excess light as a bad thing for photos. Some still do.
I love light. I love the way light can bounce off an object, can stream through a window, and can even create a soft haze on an image. I have chosen to purposely “use” light to craft starbursts and sunflare. And yes, I even sometimes add extra sunflare in Photoshop or add streams of light in Lightroom. Cringe! 🙂

Here’s a few tips on how to get great bursts of sunlight on your own terms.
- Shoot the sun against a vibrant blue sky.
- Switch to Manual, if not already there. You’ll get the best results this way.
- Set your speed. Aim for ISO 100, but closer to sunset (or after sunrise) you may need ISO 200-400+. If you want a “burst style” flare, set your aperture between f16-f22. If you want a hazier look with less definition, you can open the lens wider though.
- Lastly set your shutter speed. You will need to vary this setting quite a bit depending what you want to preserve (sky or subject). I usually try to retain the blue sky and slightly under expose my subject. I then adjust the exposure in Lightroom or Photoshop.
- For more control over the light, use a reflector or a flash to light your subject if they are “in range” of your source.
- If you are shooting objects further away, such as a building, take two exposures. In one, expose for the sky. In the next expose for your subject. Then merge in post processing.
- This technique works best when the sun is not directly overhead. Look for times where the sun is lower in the sky.
- Edges work great. While you can get sunflare and the starburst effect in mid sky, you can get even more dynamic results when it grazes the edge of a building or object.
- A lens hood “can” be your friend. If you want a hazy look, take it off. If you want a bolder starburst flare effect, keep it on to enhance the contrast.
- Results will vary depending on the type of lens you use. I get completely different results using my Olympus OMD EM5 than I do with my Canon 5D MKIII. When I use a prime lens versus a zoom, and depending on the aperture and focal length, the look changes too. Experiment to find your favorite looks.
Have fun with this new technique. I love the look and I often take a few images like these in different locations – just for entertainment… As with anything, you can have too much of a good thing. Beware – this can be addicting!

Now it’s your turn. Add your sunflare images below!
No Comments
Leave a Comment
You must be logged in to post a comment.


HECK YEAH!!! That just made me even MORE excited about this giveaway!!! Fingers crossed. The iPad really will enhance the professional side to a photography business even more than I thought. Thanks for posting!
I am an up and coming photographer and my current laptop has actually passed on to computer heaven (I have carried it ALL over for a couple years now) so winning this would help me tremendously on SOO many levels! I have always thought it would help with wedding/event consults as well being able to show off work easily and this article shows me I was right and makes me want one even more! Gosh I really hope I win!!!! 🙂 Thank you for this chance! I have liked you BOTH!
At the recent keynote Steve Jobs announced Mobile Me would be FREE!!! We have had an account since its conception and would still gladly hand over the $100 a year! I take my ipad to bridal shows and such and can show a potential client anything they have in mind.
Oddly enough I just posted a video/review of the CF Reader for iPad. Such a great product!
Our product, StoryDesk, makes it easy and affordable for creative professionals to create an app using their own content. We’re in beta. Let us know if you’d like to give it a whirl: [email protected].
Wow thats awesome, I am really loving the ipad now.. These are some great ways to use the ipad in the photograhy buisness, or in any buisness! It will really help me, love the payment app and the photo veiwing app. I had no clue you could hook up your camera to the Ipad now or an sd card thats really a great add on!! Looking foward to seeing the winner hope its me 🙂
Not a Mac user here and no iPad. However, THANK YOU! You’ve introduced me to Square & I just signed up. LOVE that they have an app for my Android!! And hey, makes me more excited to be entered in the giveaway. Fingers crossed! 🙂
FYI: MobileMe will be going away as of June 2012. From the Apple web site: “MobileMe is no longer accepting new subscribers. If you’re a current member, you can still access everything as usual through June 30, 2012.”
It is going away, however, they are replacing it with something better and FREE in the fall. I’m a MobileMe user and I can’t wait for the new software they are pushing out!
They are super awesome! I can’t wait to get my hands on one, one day. There is so many wonderful things you can do. Great way to stay on top of the whole business aspect for sure! 🙂
I was so excited when your original announcement about the give-a-way came through I did quite a bit of research to see how much fun it would be to have an iPad added to my camera bag! Thank you for outlining it! 🙂 I’m excited. My laptop is a big bulky 17 in. Would LOVE an iPad2.
Thanks for all the kind words. Yes MobilMe is going to be replaced with an even better service. I can’t wait!
I also added this to my http://www.facebook.com/vailsphotography site. Thanks again for the opportunity!
Holy shnikes….this definitely makes me want an iPad even more. Heading over to enter…Thanks – what a great post!P.S. Just wrote on my musings blog about how checks suck…
Wow, this was interesting. I didn’t know what exactly the iPad2 could do and this really makes me want it more. Some lucky photographer is going to be a happy photographer soon :)!
Very informative! Thanks!Still i am not sure what to buy when it comes to contract maker pro & Easy Release! 🙁
What a great marketing tool when on the road shooting football photography. It would fit so well in my backpack, too!Thank you for the opportunity!
Thanks for an informative and very helpful article – I love my ipad and can’t wait to utilize it better. Thx Jody
I have a question- You said that you recommend the Contract Maker Pro for the iPad for contracts. I went to check it out on iTunes, and I saw that the same seller had a Photographers Contract Maker. It’s a couple of dollars cheaper, so which one works best? Any ideas? Thanks!
I’ve been wanting to try an ipad…crossing my fingers…….and toes!!!
great article! I just picked up an ipad for myself
Great post, just what I was looking for…Are there any updates 2 years on?
we plan to work on one for 2014
How’s this one Jodi?Love a bit of sunflare!
Jodi, thanks again for such a wonderful, succinct and especially helpful post! I’ve been playing around on my own, but it sure will help to have these tips the next time I go out and play. Always appreciated!!!
LOVE this”_I seem to create more silhouette’s, because I don’t like the base in the subject. So now I know how to avoid it! Random”_.I noticed a typo in #8, “… you can get even more dynamic results when it gazes the edge” Gazes should be “grazes” I believe. 🙂