Featured Products
Before and After Step-by-Step Edit: Fix Exposure, Color and Light for Beautiful Portraits
The MCP Show and Tell Site is a place for you to share your images edited with MCP products (our Photoshop actions, Lightroom presets, textures and more). We’ve always shared before and after Blueprints on our main blog, but now, we will sometimes share some favorites from Show and Tell to give these photographers even more exposure. If you haven’t checked out Show and Tell yet, what are you waiting for? You’ll learn how other photographers are using our products and see what they can do for your work. And once you are ready, you can show off your own editing skills using MCP goodies. You might even make new friends or gain a customer…. since you get to add your website address right on the page. Bonus!
Today’s Featured Image is by Angela Frisvold
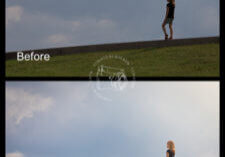
This is straight out of camera image of her adorable daughter:

Now for Angela’s editing steps: Using Inspire Photoshop actions set and the Eye Doctor action.
Manual Adjustments:
- In raw – to fix exposure, increased exposure 1.6, adjusting blacks -54 and changed the white balance to daylight on import to Photoshop.
Photoshop MCP Inspire Photoshop Actions:
- Brilliant Base at 30% opacity, Denim and Pearls at 31%, Bittersweet at 55%
- Quick Contrast at 17%
- Gem Polish on eyes, nose and lips
- Custom Sunburst at 83% and moved to upper right
- Custom Edge Burn at 55%
Photoshop MCP Eye Doctor and Dentist:
- Brighten the Iris at 58%, Brighten the Whites at 22%, Darken the Pupil at 54%, Sharp as a Tack on eyes, nose and lips
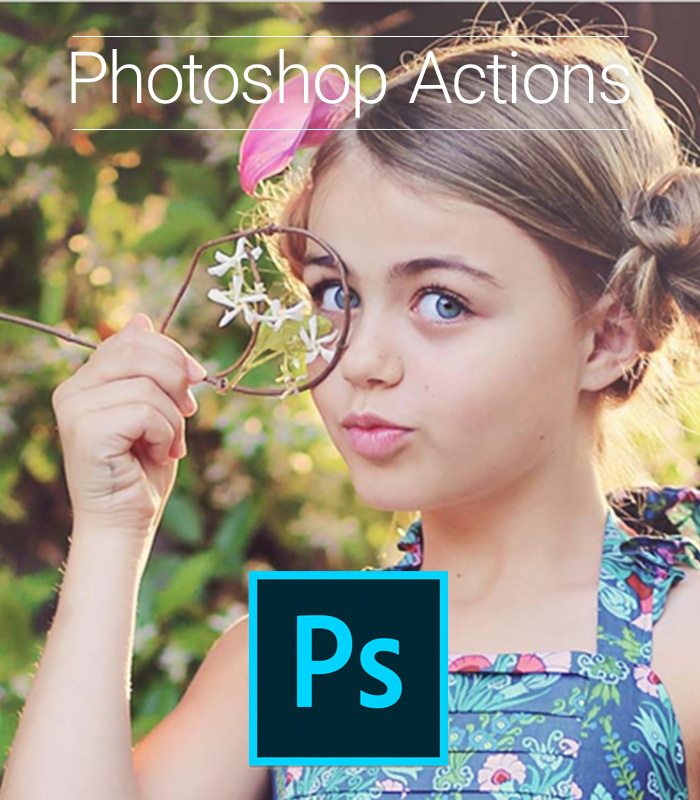
And the results:


