Featured Products
Frequency Separation sounds like a term used in complicated physics assignments, doesn’t it? It sounded like that when I first came across it, at least. In reality, it’s a term that’s cherished by professional Photoshop users. Frequency Separation is an editing technique that allows retouchers to perfect skin without getting rid of its natural texture. This handy technique will make your portraits look naturally flawless. Using this method, spots, blemishes, and scars can all be easily removed without creating unflattering results.
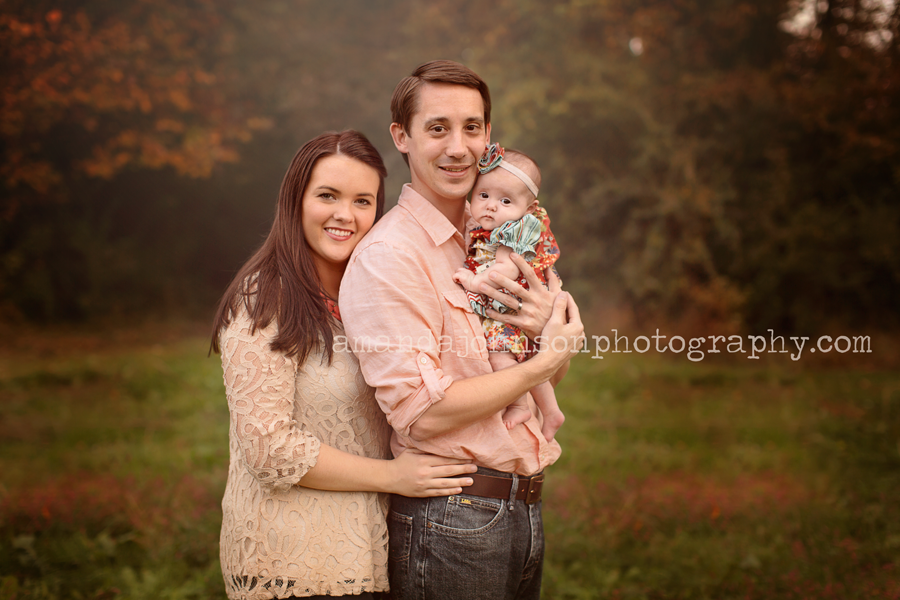
Frequency Separation is a lifesaver for artists who photograph people of all ages. Your clients may want you to remove spots from their faces without making them look unnatural. Instead of closely zooming in and stressing about fake-looking skin, you can turn to Frequency Separation and let it do the work for you.
These steps will look complicated and intimidating at first, but don’t let this discourage you. Once you familiarize yourself with the instructions below and practice a couple of times, you won’t have to consult any tutorials in the future. Your clients will be impressed with your ability to retouch skin so naturally, and you’ll have a brand new skill that’ll make editing as fun as it deserves to be. Let’s begin!
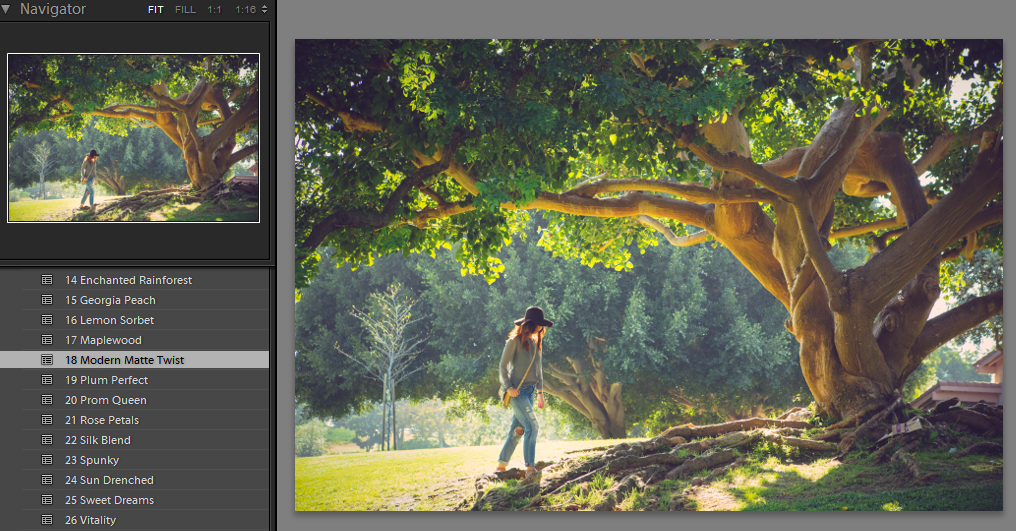
1. Create 2 duplicate layers by pressing Ctrl-J/Cmd-J on your keyboard. Name the layers Blur and Texture. (To rename a layer, double click on its title.)
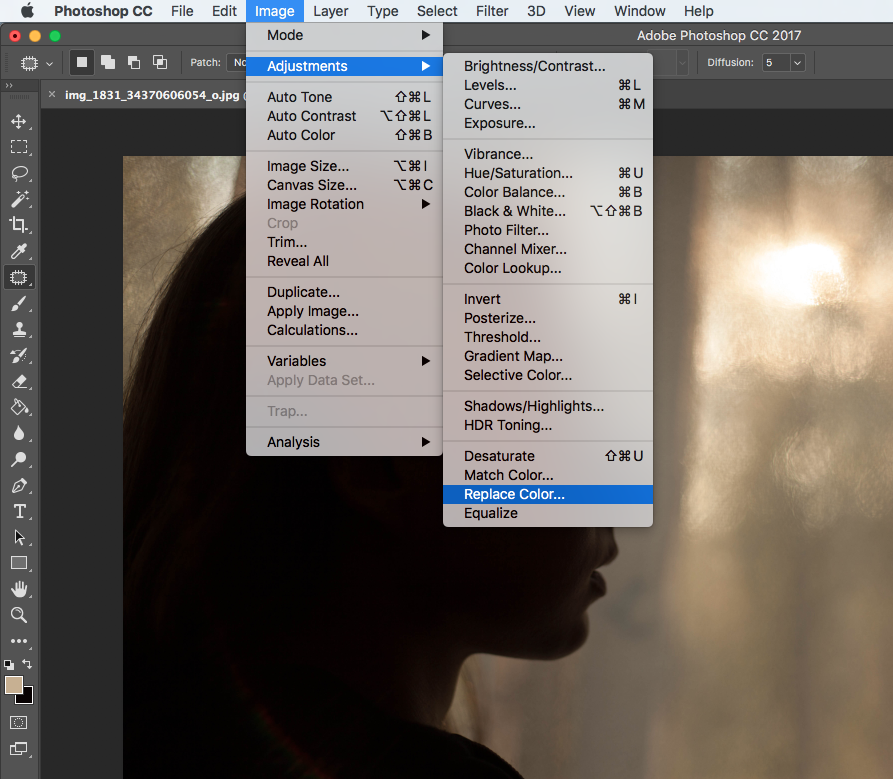
2. Click on the Blur layer and go to Blur > Gaussian Blur. Gently drag the slider to the right until the blemishes look naturally soft. It’s important not to go overboard with this.
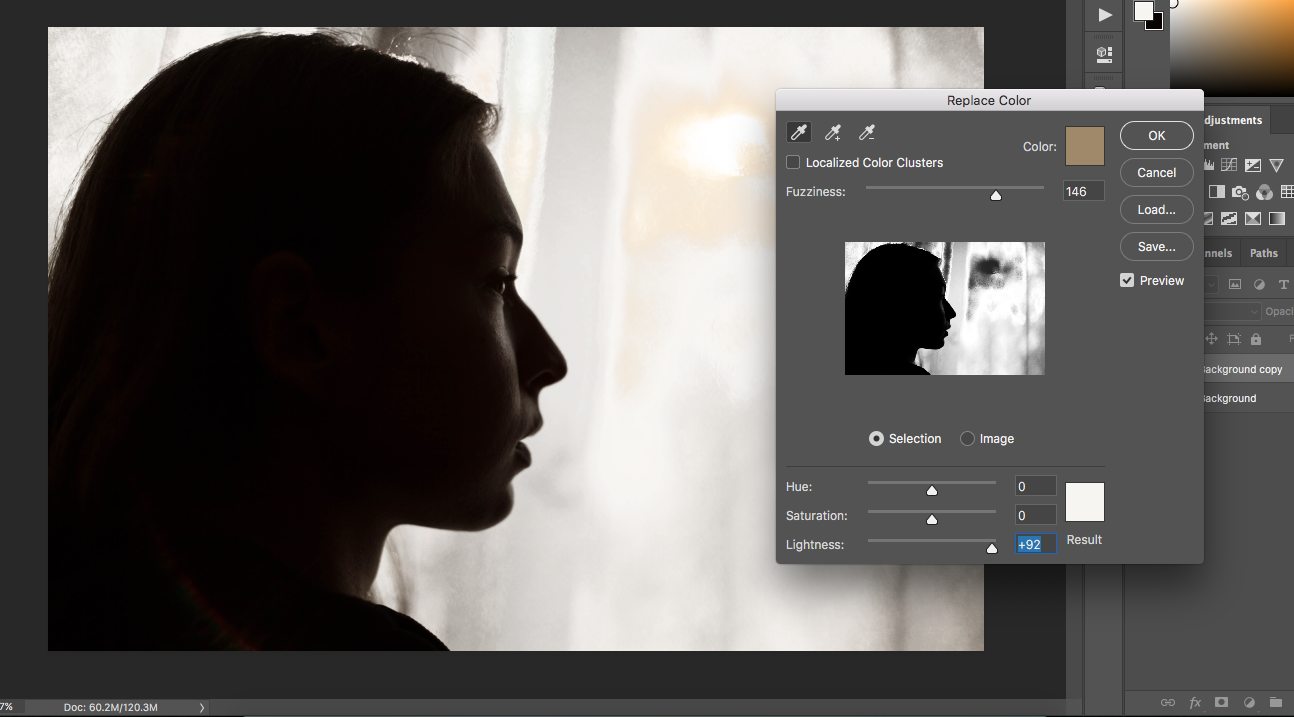
3. Next, click on the Texture layer. Go to Image > Apply Image. A new window will pop up. This step will look like a complicated mathematical problem but trust me, all you have to do is memorize the numbers. Under Layer, select your Blur layer. Set Scale to 2, Offset to 128, and select Subtract in Blending Mode. If your image looks gray, you’re doing the right thing!

4. Change the Texture layer’s blending mode to Linear Light. This will eliminate the gray colors.
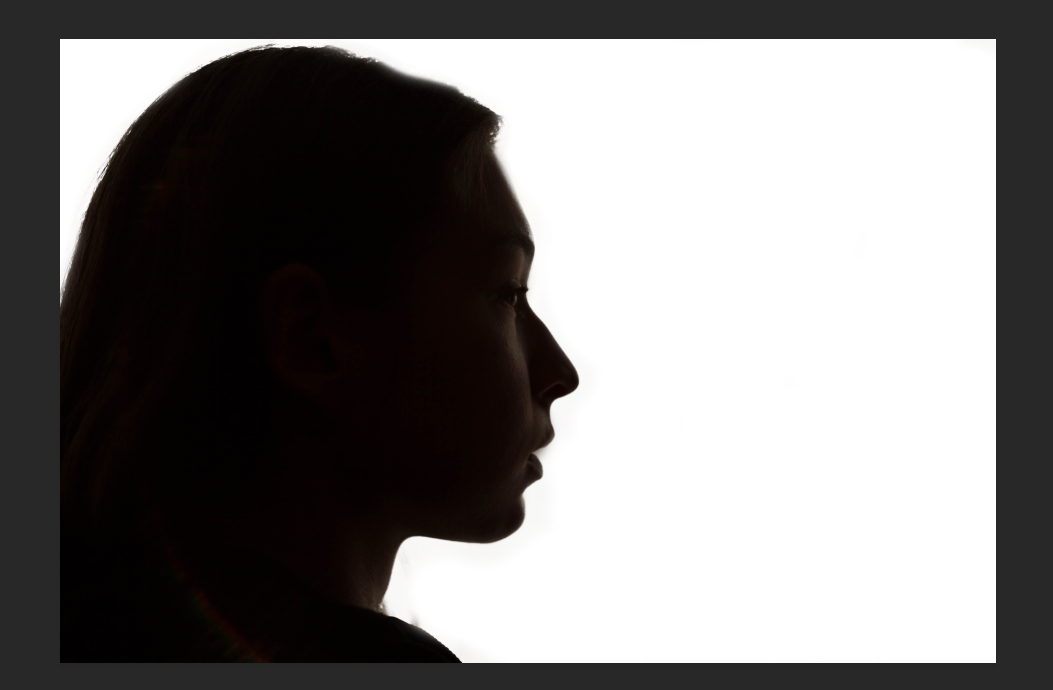
5. Click on the Blur layer and select the Lasso, Clone Stamp, or Patch tool. Using your desired tool, select blemishes on your subject’s skin. If you’re using the lasso tool, go to Blur > Gaussian Blur, and drag the slider to the right until the blemish is gone. If you’re using either the Clone Stamp or Patch tools, simply select the blemish and drag it to a cleaner spot. This will duplicate the clean area and remove the blemish for good.
6. To remove wrinkles, pores, and other rough textures, you’ll need to switch to your Texture layer. Click on it, select the Patch or Clone Stamp tool, and repeat the steps you made when editing your subject’s blemishes.
7. If you find that blurring the image made your photo look too soft, click on the Blur layer, select Layer Mask, and paint over the areas you’d like to sharpen (don’t forget the eyes, lips, and hair!)

8. And you’re done! Great job! To see the difference, click on the eye icon next to your layers. If the differences are too intense, gently decrease the layer’s opacity. Once you’re happy with your results, go to Layer > Flatten Image.
Retouching will no longer be a boring task filled with unnatural skin and icky results thanks to Frequency Separation. Experimenting with new editing and photographing tricks will not only make your tasks less daunting but significantly improve your life. The more you practice editing, the easier it’ll get. The easier it’ll get, the more fun your photography jobs will be. The more you enjoy your job, the happier you’ll be!
Good luck!


