Featured Products
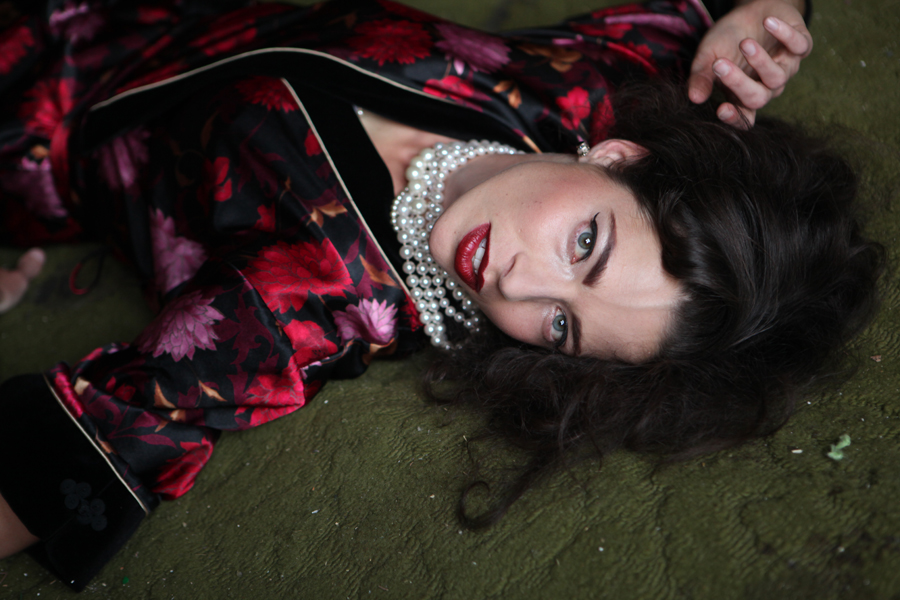
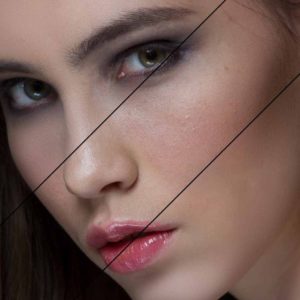
Boudoir photography requires great lighting, flattering poses, and often the use of photo editing using Photoshop actions. When doing Boudoir photography, you want the woman you are photographing to feel special and beautiful. And while you still want the photo to portray her, Photoshop can help enhance her most positive traits and minimize any flaws or areas where she is self-conscience. This photo was submitted and edited by Camilla Binks of Camilla Photography.
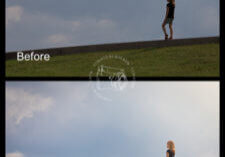
Here is the before and after Camilla submitted plus how she achieved it:
Before:
After:
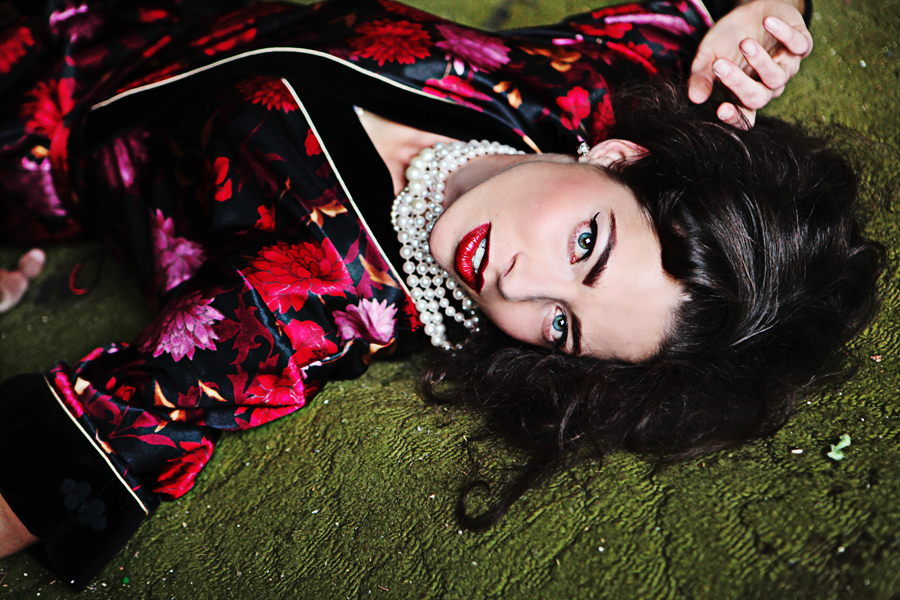
The step-by-step:
-
Started with the Touch of Light Free Photoshop action with 20% opacity brush a bit on hair, face near carpet and hand to brighten up skin and select areas
-
Next I used the Magical Clarity action from the Back of Tricks to increase midtone contrast
-
Then I used All in the Details- Color Action which pulls out details and pops color of the image
-
Patch and Clone tool to remove vein on forehead and bags under eyes.
-
To pull out spot colors, I used the Color Finder Brush from the Bag of Tricks at 20% brushed everywhere except skin and hair
-
Then I ran the Magic Skin – skin smoothing Photoshop action for a creamy skin
- Used Extreme Fill Flash from the Quickie Collection at 10% layer opacity
- Finished with Quickie Collection-Snap Photoshop action (I always use this!)
No Comments
Leave a Comment
You must be logged in to post a comment.

















thank you!!i was wondering how to do this!
Thanks Jodi!! This is very helpful.
i LOVE this! thank you so much for sharing!
Thanks, Jodi! I always enjoy your tutorials!
Jodi, I have been trying how to figure this out and never could get it. Thanks so much you are awesome!!!!
Cool Jodi! Thanks!
Thanks Jodi! Now is there any easy way to find your brush logo?? I have so many brushes I am always searching for my logo!
Well if you just made it – it will be at the bottom of the brushes…
thank you so much for the helpful tutorial. i love it! you’re such a help :O)
Love it Jody!
thank you thank you!!
Great! Thanks so much.
Oh thanks so much! Can’t wait to go try this
You are truly amazing! Thank you!!!
Jodi – you are the BOMB!!! This is really cool and so darn easy! Can’t wait to play with it now!!!
way too cool. Thanks!
Thanks so much!! This was so helpful to me!
Thank you! Very helpful!!
Thanks so much for your tutorials! That helps a lot!!
Good tutorial! Even if I think I know how to do something I often learn a new thing Like here with how to change the color choice when increasing the canvas size.
Thank you soo much for sharing these Jodie I really appreciate this and will be following your blog from now on ;-)ThanksJodie
I’m excited to do this now. Thanks!
That’s great. How do you do the ones that Sandy usually does.. the transparent one that is just placed on top of the photo?
Thank you so much for all the tips you share with your readers!!! I have always wanted to know how to do this! You are awesome 🙂
Fabulous tutorial – thank you!
I love this! Can’t wait to try. Thanks.
Thanks for this but one questions-if you flatten the image to increase the canvas size how do you get the “branding bar” off to print for a client? Do you just crop the photo to take it off? Just curious! Thanks.
Branding bars would be for web size images. Though you could use on full size. Either way you would save as a different file.
Great, any idea how I could make this an action and/or export out of LightRoom 2?Love to see/hear.Great site, great video.Best,
Great List. Definitely a lot of design inspiration goodies! Thanks! I’m trying them on my site http://www.visionzgfx.com
Thank you VERY much for your Actions and tutorials. I just went through Powder Room on my 73-year-old husband and he looks great!! This branding bar is a great tool, too. You’re the best!!
I love this tutorial. Although I tried to do it myself and when I went into the canvas size it is defaulting with the existing dimensions where you entered the new dimensions so I can’t get past this hang up, ugh. I did flatten my image before this step.
I’m having the same problem as Christine. After I flatten the image and go into canvas size it still has 900 and 600 where you entered the new dimensions. It won’t let me change it to 0 on the width and when I submit it, the photo ends up becoming this weird line instead of adding a bar. Please help!
Make sure “relative” is checked off.
You are welcome everyone. Glad this was helpful.